Setup SSO on Okta
The following guide outlines how to setup Single Sign On within Okta.
Note: Vouch currently only supports SP-initiated SSO. If you wish to setup an IdP initiated flow (ie. Allow users to sign into Vouch from the Okta App screen) you will need to create a Bookmark App in addition to the SAML 2.0 App.
Setup the SAML 2.0 App
Vouch supports SSO for both the Admin User Interface and externally facing services, such as Requests and the Playlink (Audience Users). Vouch recommends setting up different applications for Admin Users and Audience Users so you can control who has access to what parts of the Vouch platform.
Steps for setting up both Applications are listed below:
Setup for Admin User
To setup you SAML 2.0 App within Okta, log into your Okta Administration account and select Applications from the left hand menu.
From the screen that loads, click Create App Integration.
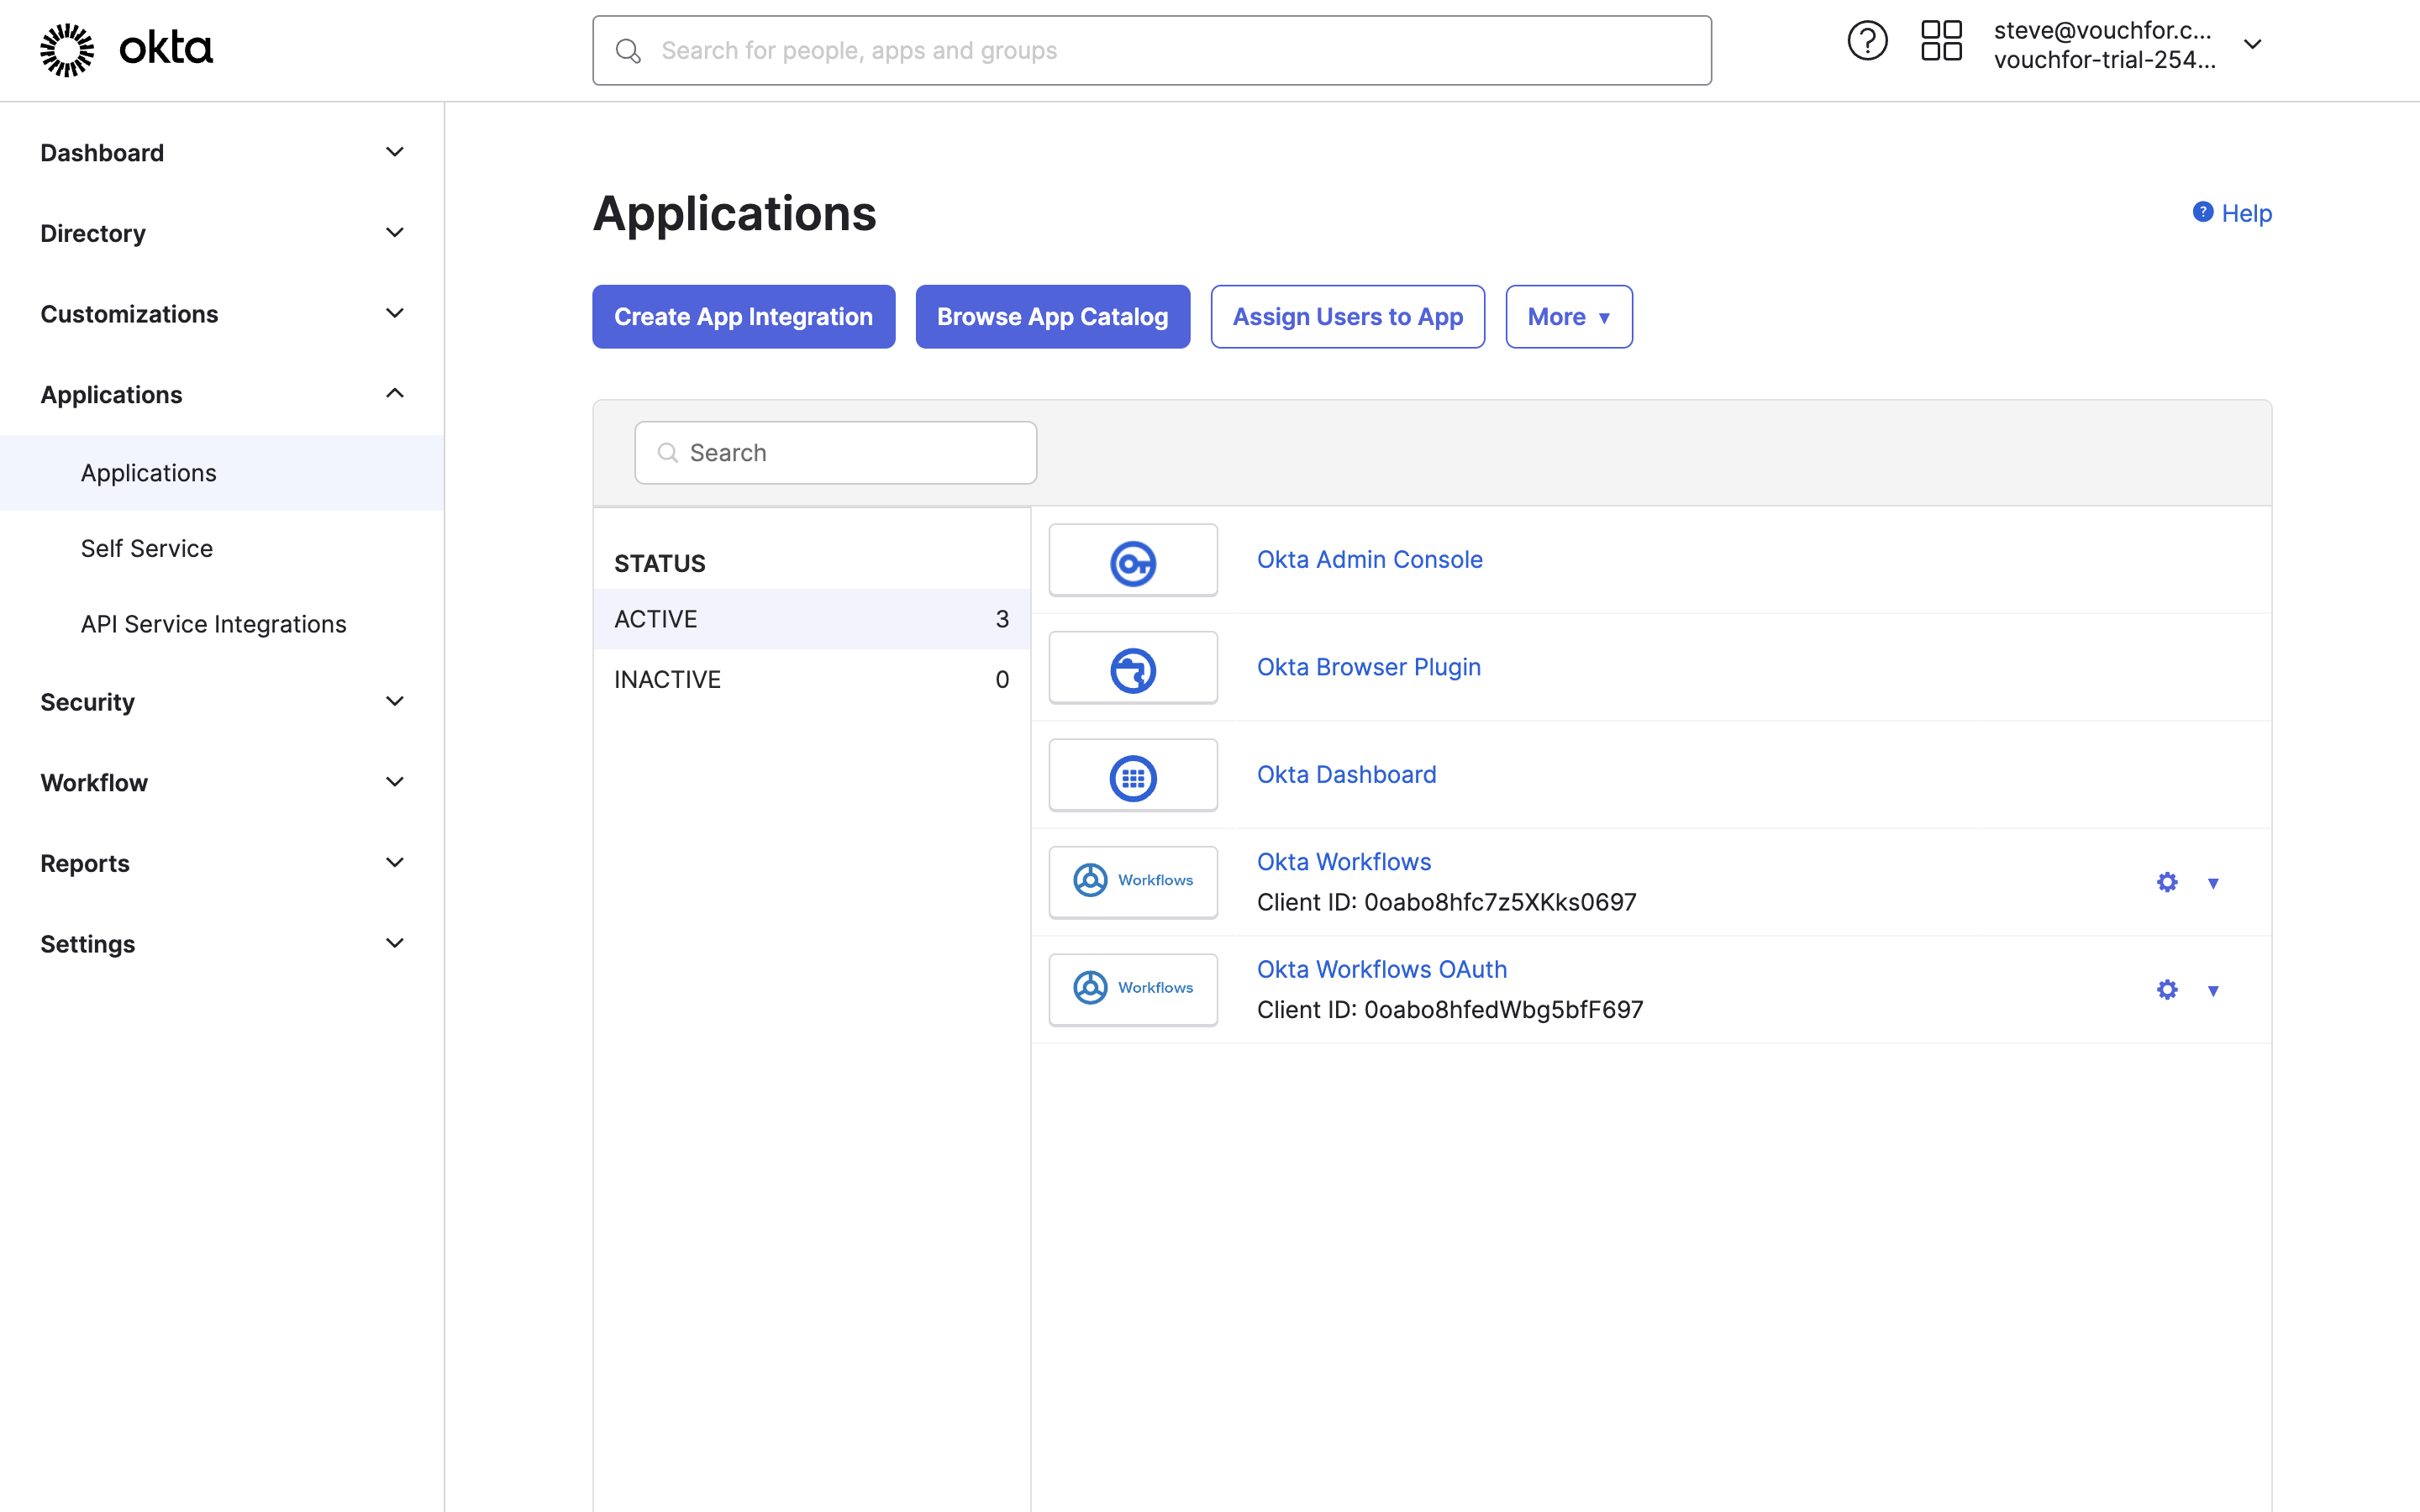
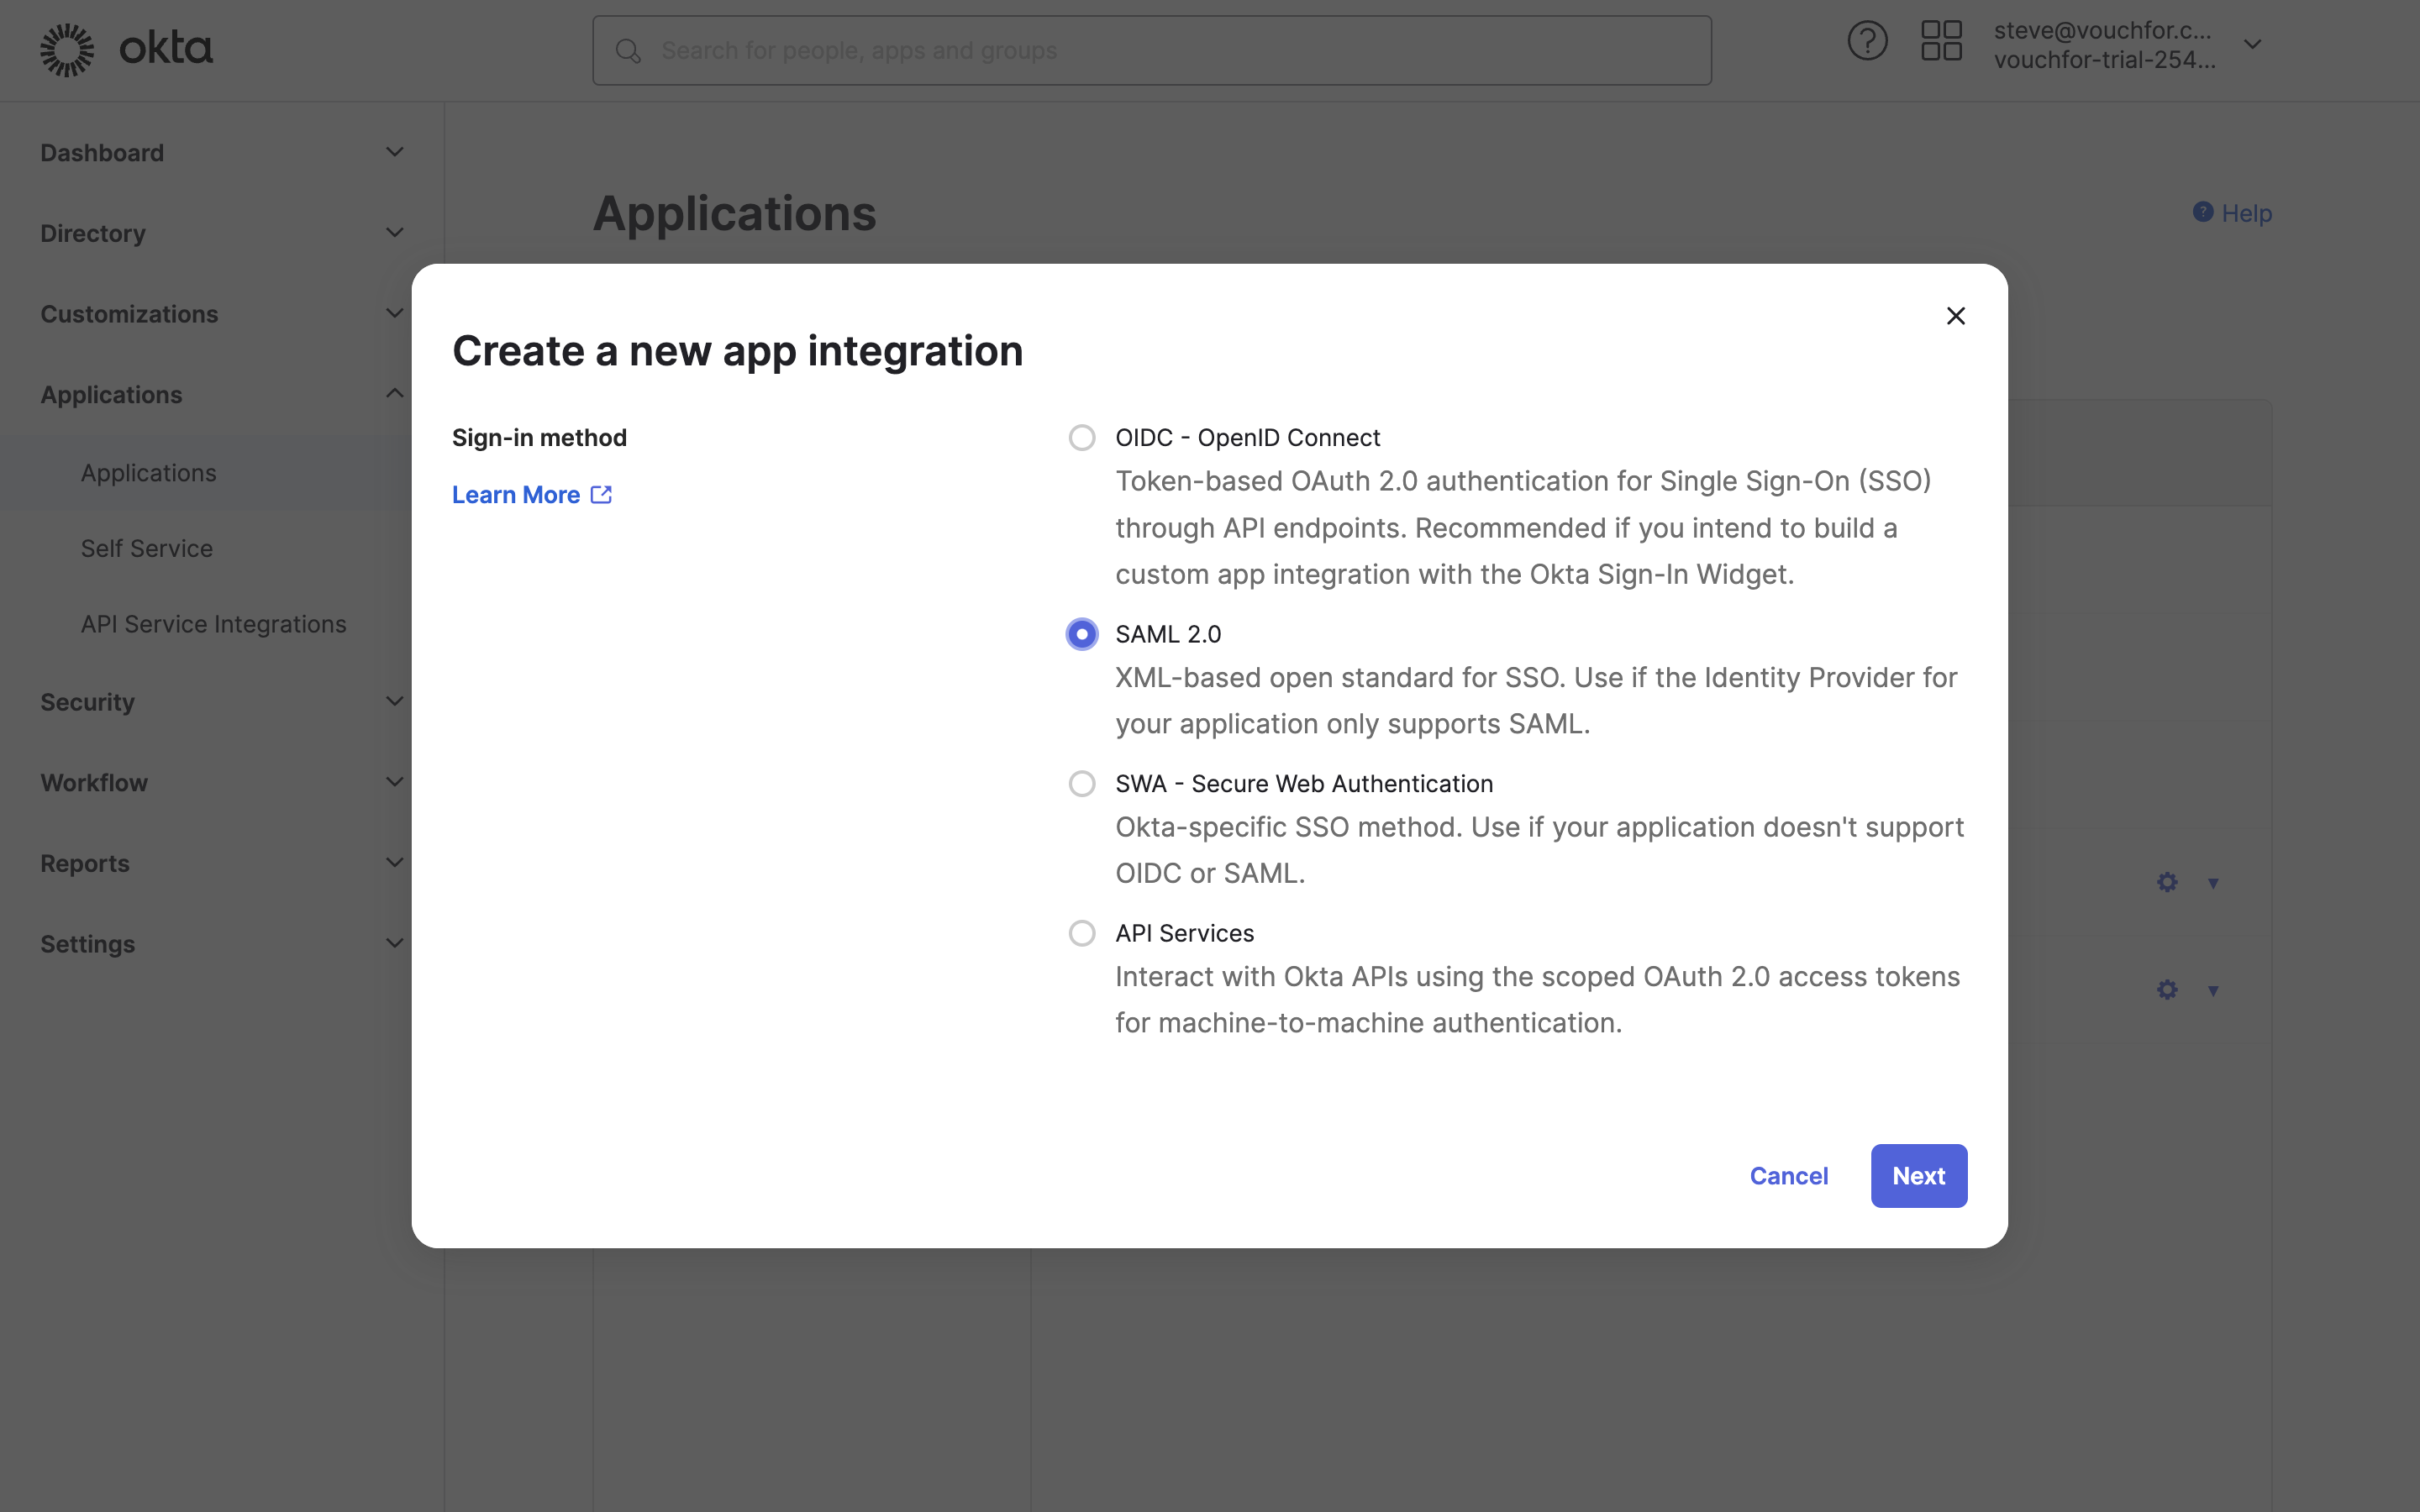
You will be prompted with a modal to pick the Sign-In method for your Application. From the list select SAML 2.0
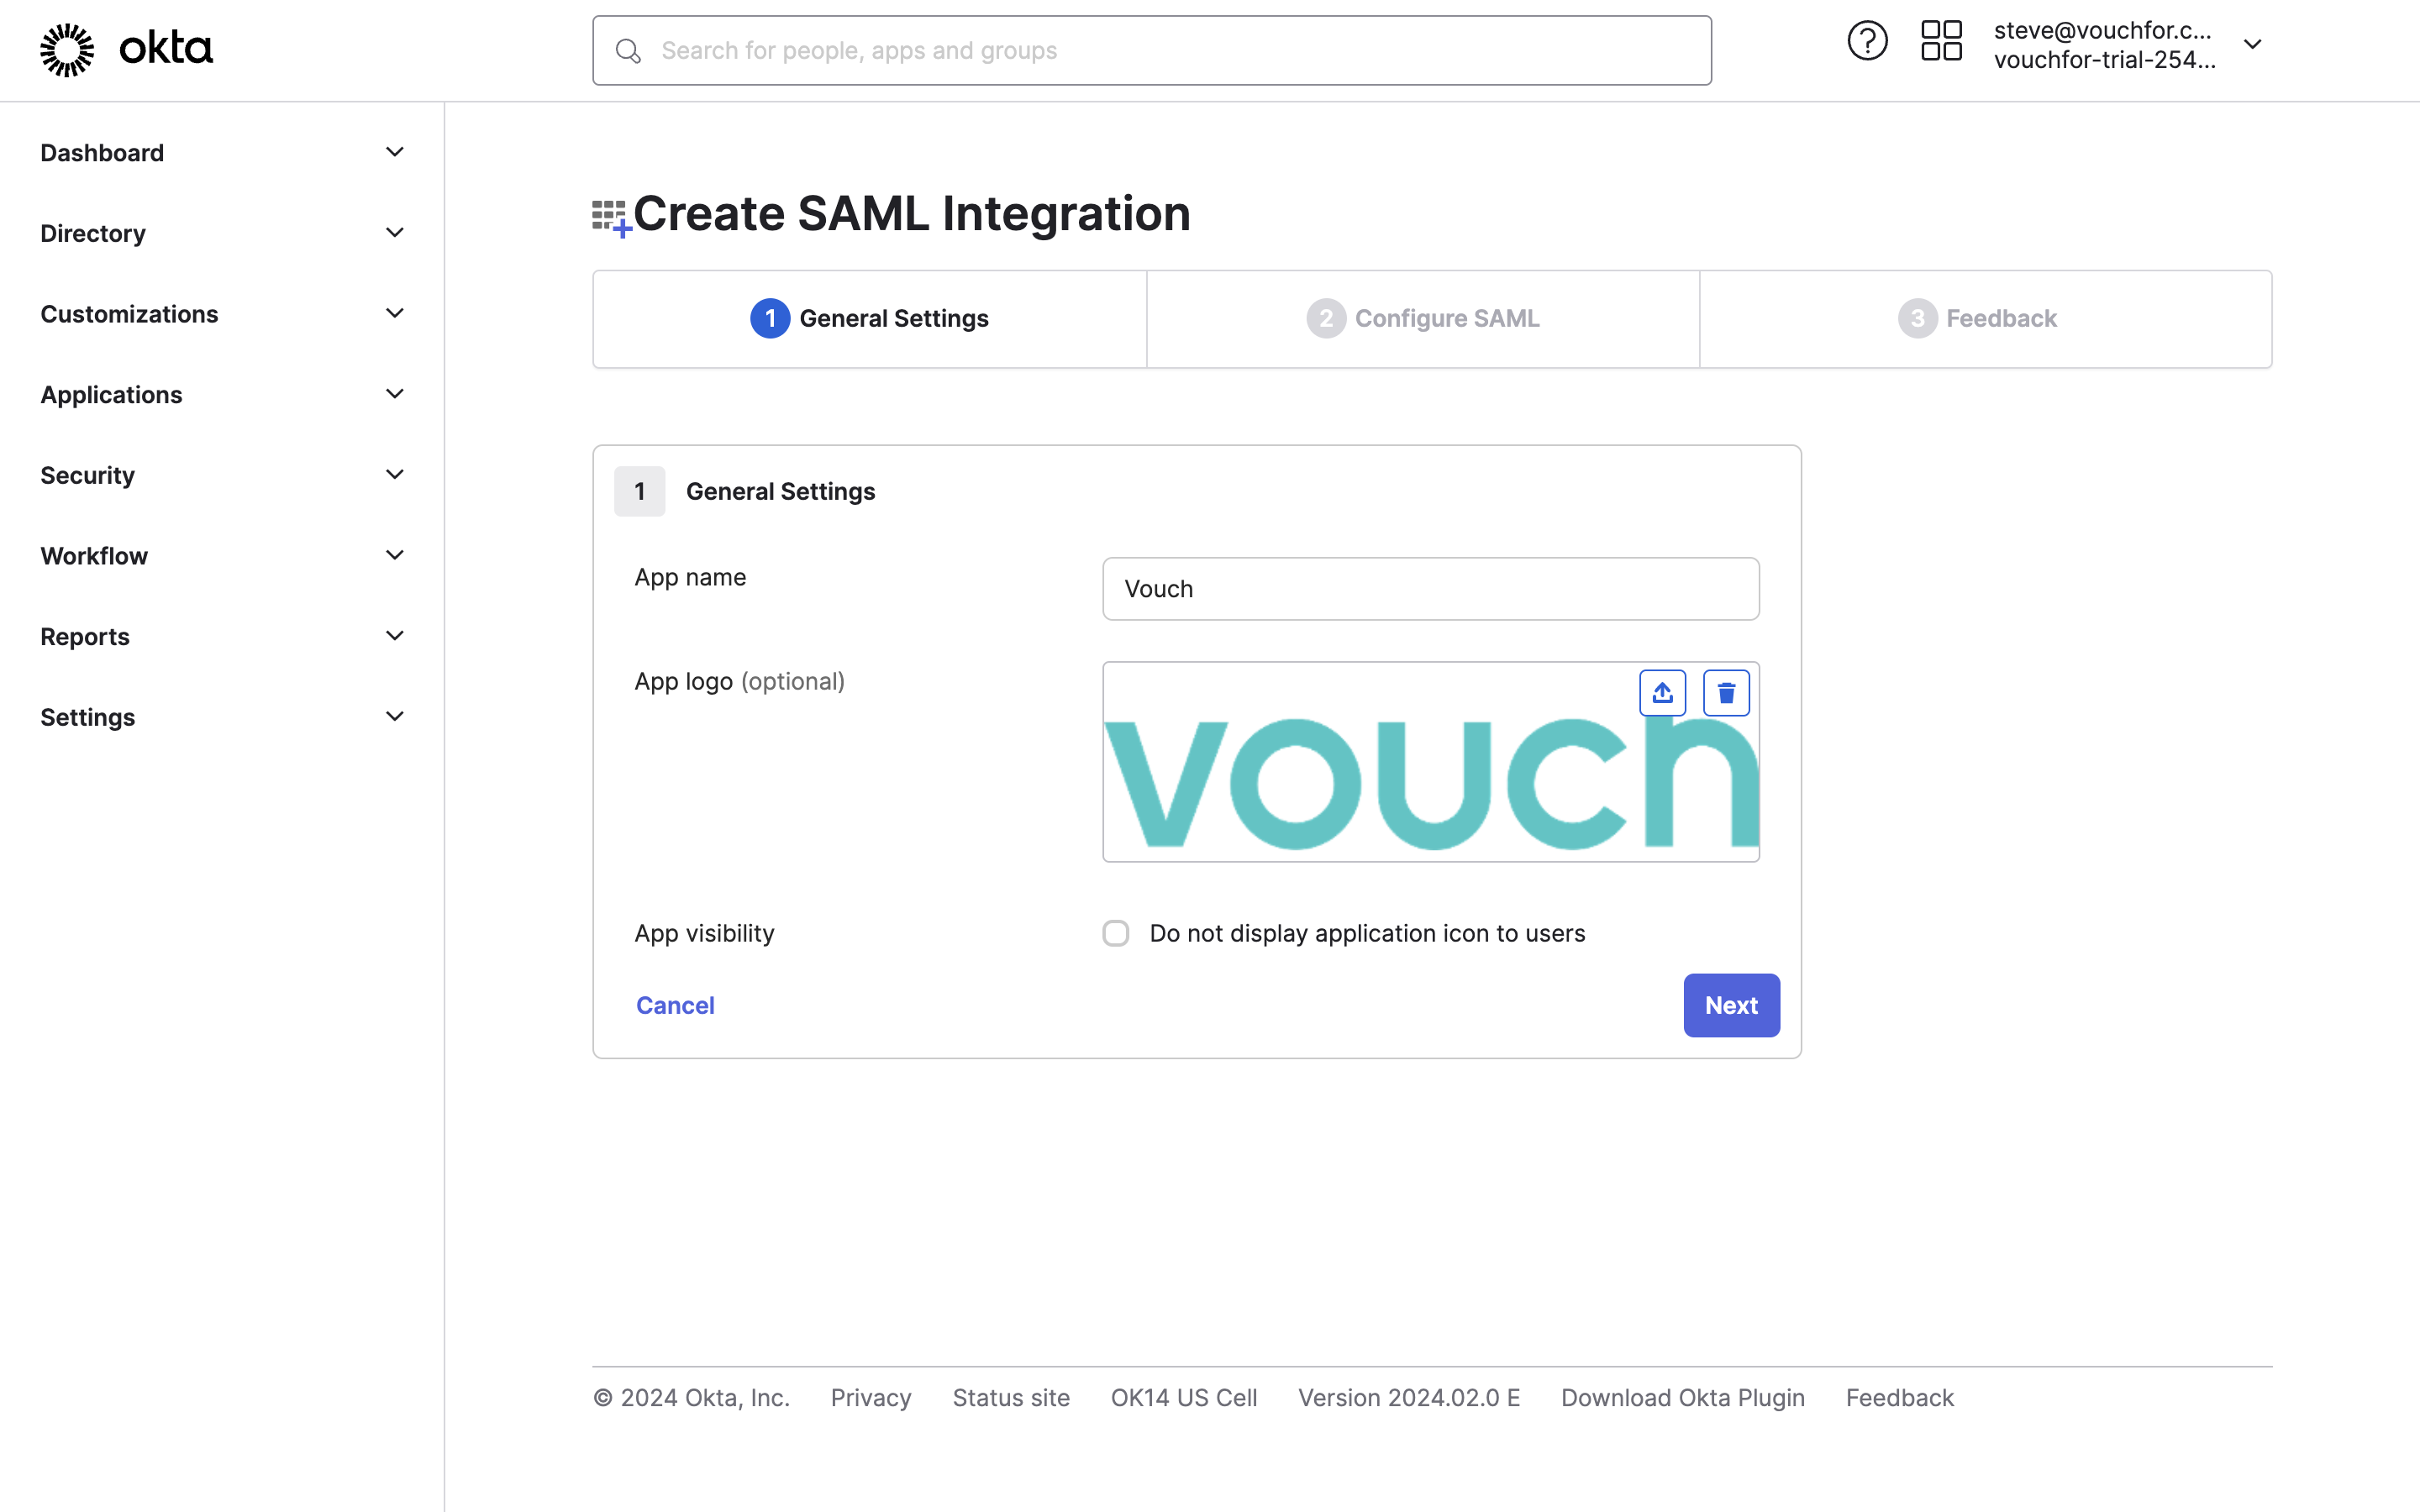
This will load the Create SAML Integration General Settings tab. Here you can give the App a name (we recommend Vouch) and a logo.
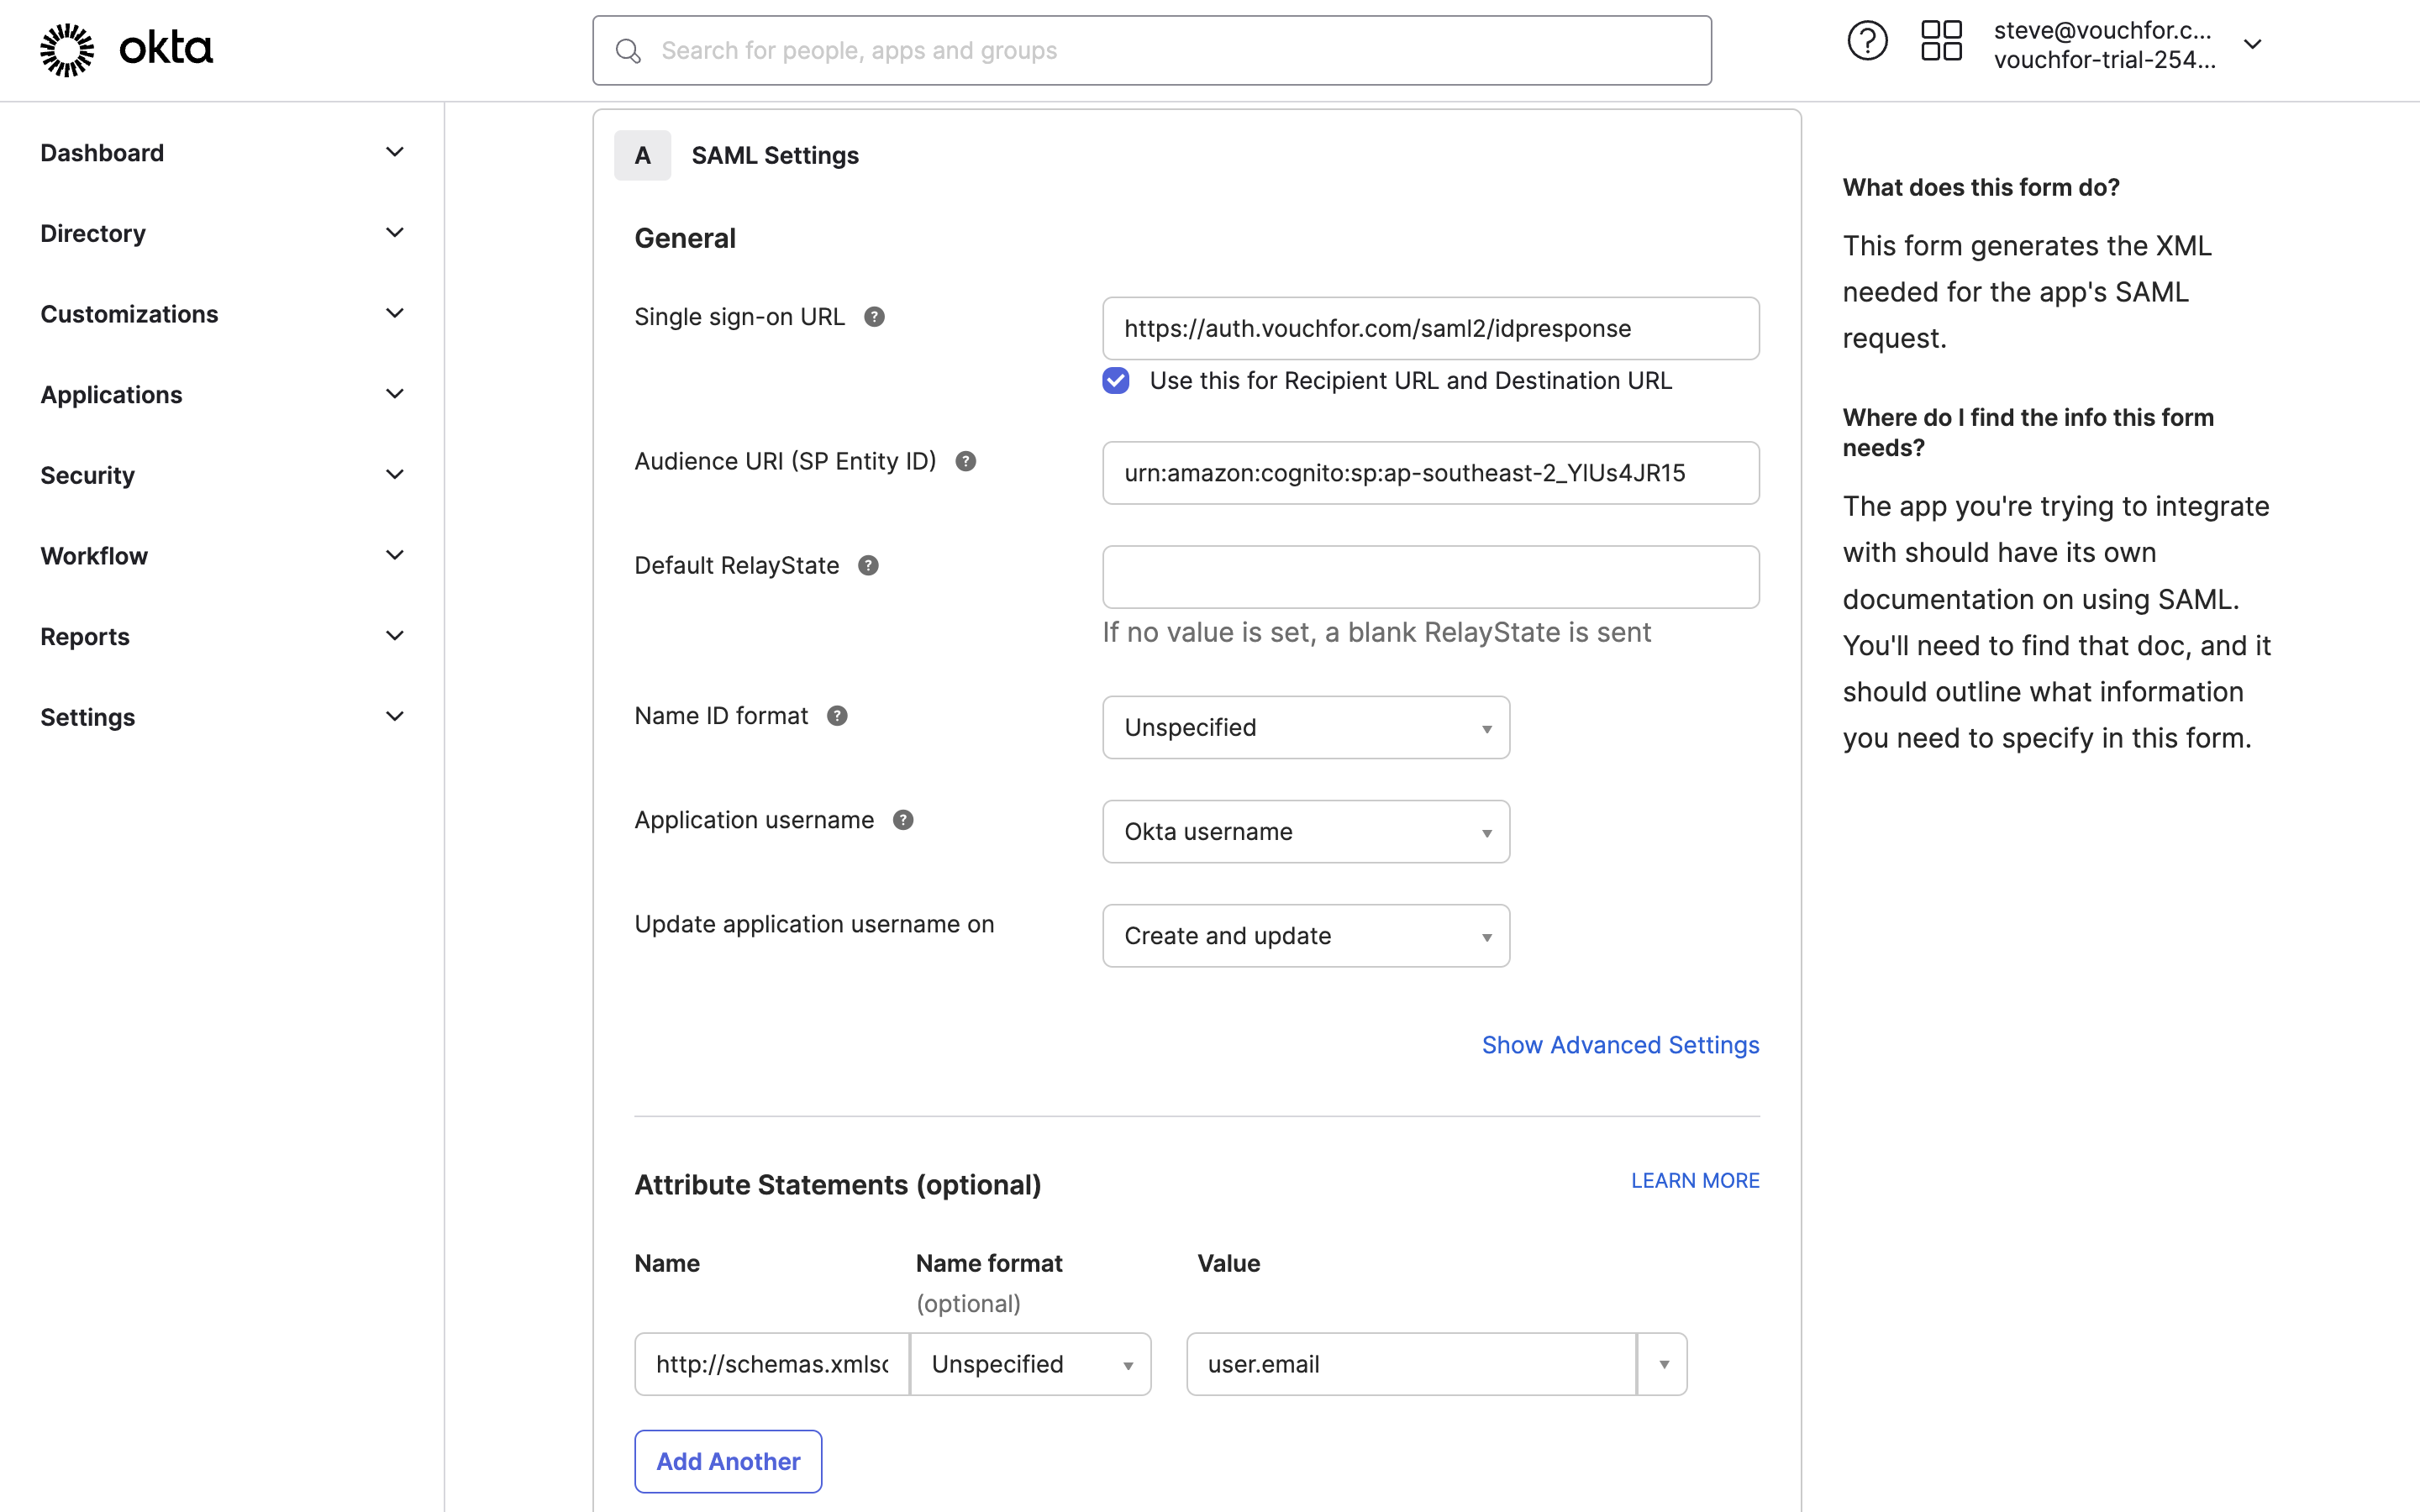
You will next progress to the Configure SAML tab. In this tab, you will want to add the following attributes to your application:
Single Sign on URL:
https://auth.vouchfor.com/saml2/idpresponse
Audience URL (Entity ID):
urn:amazon:cognito:sp:ap-southeast-2_YlUs4JR15
Audience Statement: Add statement with the following entry
Name: http://schemas.xmlsoap.org/ws/2005/05/identity/claims/emailaddress
Value: user.email
Once you have added the above details, you can provide Feedback on your application and save the details.
Once you have completed setting up the application, you will be provided the opportunity to copy the Metadata URL or download the metadata file.
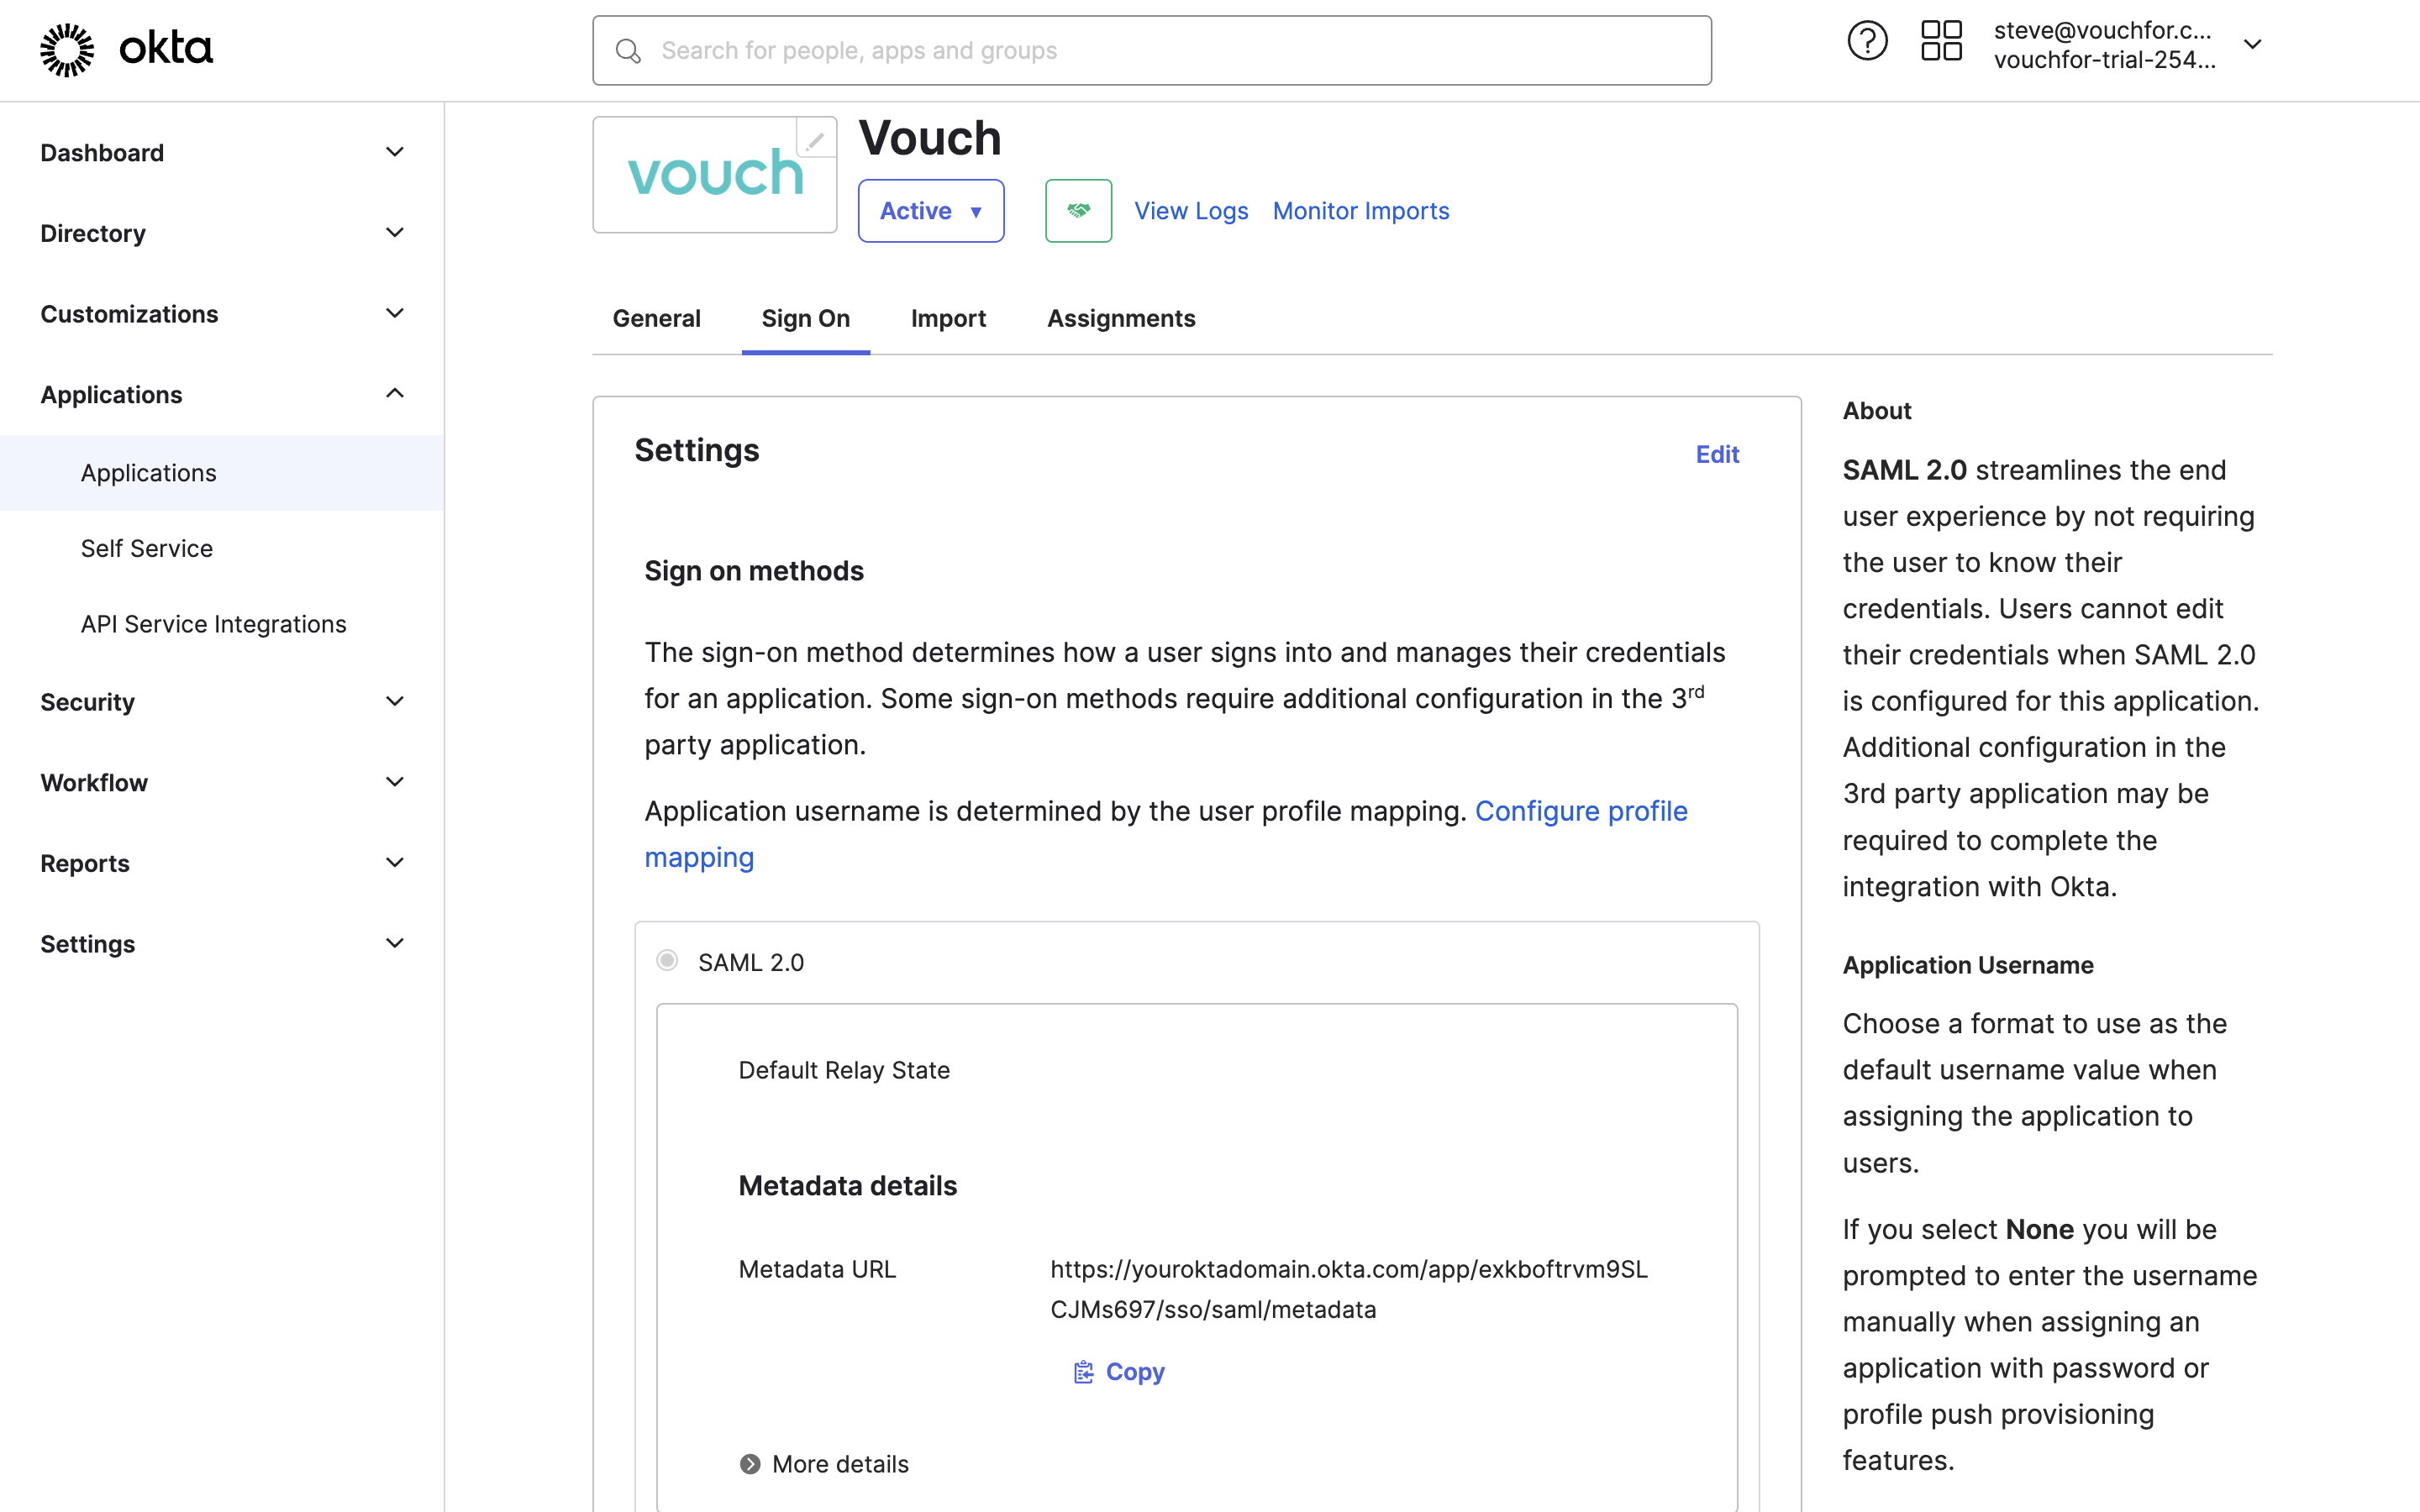
You can use either this generated URL or Metadata file within your SSO Settings within Vouch.
Setup for Audience Users
To setup you SAML 2.0 App within Okta, log into your Okta Administration account and select Applications from the left hand menu.
From the screen that loads, click Create App Integration.

You will be prompted with a modal to pick the Sign-In method for your Application. From the list select SAML 2.0

This will load the Create SAML Integration General Settings tab. Here you can give the App a name (we recommend Vouch) and a logo.

You will next progress to the Configure SAML tab. In this tab, you will want to add the following attributes to your application:
Single Sign on URL:
https://auth.vouchfor.com/saml2/idpresponse
Audience URL (Entity ID):
urn:amazon:cognito:sp:ap-southeast-2_YlUs4JR15
Audience Statement: Add statement with the following entry
Name: http://schemas.xmlsoap.org/ws/2005/05/identity/claims/emailaddress
Value: user.email
Name: http://schemas.xmlsoap.org/ws/2005/05/identity/claims/name
Value: user.firstName + " " + user.lastName
Name: http://schemas.xmlsoap.org/ws/2005/05/identity/claims/title
Value: user.title
Name: http://schemas.xmlsoap.org/ws/2005/05/identity/claims/organization
Value: user.organization

Once you have added the above details, you can provide Feedback on your application and save the details.
Once you have completed setting up the application, you will be provided the opportunity to copy the Metadata URL or download the metadata file.

You can use either this generated URL or Metadata file within your SSO Settings within Vouch.
Setup the Bookmark App
To setup your Bookmap app within Okta, log into your Okta Administration account and select Applications from the left hand menu.
From the Applications page, select Browse App Catalog.

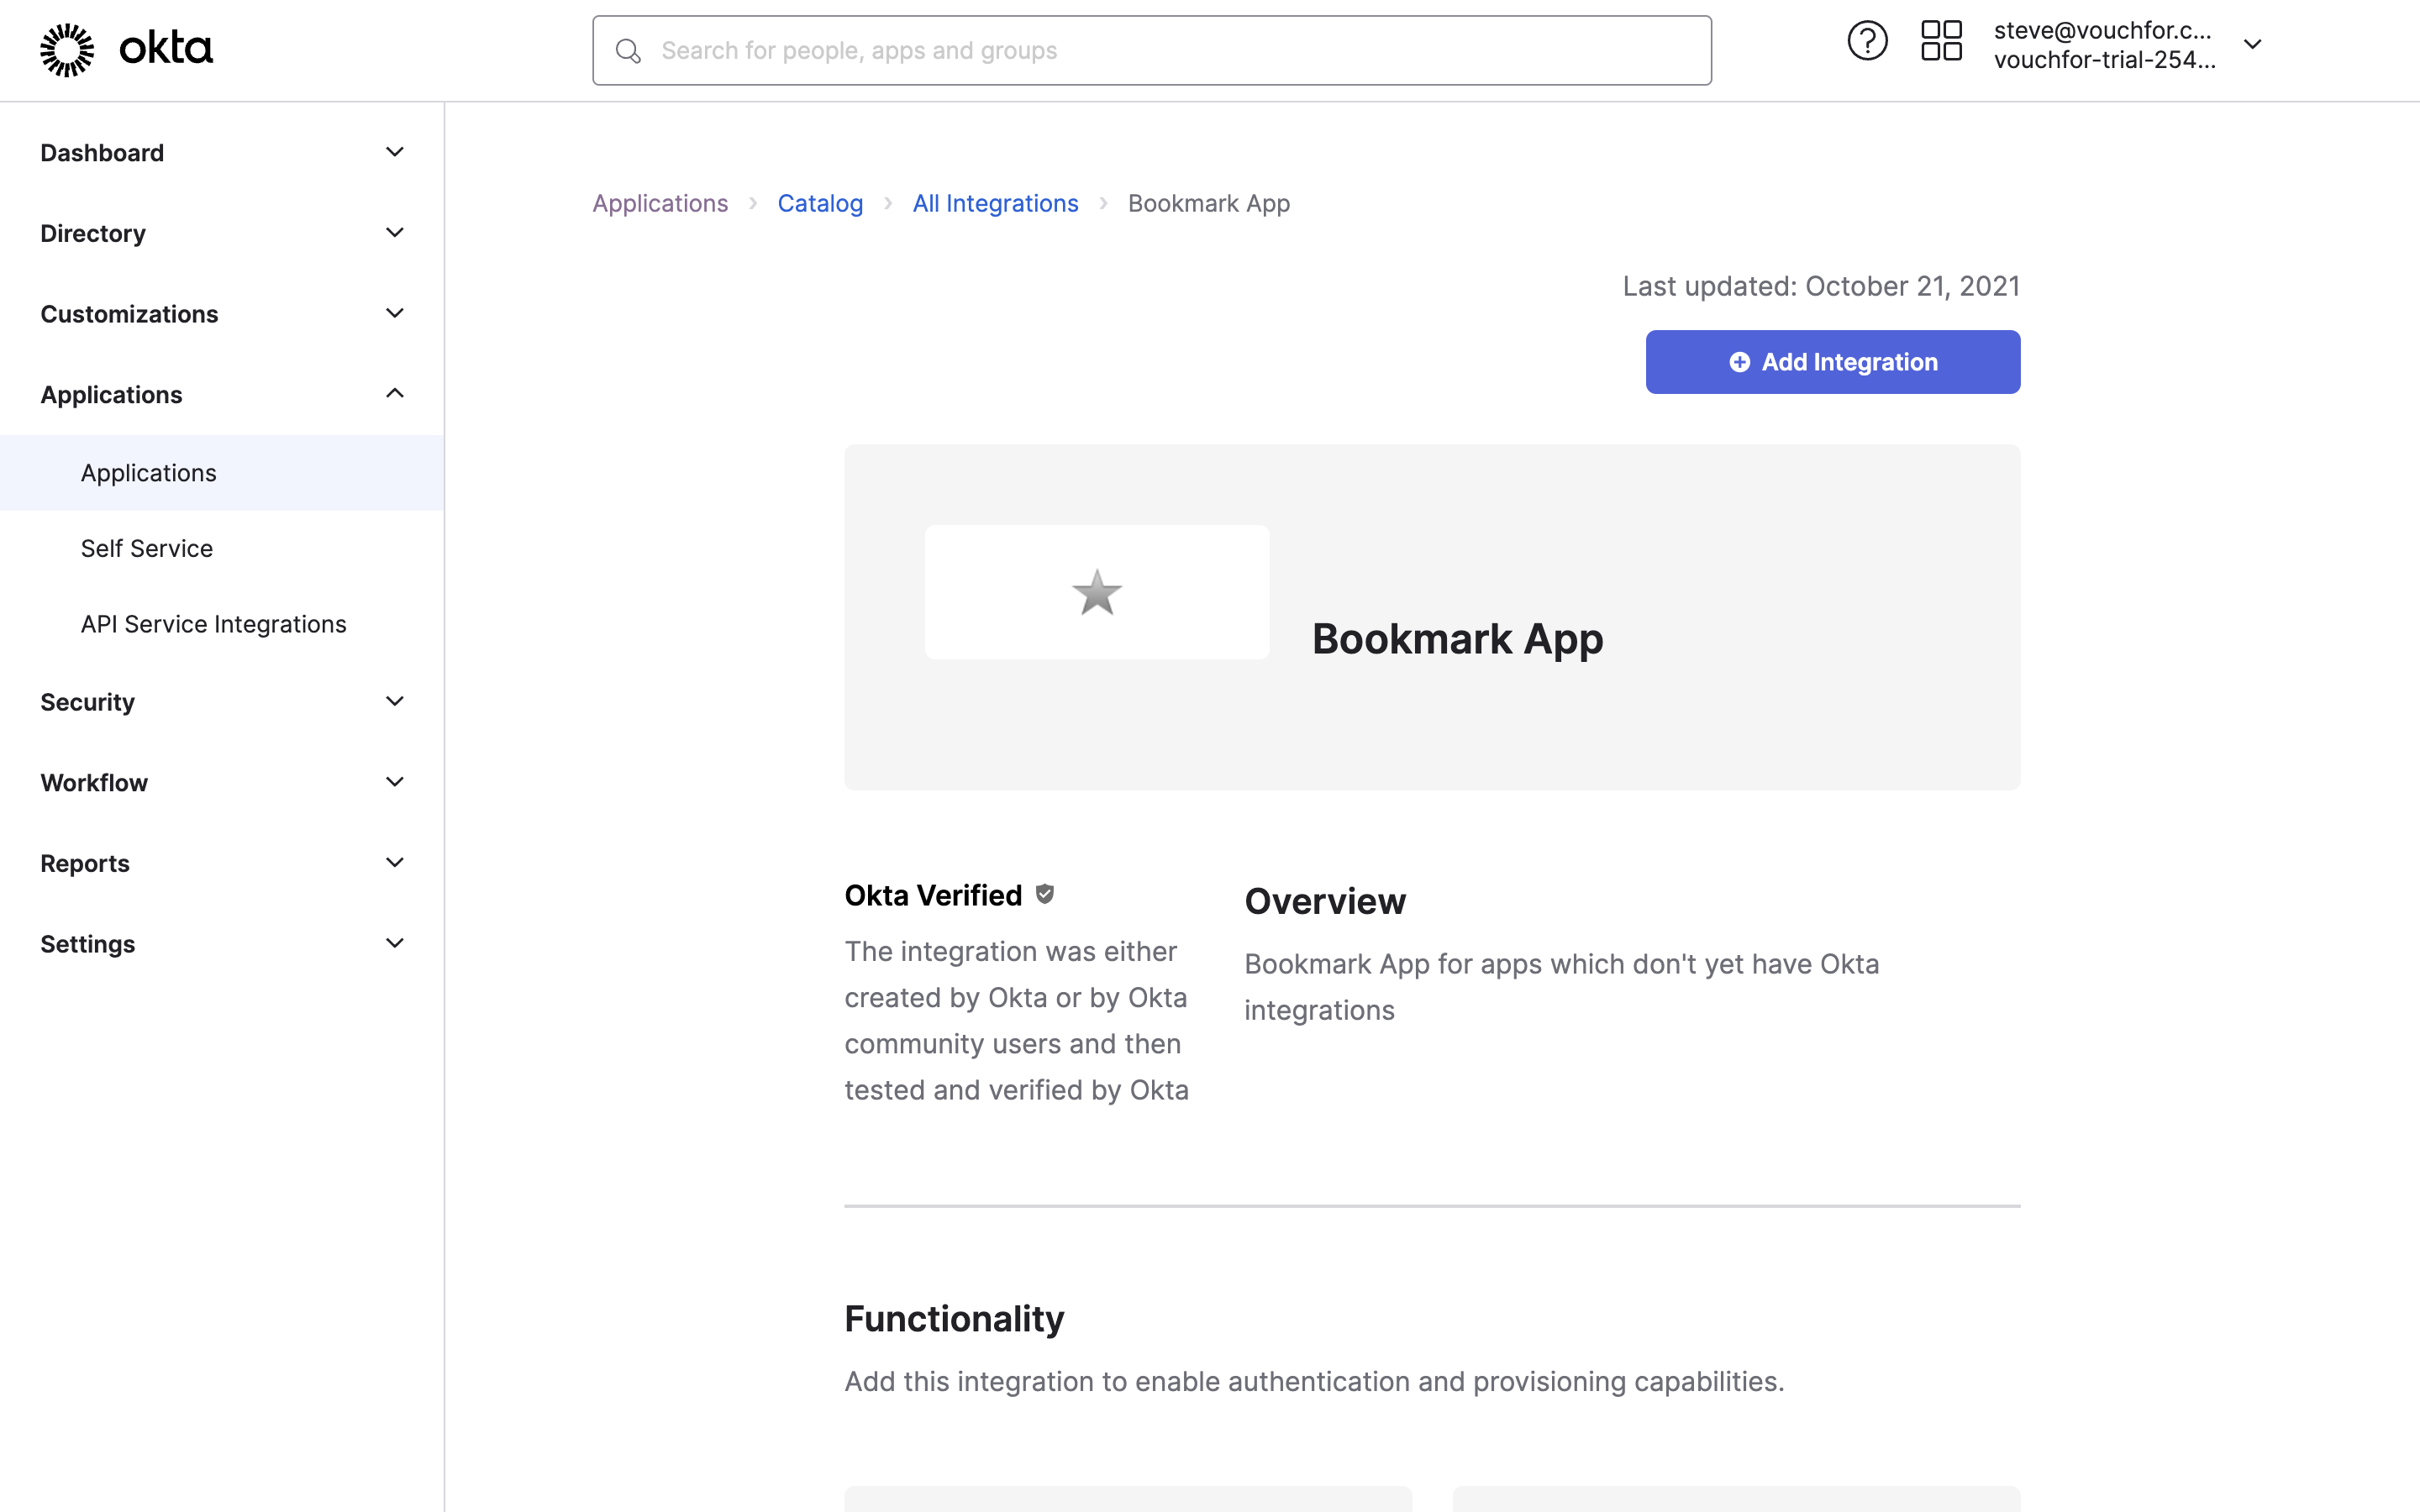
This will load up the the Okta Application directory. From the Directory, search for Bookmark App and select to Add Integration.
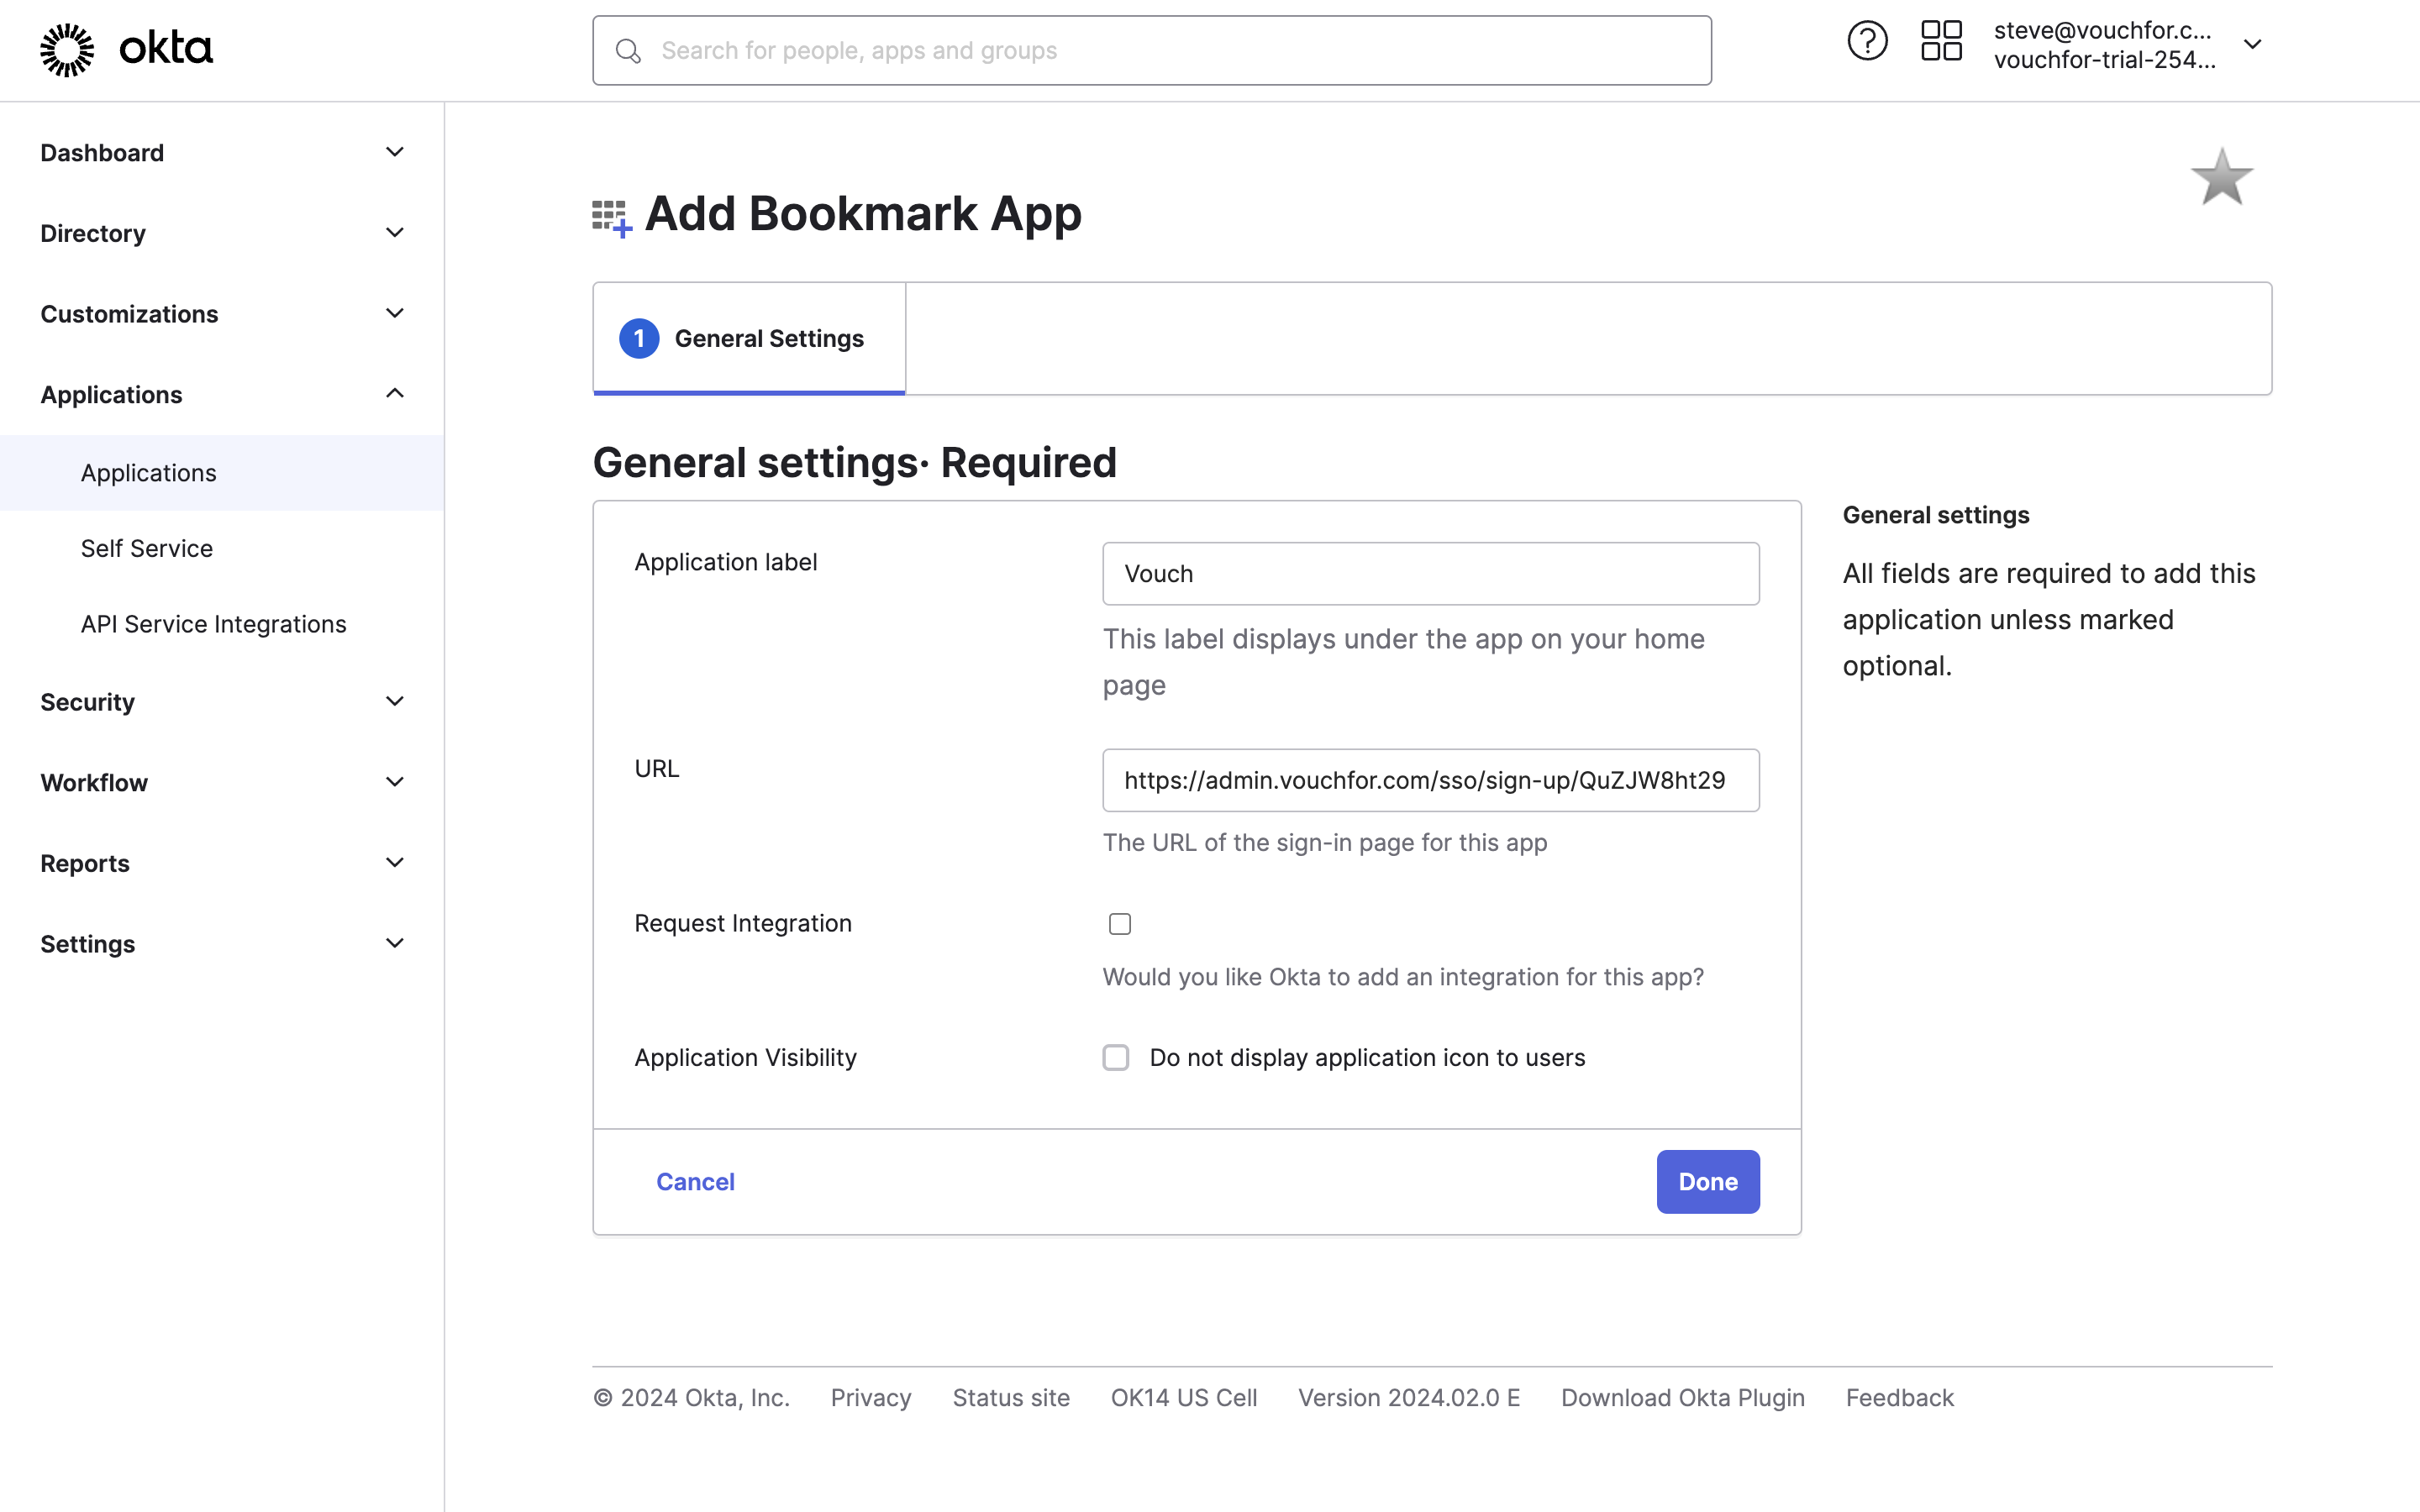
In the Add Bookmark App page, give the Application a name and then add in the SSO Sign In URL for your space.
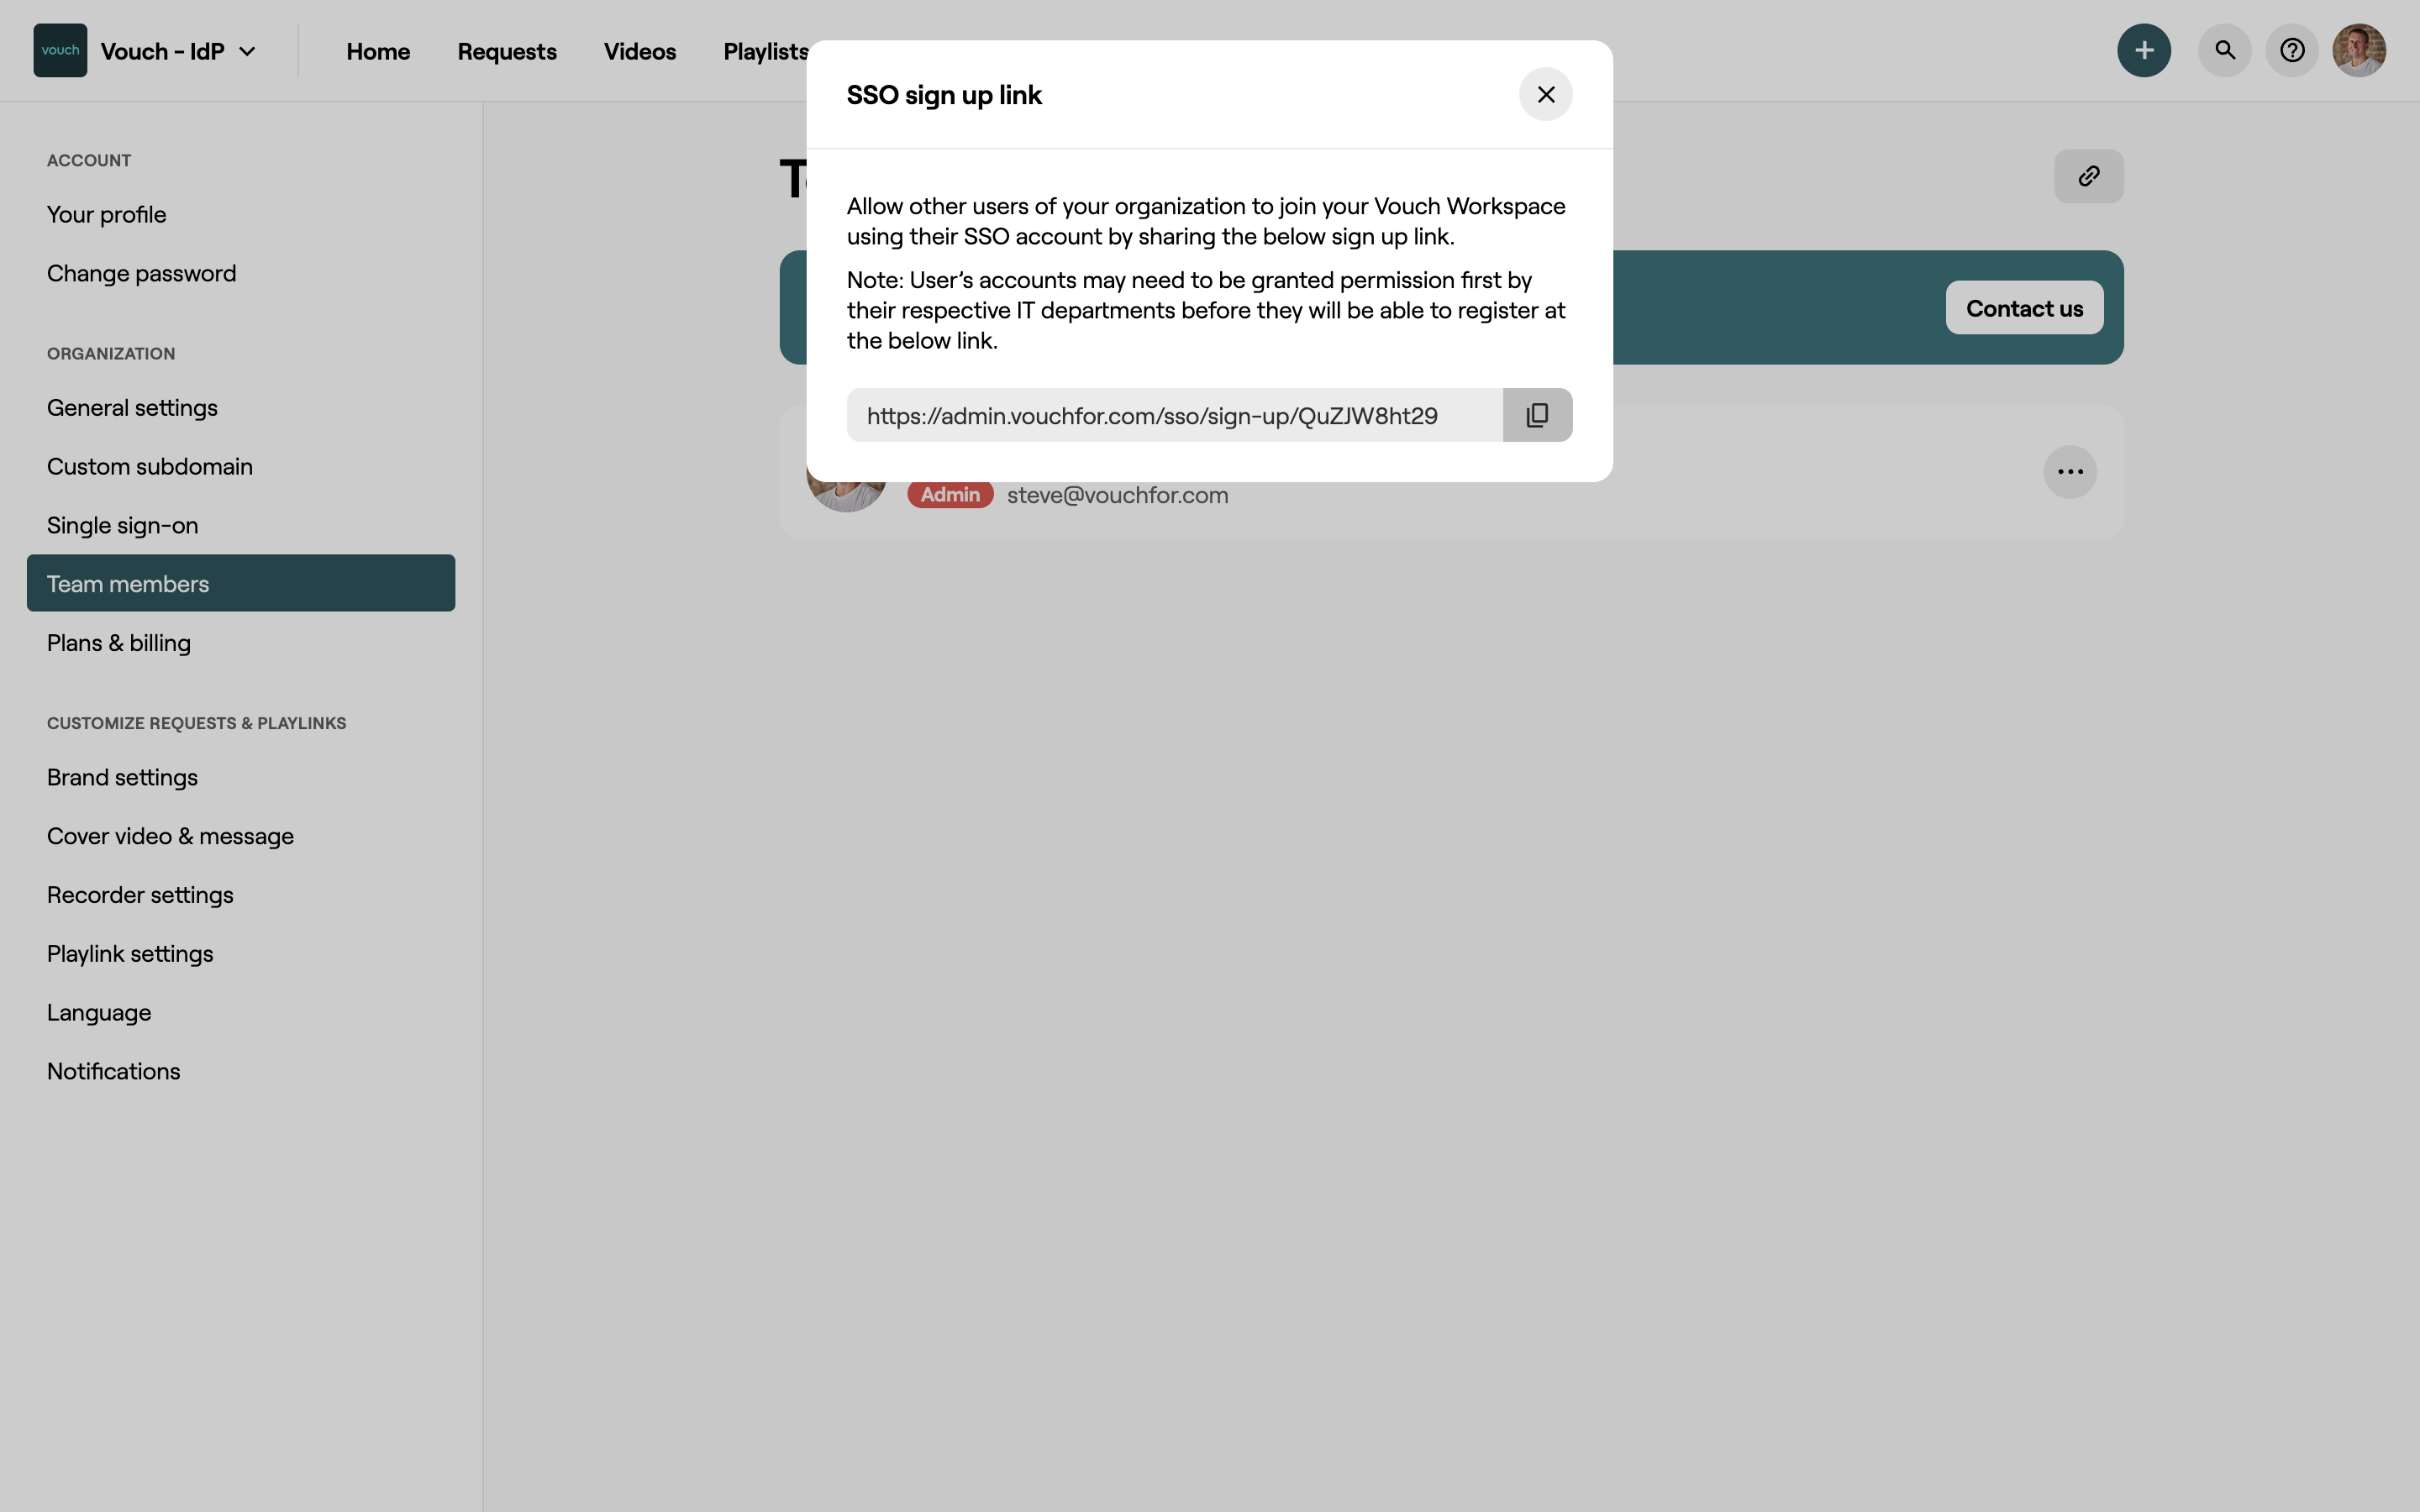
To find the SSO Sign-Up link for your space, go to the Team Members page within your account and click on the link icon in the top right hand corner. From the modal that loads, select to copy the URL and add this to your account.
Once added, you can now save the bookmark and decide how to style it and who to assign it to.
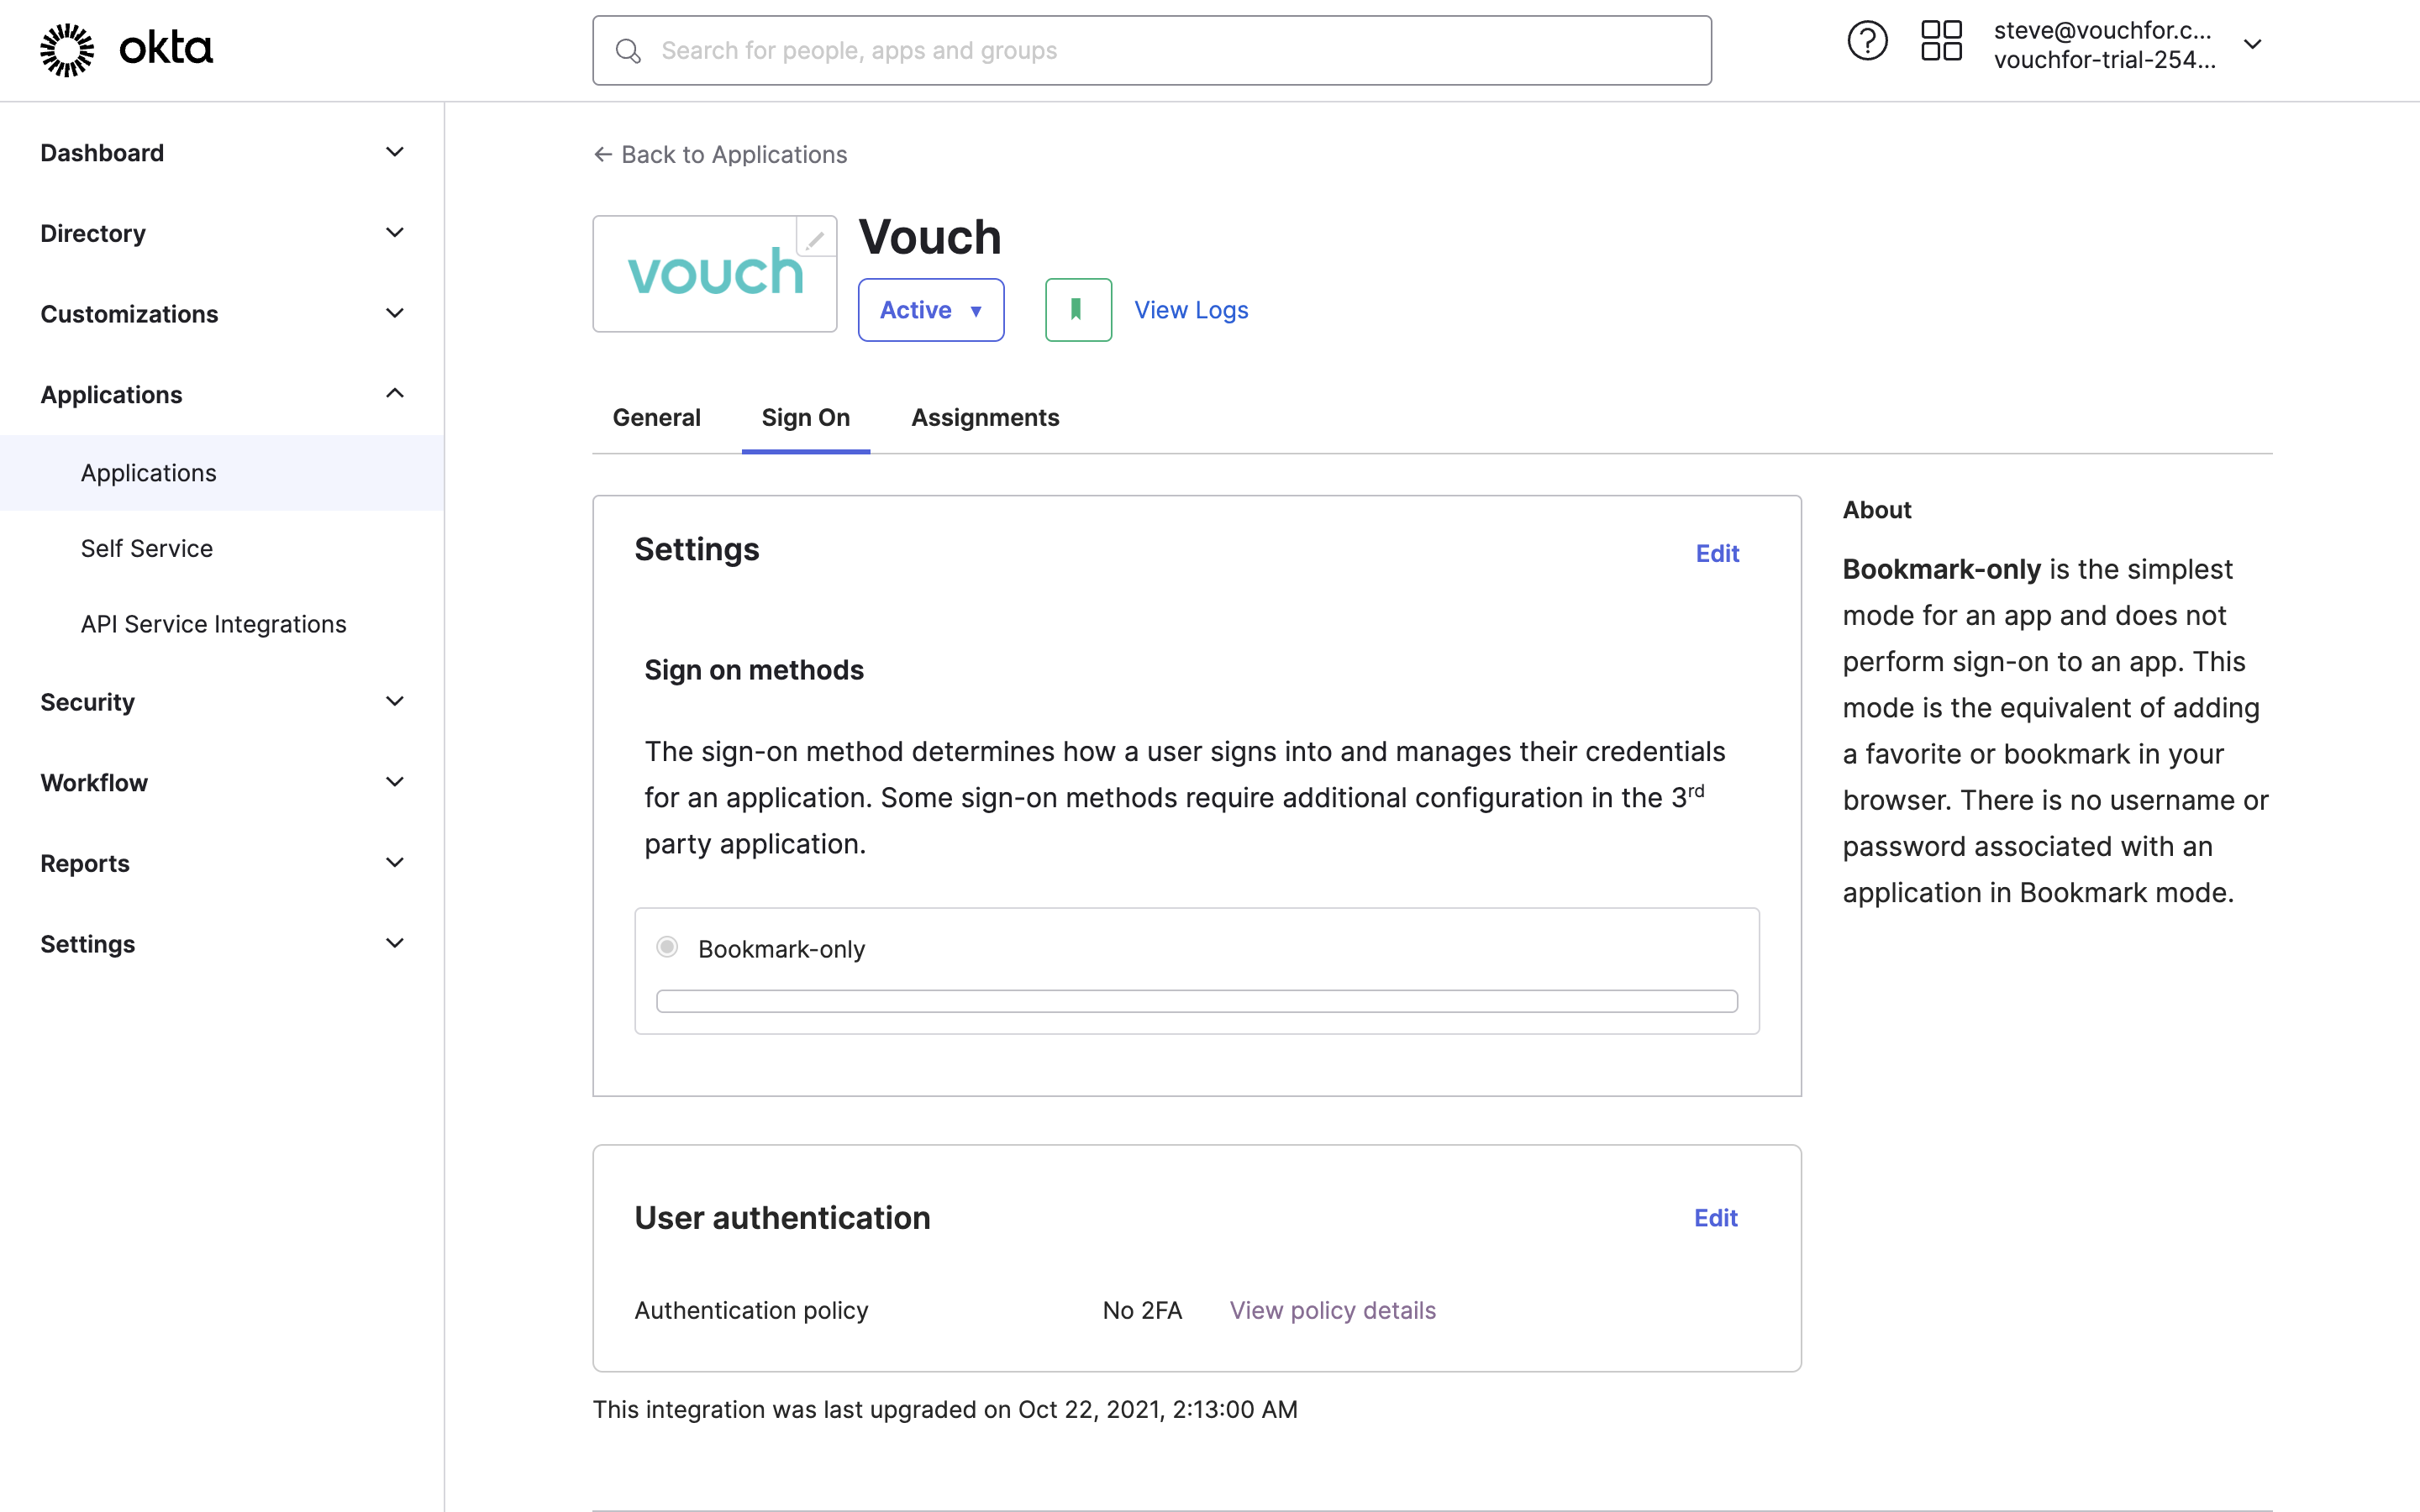
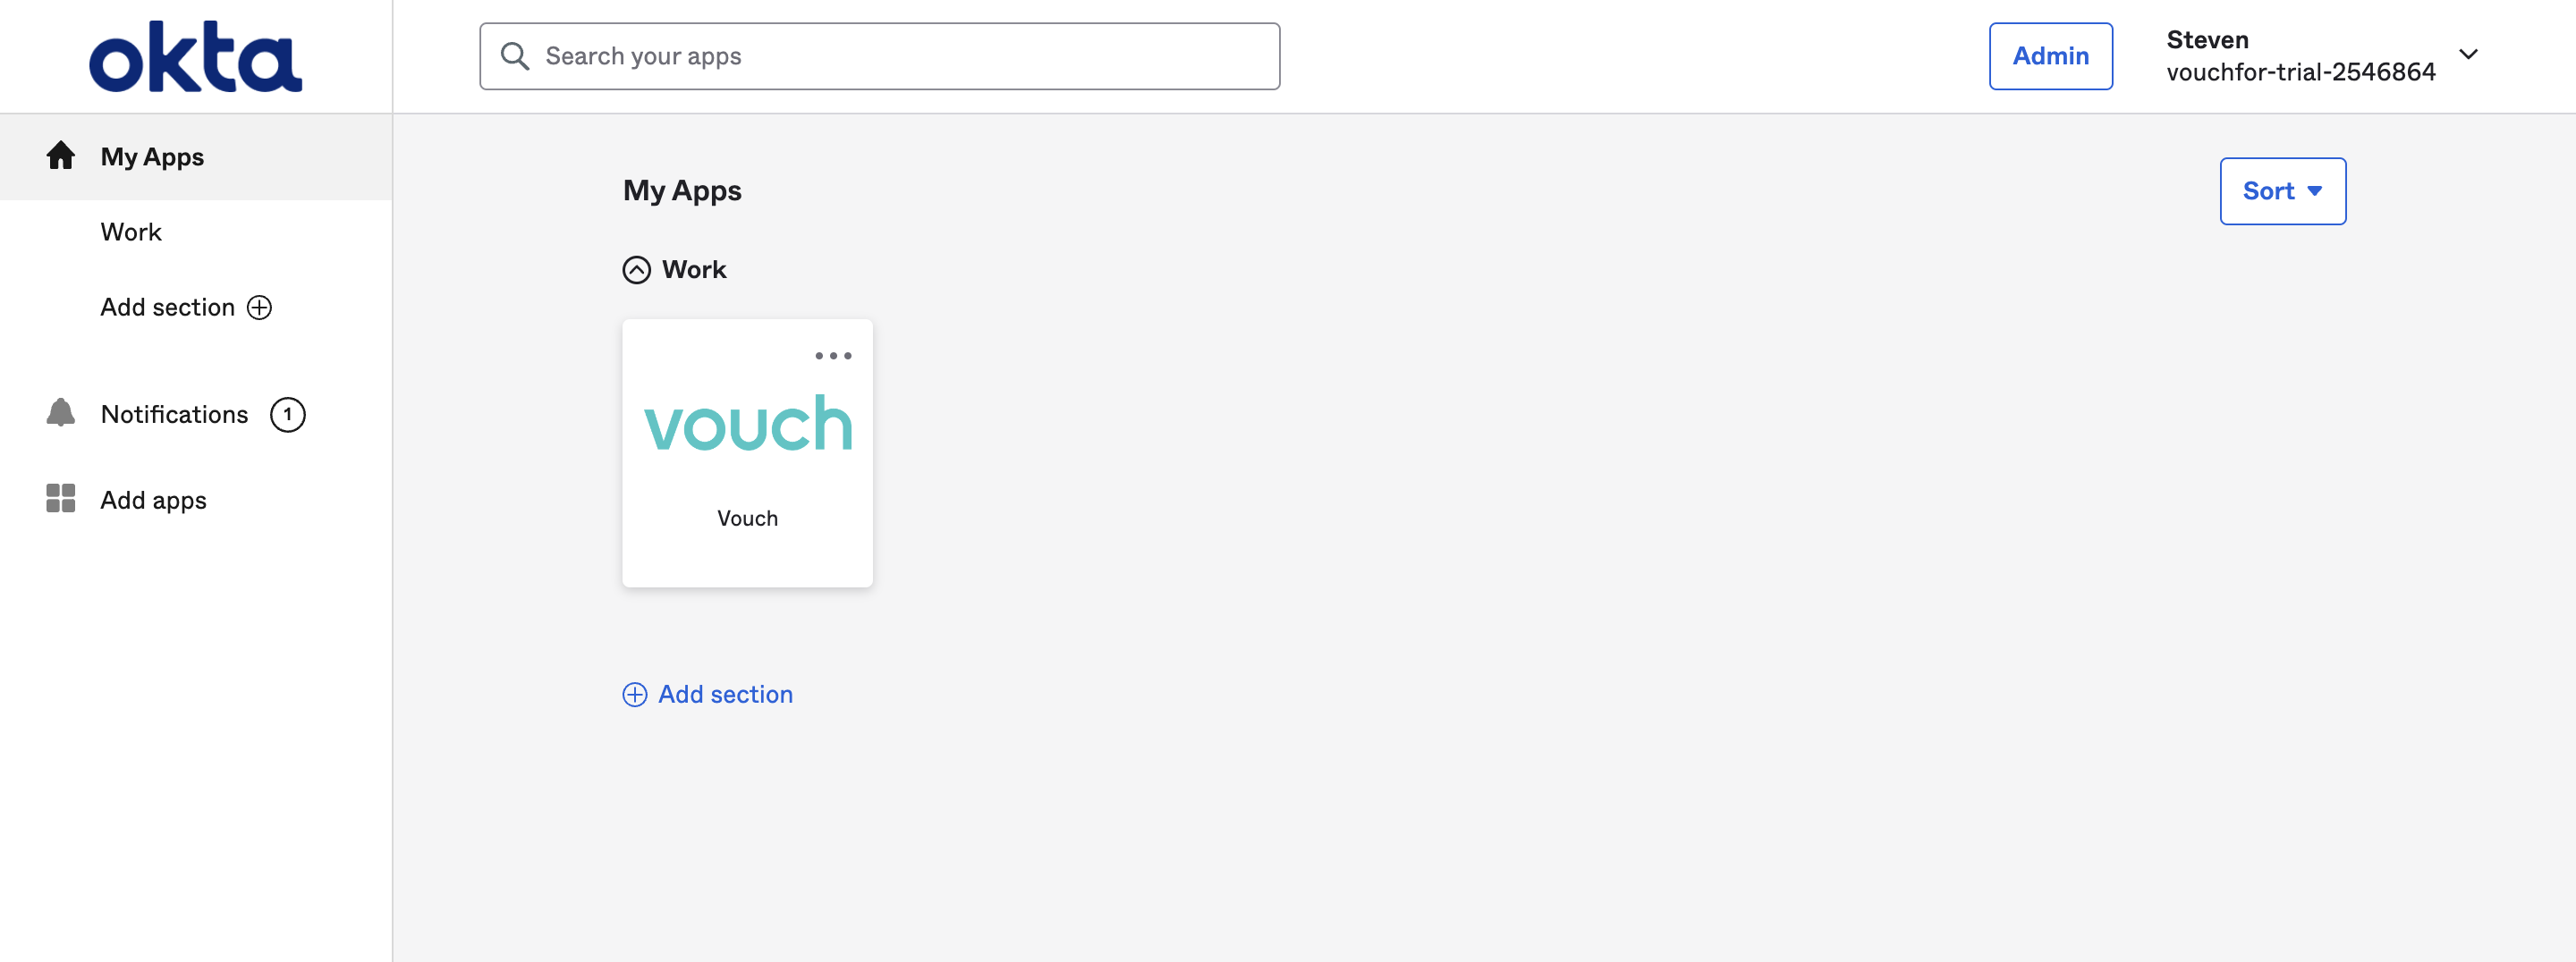
Once added, you can make the app available to your users within their Okta directory.
Updated 5 months ago
