Setup SSO on JumpCloud
The following guide outlines how to setup Single Sign On within JumpCloud.
Note: Vouch currently only supports SP-initiated SSO. If you wish to setup an IdP initiated flow (ie. Allow users to sign into Vouch from the Jumpcloud App screen) you will need to create a Bookmark App in addition to the SAML 2.0 App.
Setup the SAML 2.0 App
Vouch supports SSO for both the Admin User Interface and externally facing services, such as Requests and the Playlink (Audience Users). Vouch recommends setting up different applications for Admin Users and Audience Users so you can control who has access to what parts of the Vouch platform.
Steps for setting up both Applications are listed below:
Setup for Admin User
Navigate to your JumpCloud console. Once signed in select SSO Applications from the left hand menu.
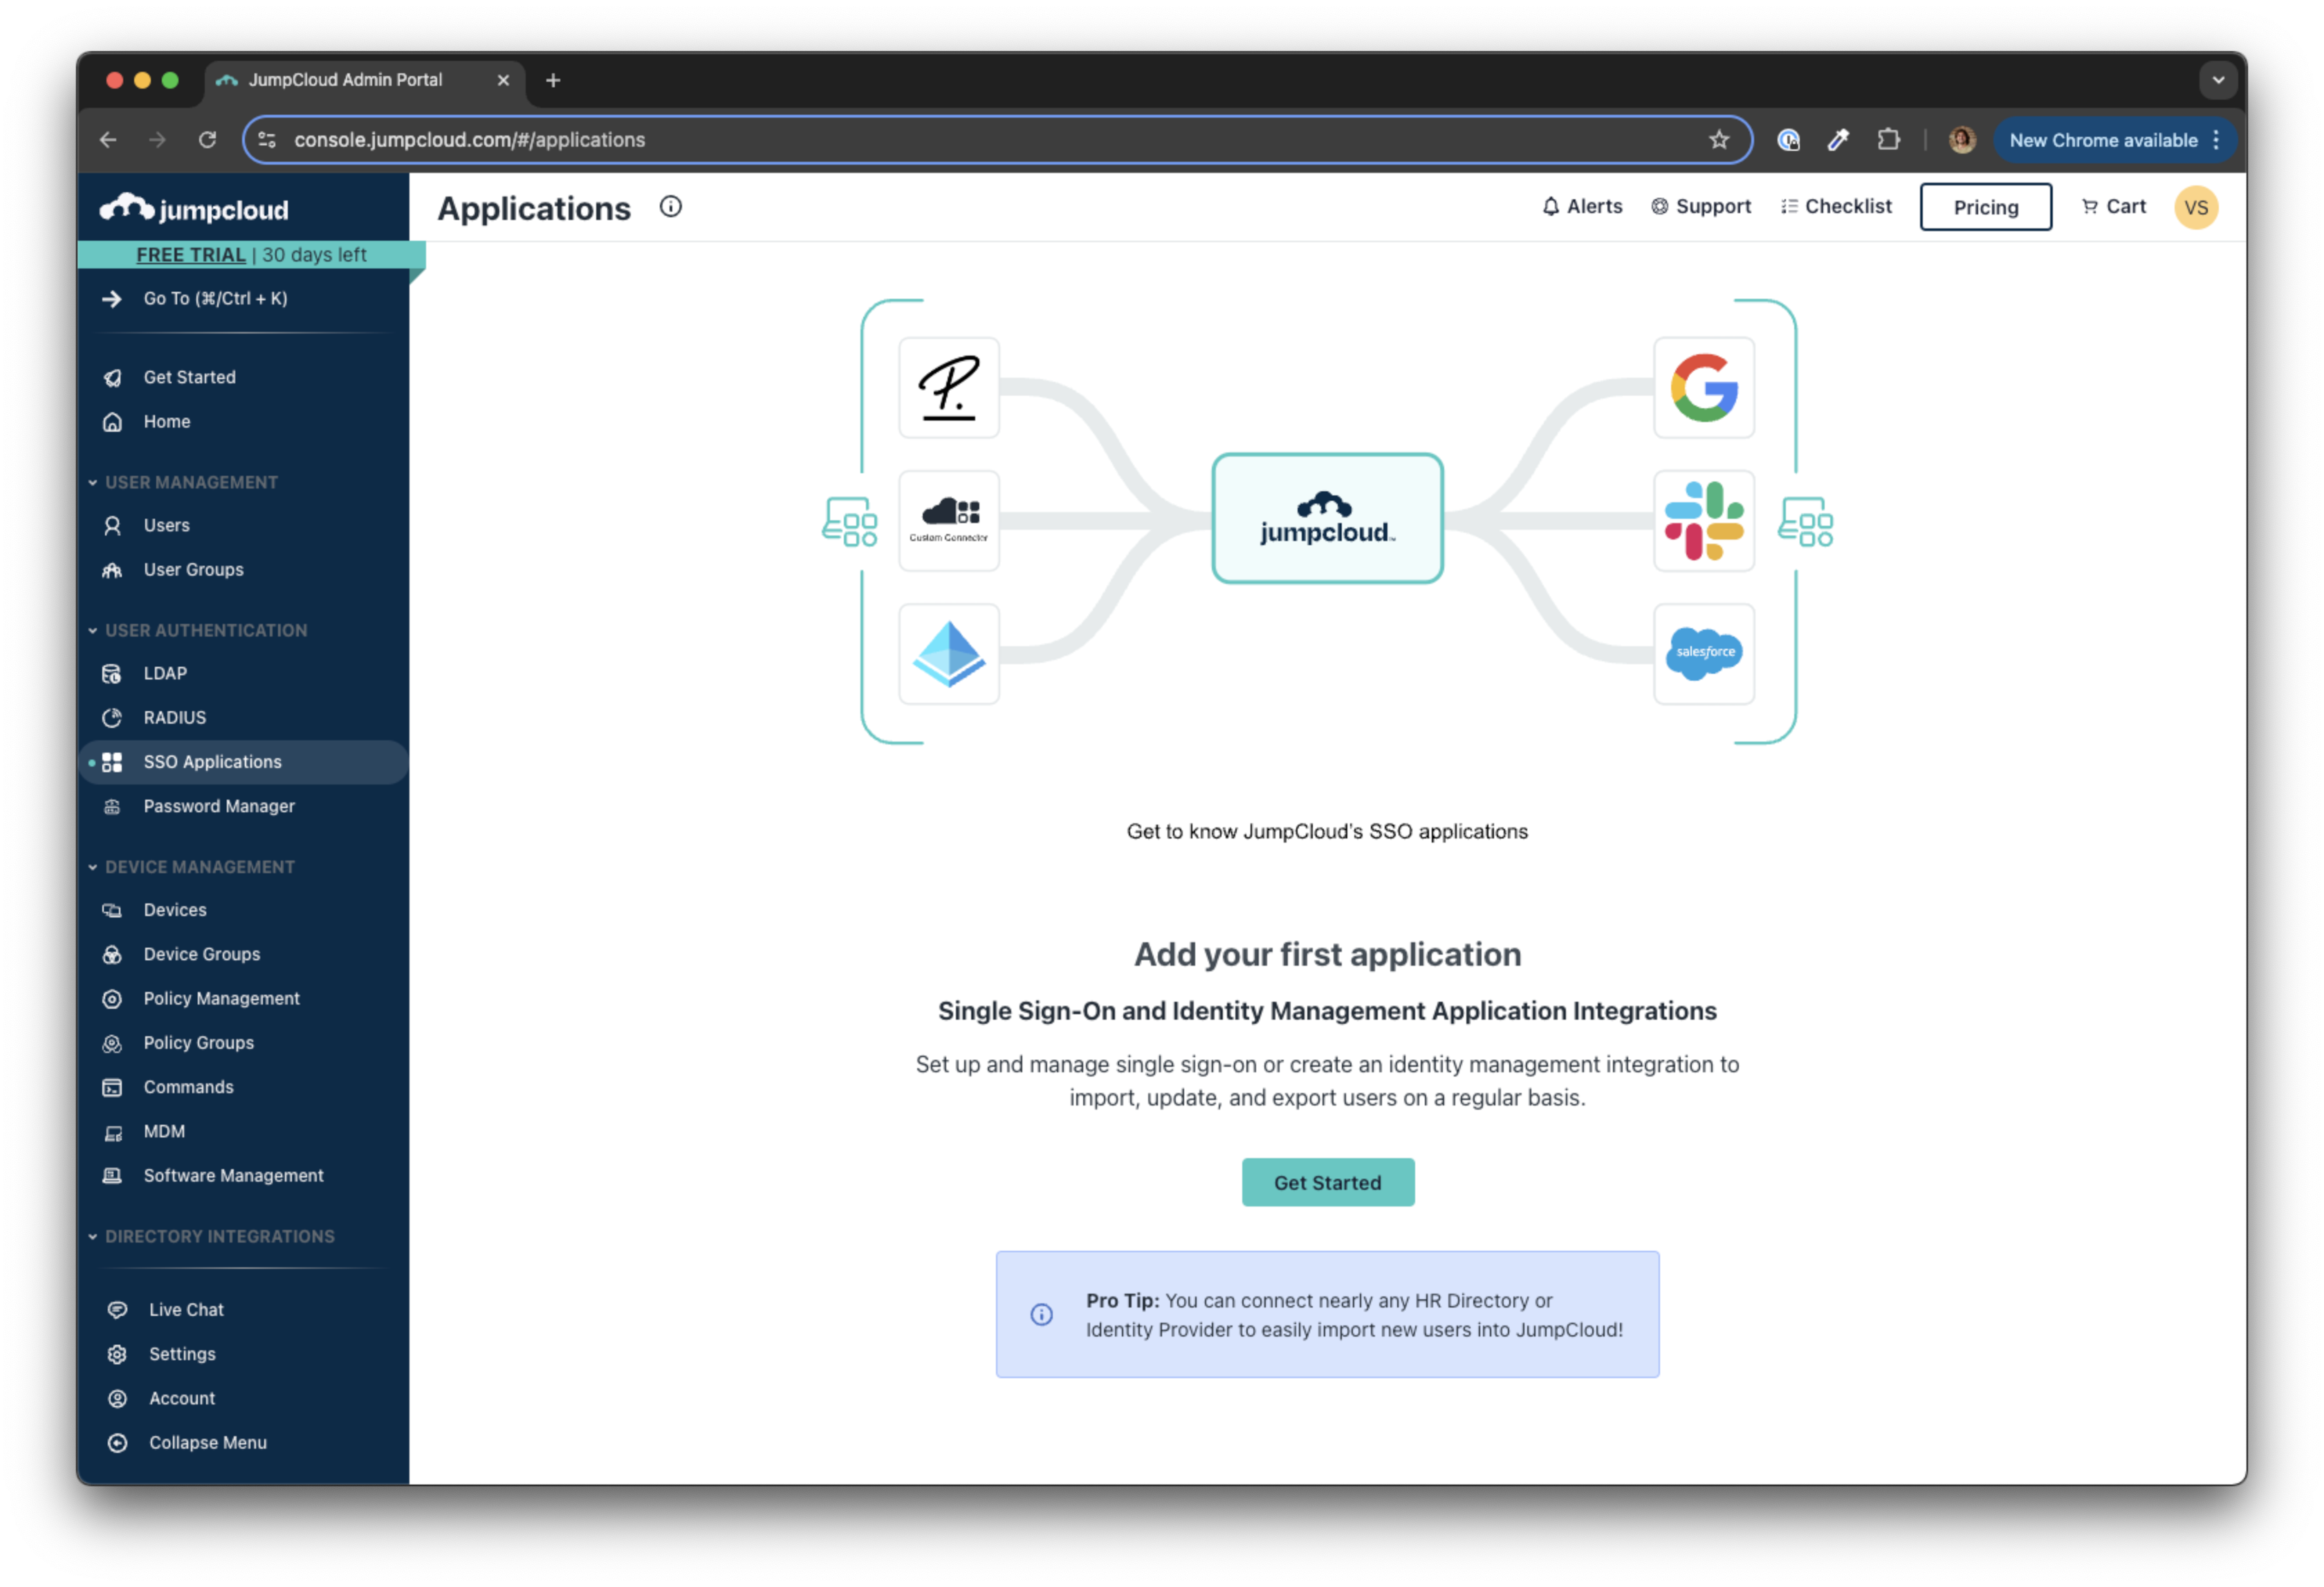
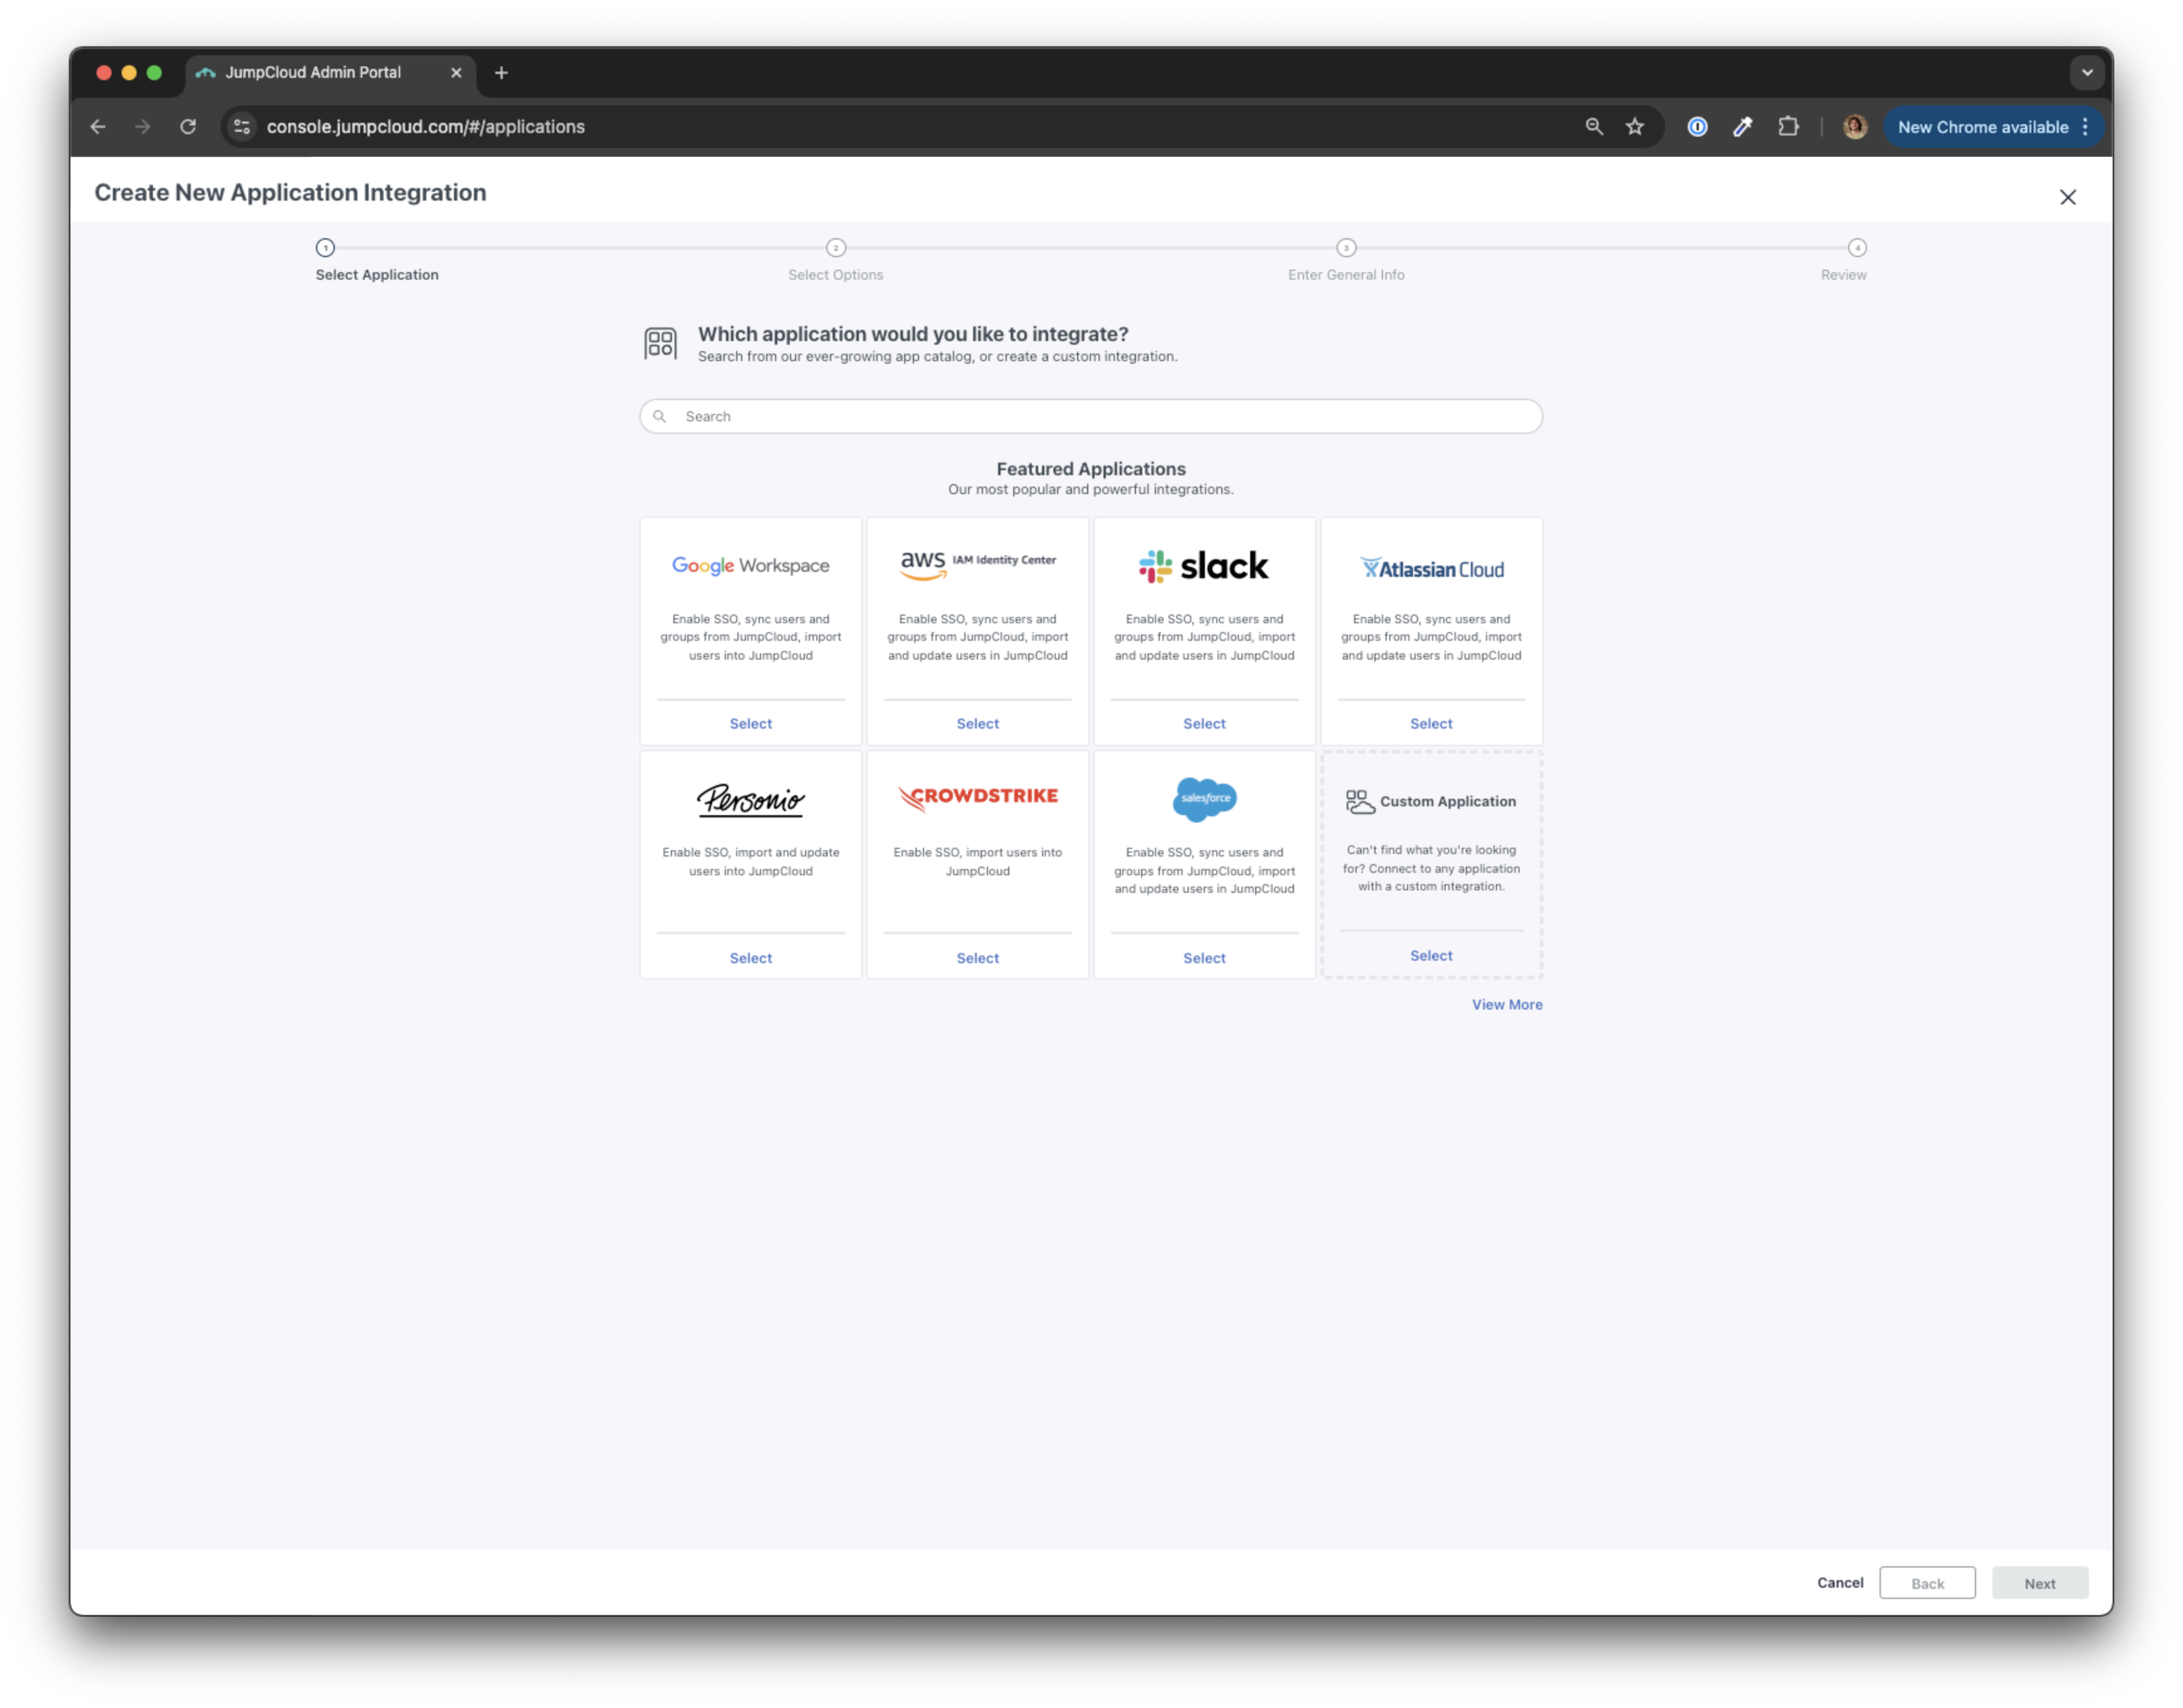
This will bring up an option to select the application that you would like to integrate with. Select Custom Application and continue to the next step by clicking the Next button in the bottom right corner of your screen.
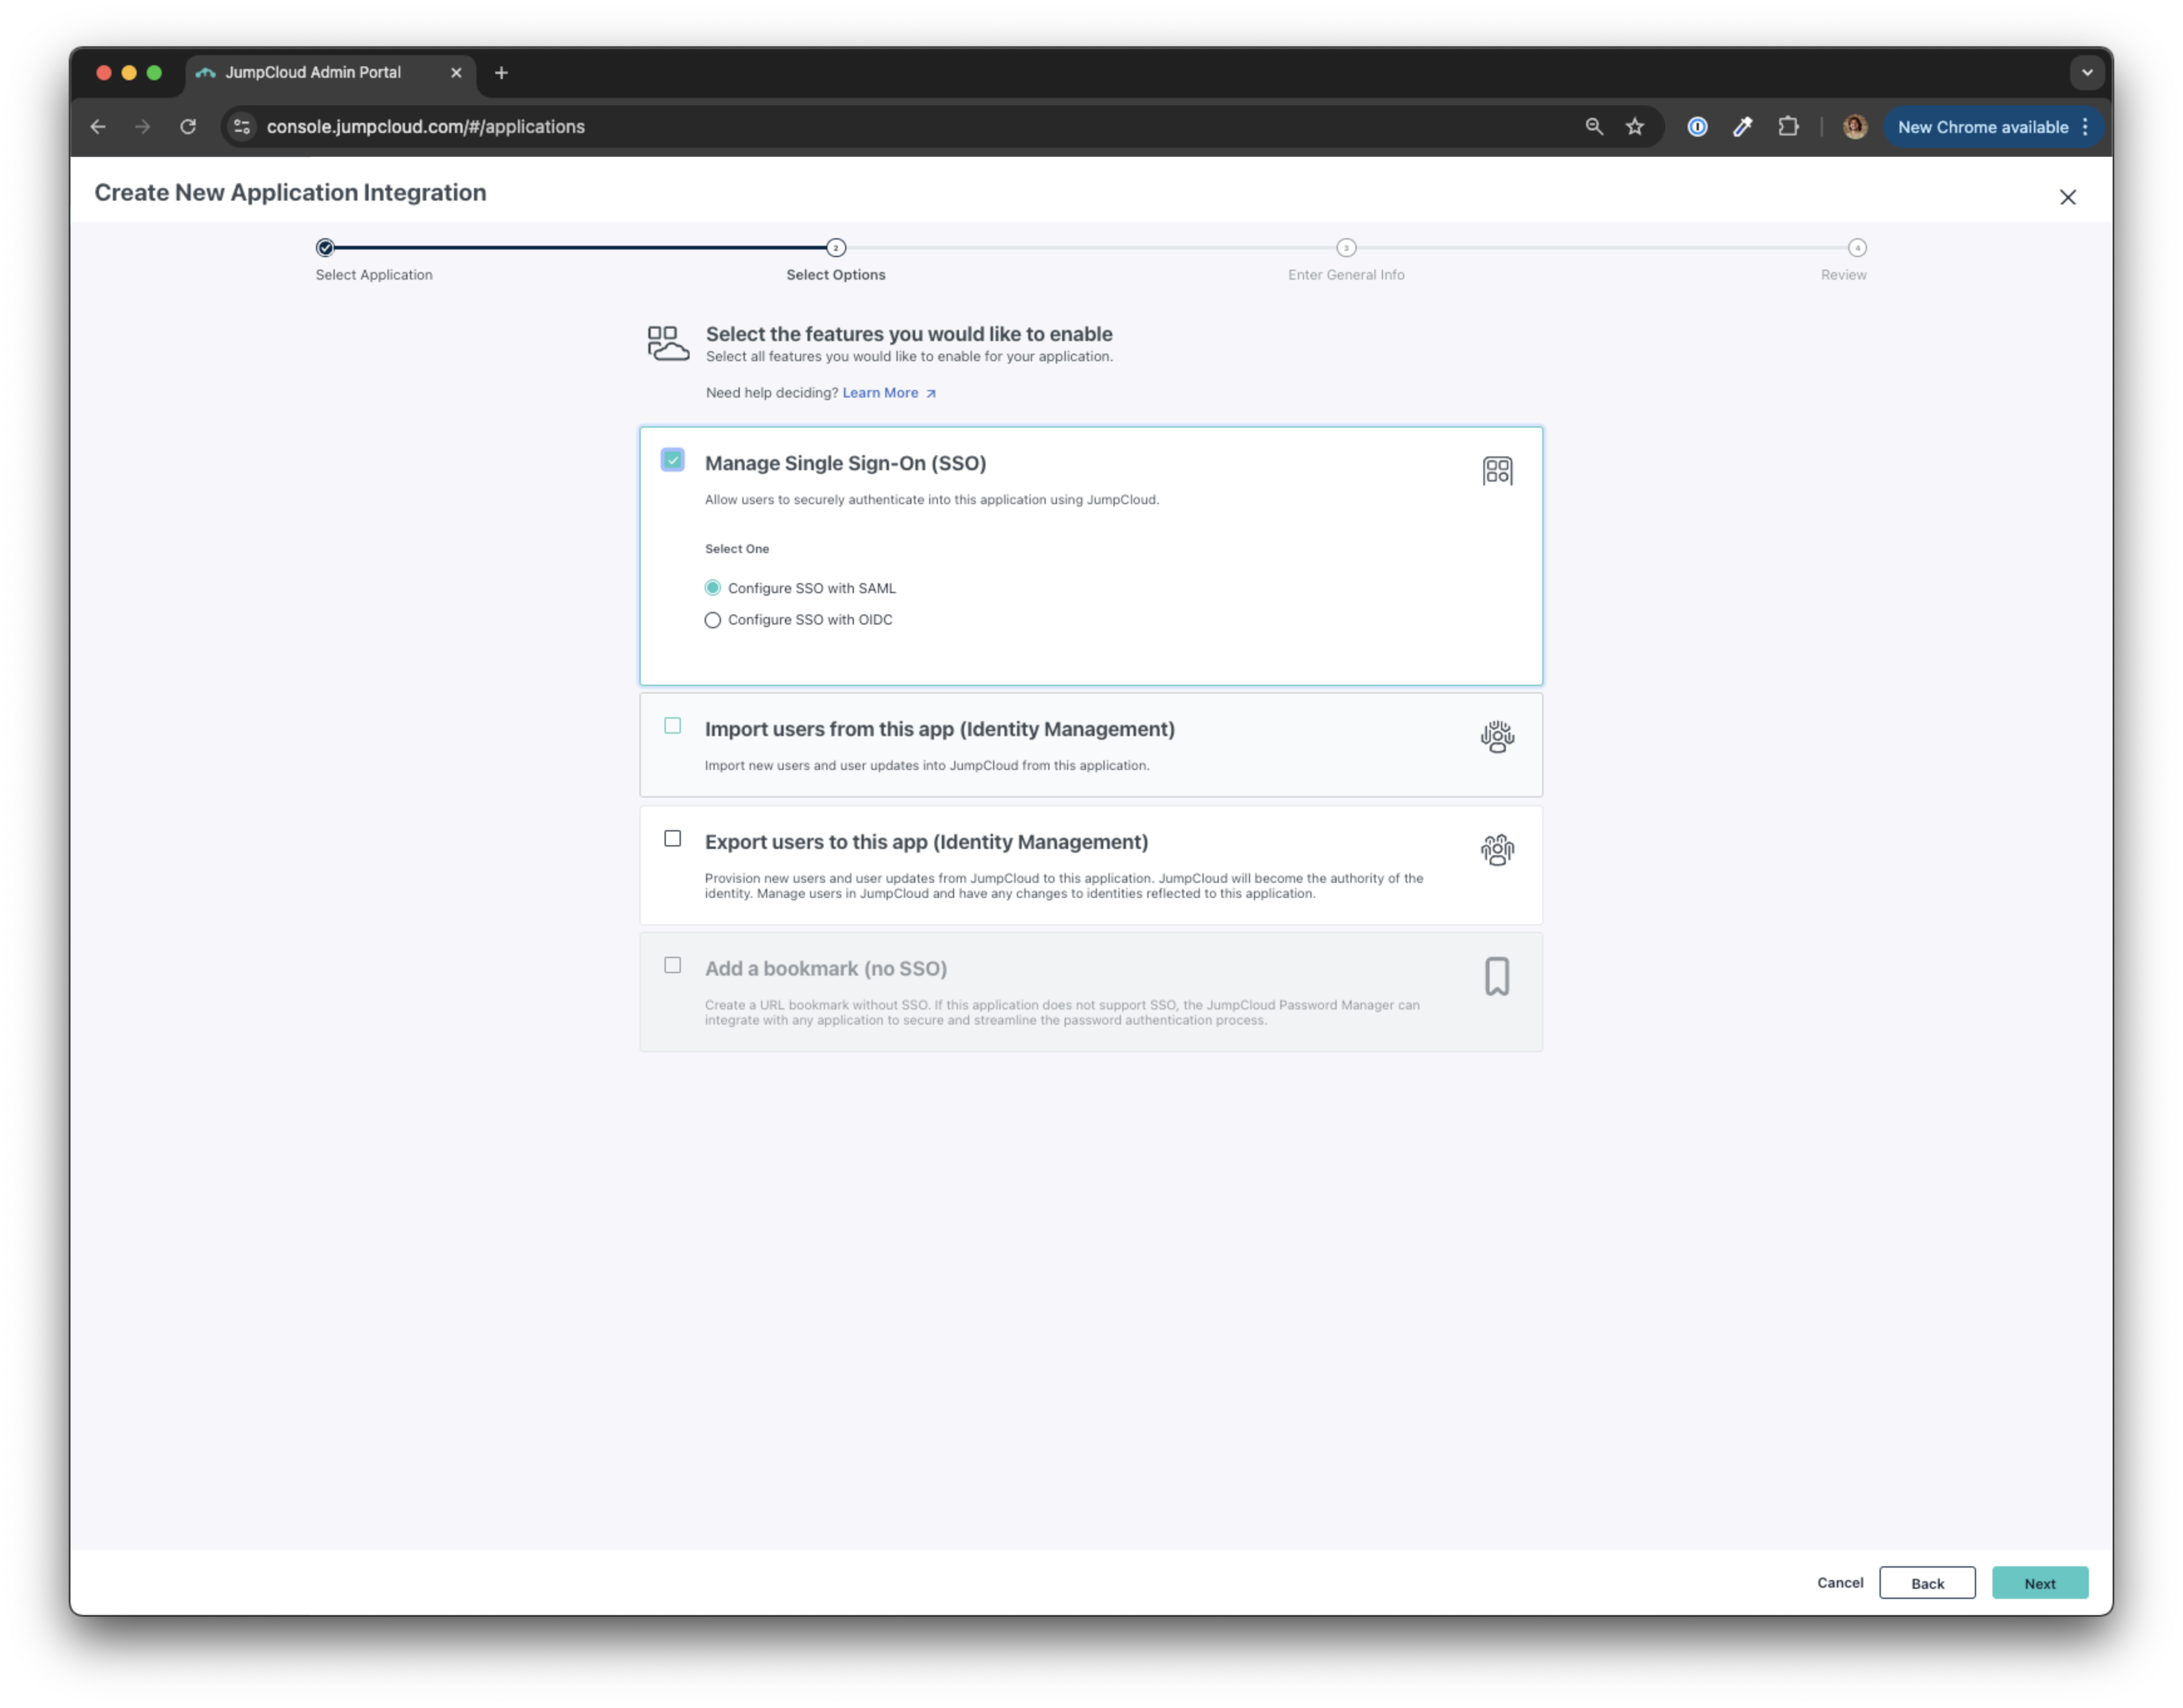
Enable the Single Sign-On feature for this application by selecting the option titled Manage Single Sign-On (SSO) . This will expand the panel where you will need to select the Configure SSO with SAML checkbox.
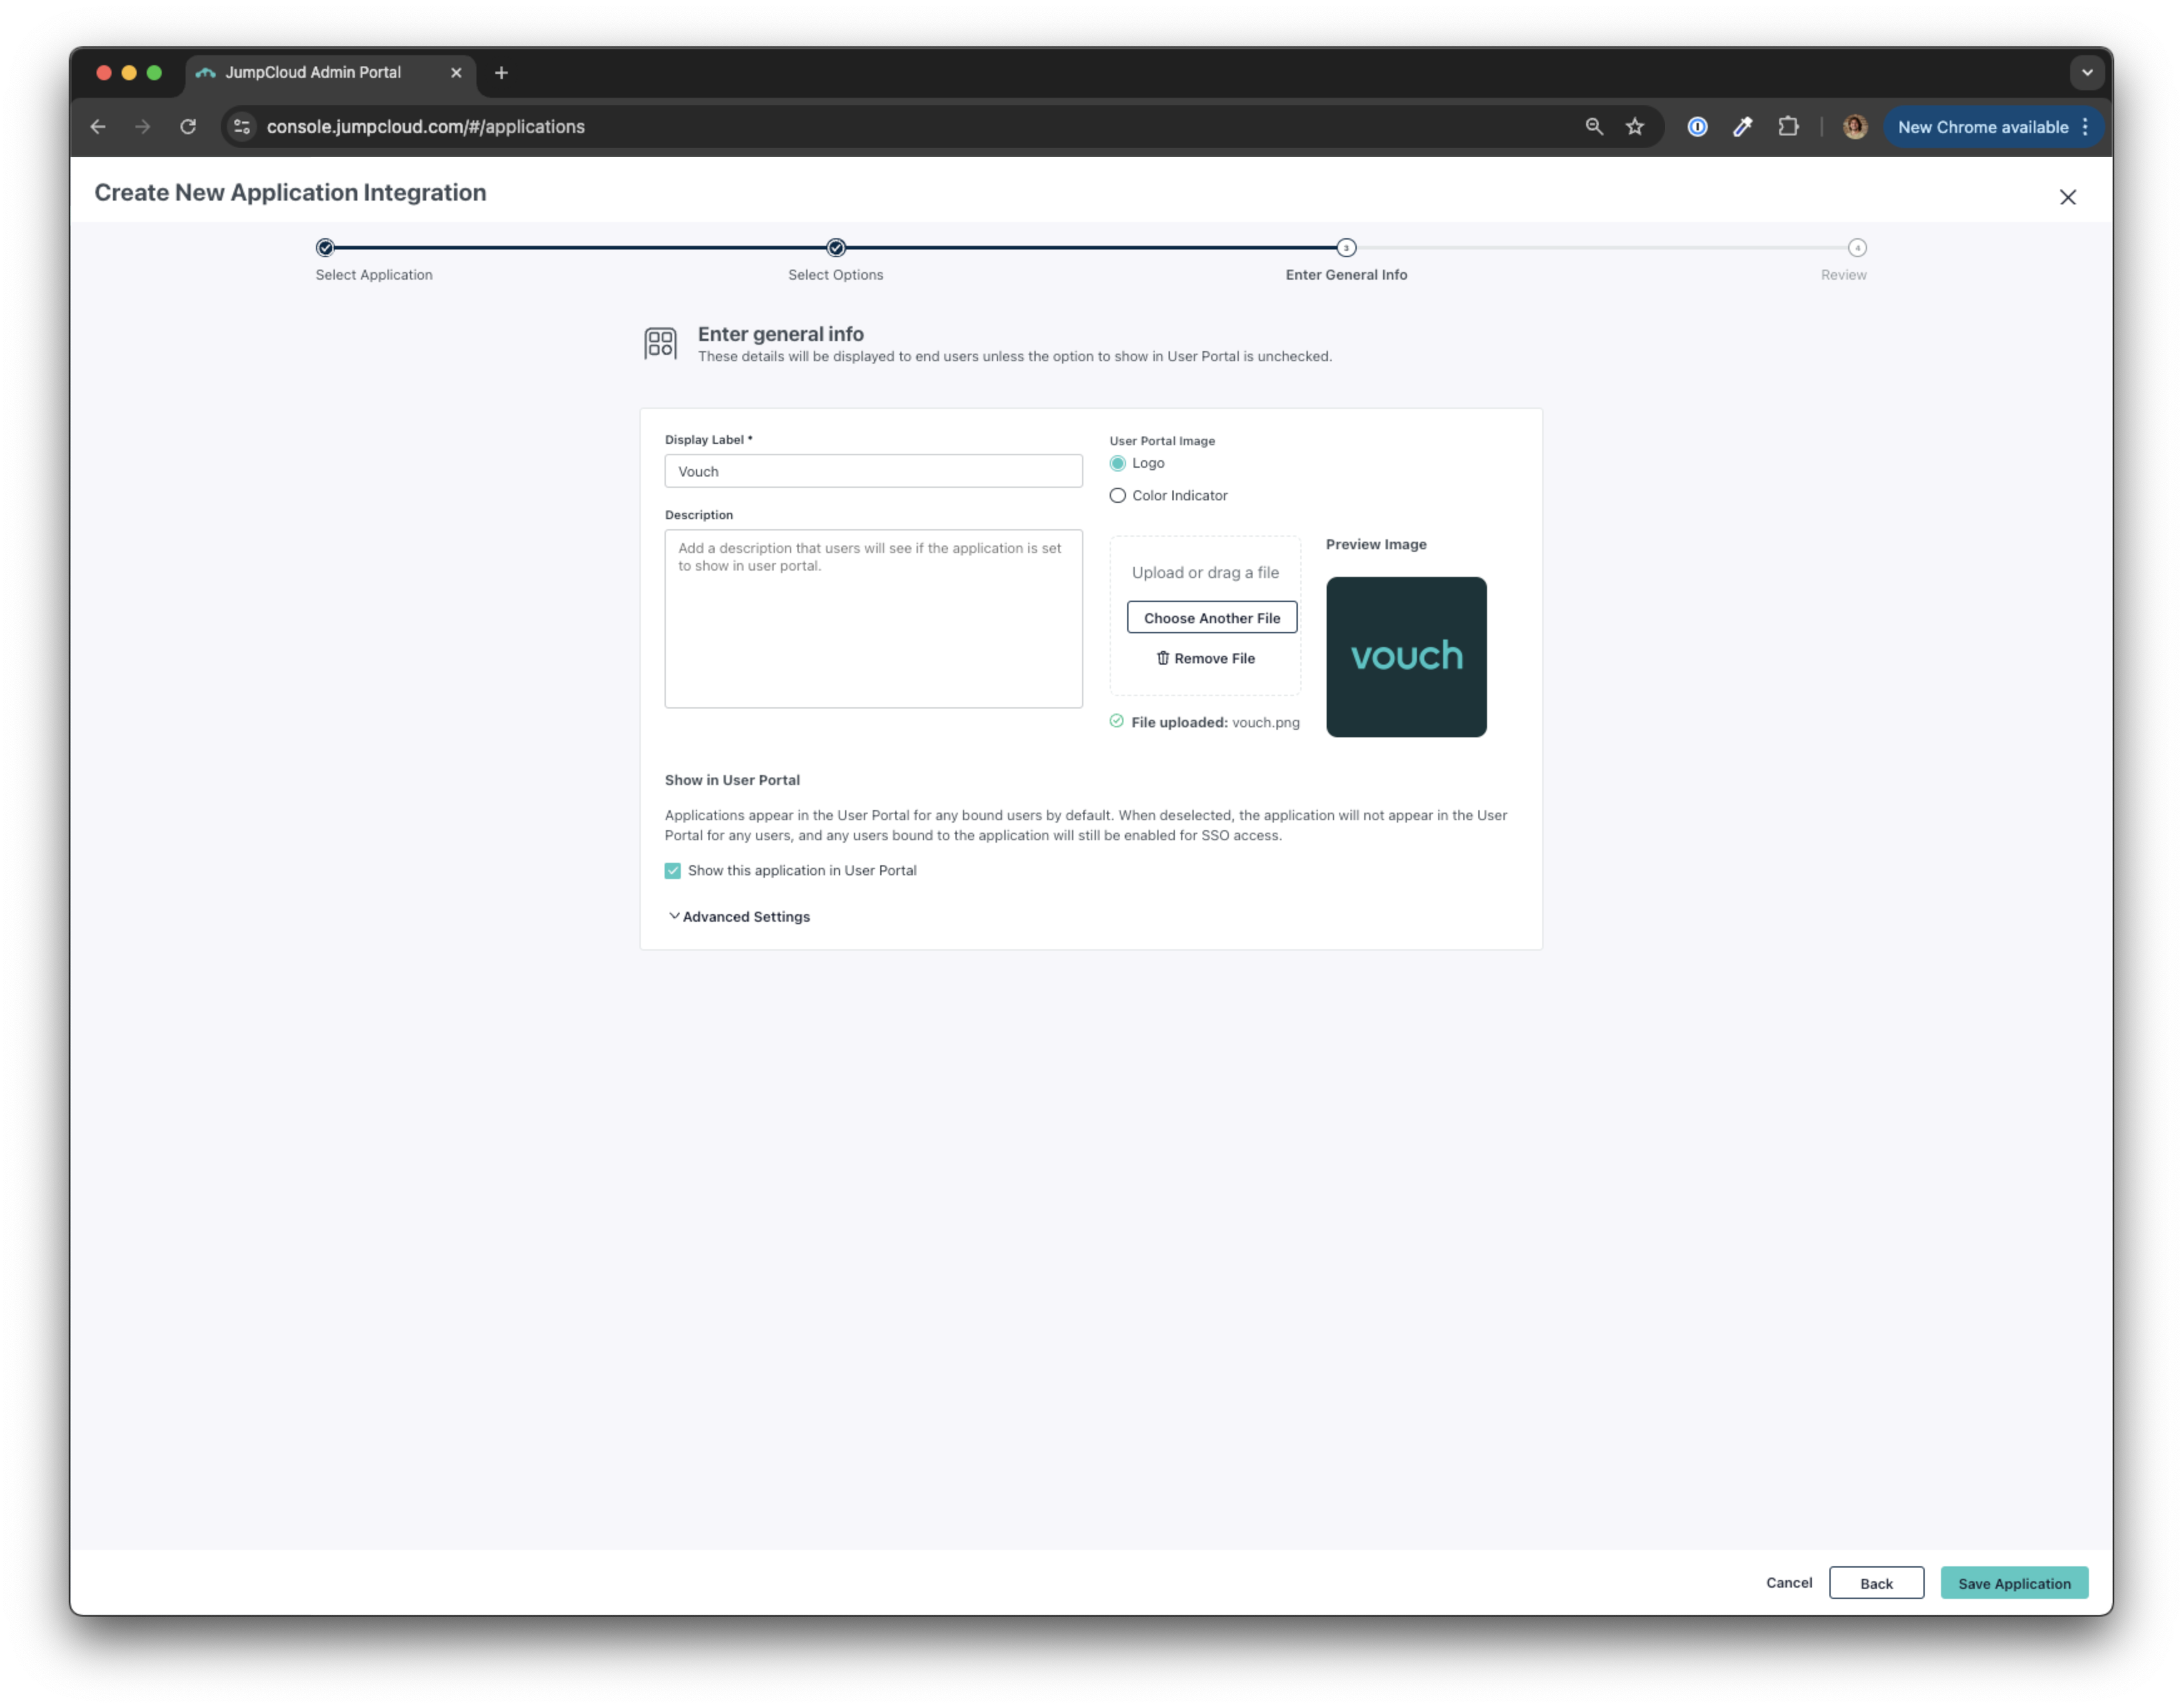
Customise your Application so your users know which Application they are authenticating into and continue to review and finalise the Application.
You will now need to configure your Application with the following attributes (leave any fields that are not listed below as empty).
IdP Entity ID: Enter JumpCloud
SP Entity ID: Enter urn:amazon:cognito:sp:ap-southeast-2_YlUs4JR15
ACS URLs: Add URL https://auth.vouchfor.com/saml2/idpresponse
SAMLSubject NameID: Select username
SAMLSubject NameID Format: Select urn:oasis:names:tc:SAML:2.0:nameid-format:unspecified
Signature Algorithm: Select RSA-SHA256
Sign: Select Response
Select the Declare Redirect Endpoint checkbox
Add the following attribute mappings
| Service Provider Attribute Name | JumpCloud Attribute Name |
|---|---|
| http://schemas.xmlsoap.org/ws/2005/05/identity/claims/emailaddress |
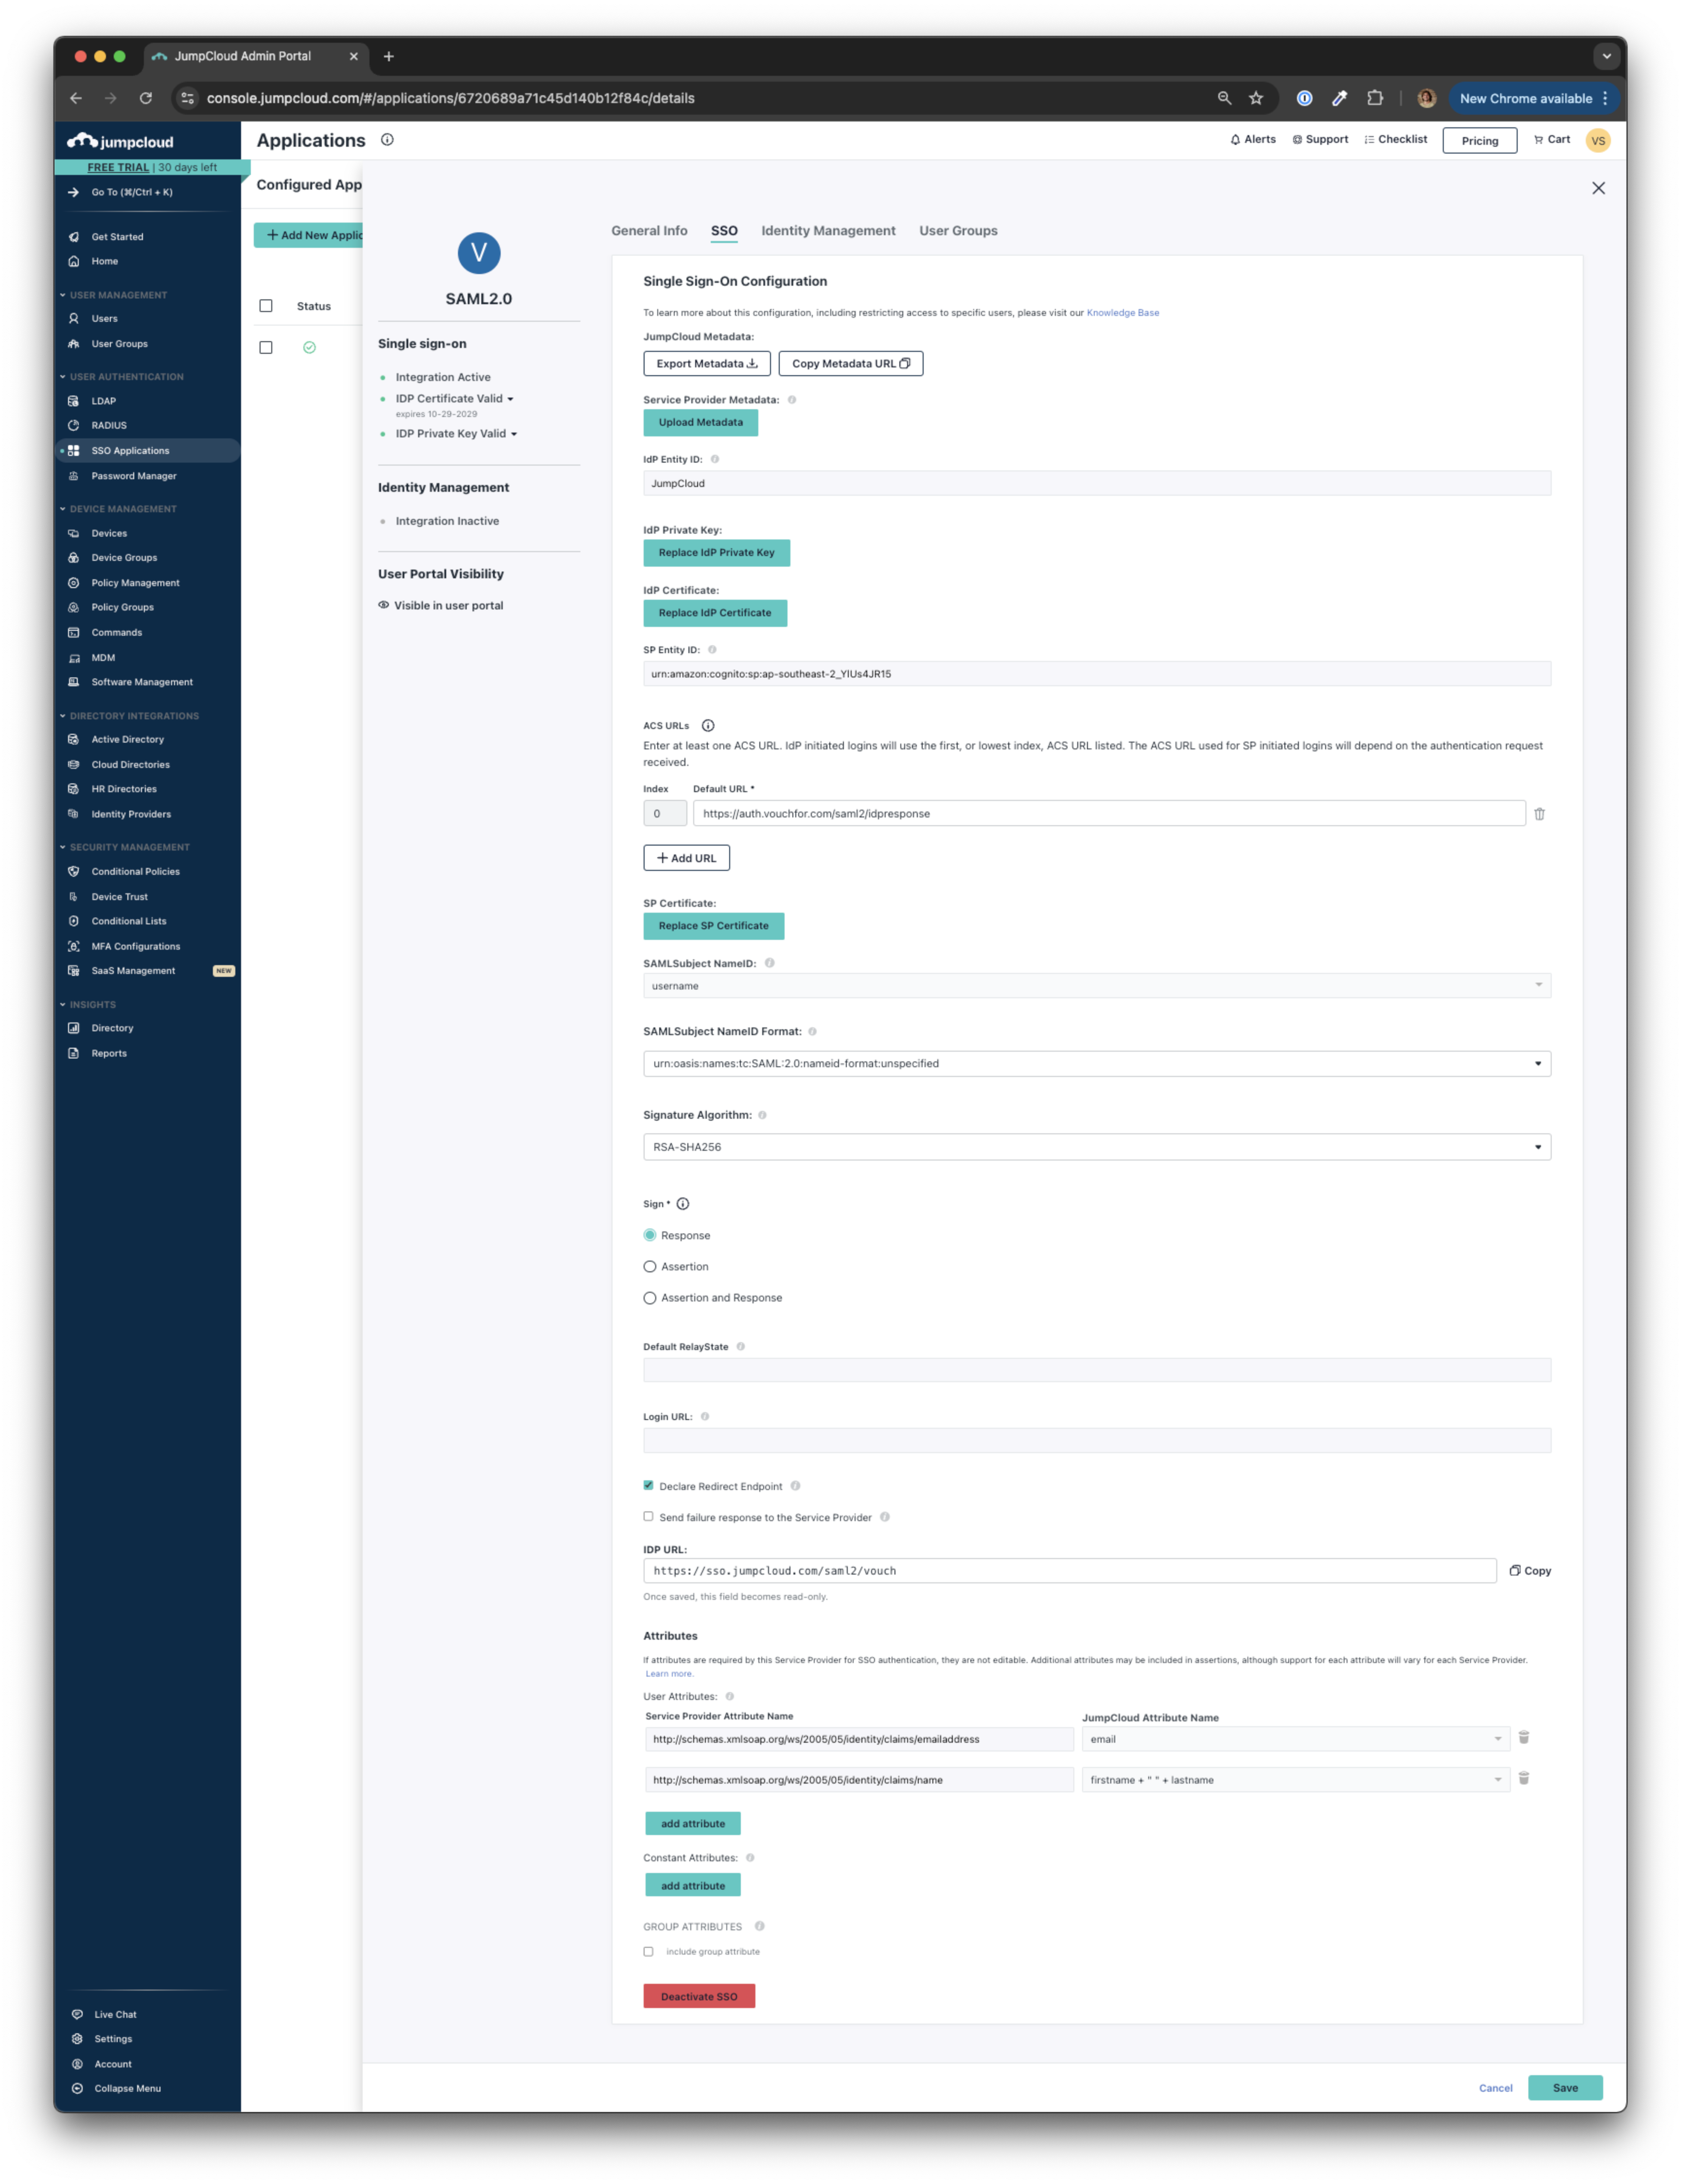
Save your Application and add the necessary Users/Groups in the User Groups tab at the top of the page. Navigate back to the SSO tab and click the Copy Metadata URL button to generate the App Metadata information to be used to enable SSO within Vouch.
Setup for Audience User
Navigate to your JumpCloud console. Once signed in select SSO Applications from the left hand menu.

This will bring up an option to select the application that you would like to integrate with. Select Custom Application and continue to the next step by clicking the Next button in the bottom right corner of your screen.

Enable the Single Sign-On feature for this application by selecting the option titled Manage Single Sign-On (SSO) . This will expand the panel where you will need to select the Configure SSO with SAML checkbox.

Customise your Application so your users know which Application they are authenticating into and continue to review and finalise the Application.

You will now need to configure your Application with the following attributes (leave any fields that are not listed below as empty).
IdP Entity ID: Enter JumpCloud
SP Entity ID: Enter urn:amazon:cognito:sp:ap-southeast-2_YlUs4JR15
ACS URLs: Add URL https://auth.vouchfor.com/saml2/idpresponse
SAMLSubject NameID: Select username
SAMLSubject NameID Format: Select urn:oasis:names:tc:SAML:2.0:nameid-format:unspecified
Signature Algorithm: Select RSA-SHA256
Sign: Select Response
Select the Declare Redirect Endpoint checkbox
Add the following attribute mappings
| Service Provider Attribute Name | JumpCloud Attribute Name |
|---|---|
| http://schemas.xmlsoap.org/ws/2005/05/identity/claims/emailaddress | |
| http://schemas.xmlsoap.org/ws/2005/05/identity/claims/name | fullname |
| http://schemas.xmlsoap.org/ws/2005/05/identity/claims/title | jobTitle |
| http://schemas.xmlsoap.org/ws/2005/05/identity/claims/organization | company |

Save your Application and add the necessary Users/Groups in the User Groups tab at the top of the page. Navigate back to the SSO tab and click the Copy Metadata URL button to generate the App Metadata information to be used to enable SSO within Vouch.
Setup a Bookmark App
Navigate to your JumpCloud console. Once signed in select SSO Applications from the left hand menu.

This will bring up an option to select the application that you would like to integrate with. Search for URL Bookmark
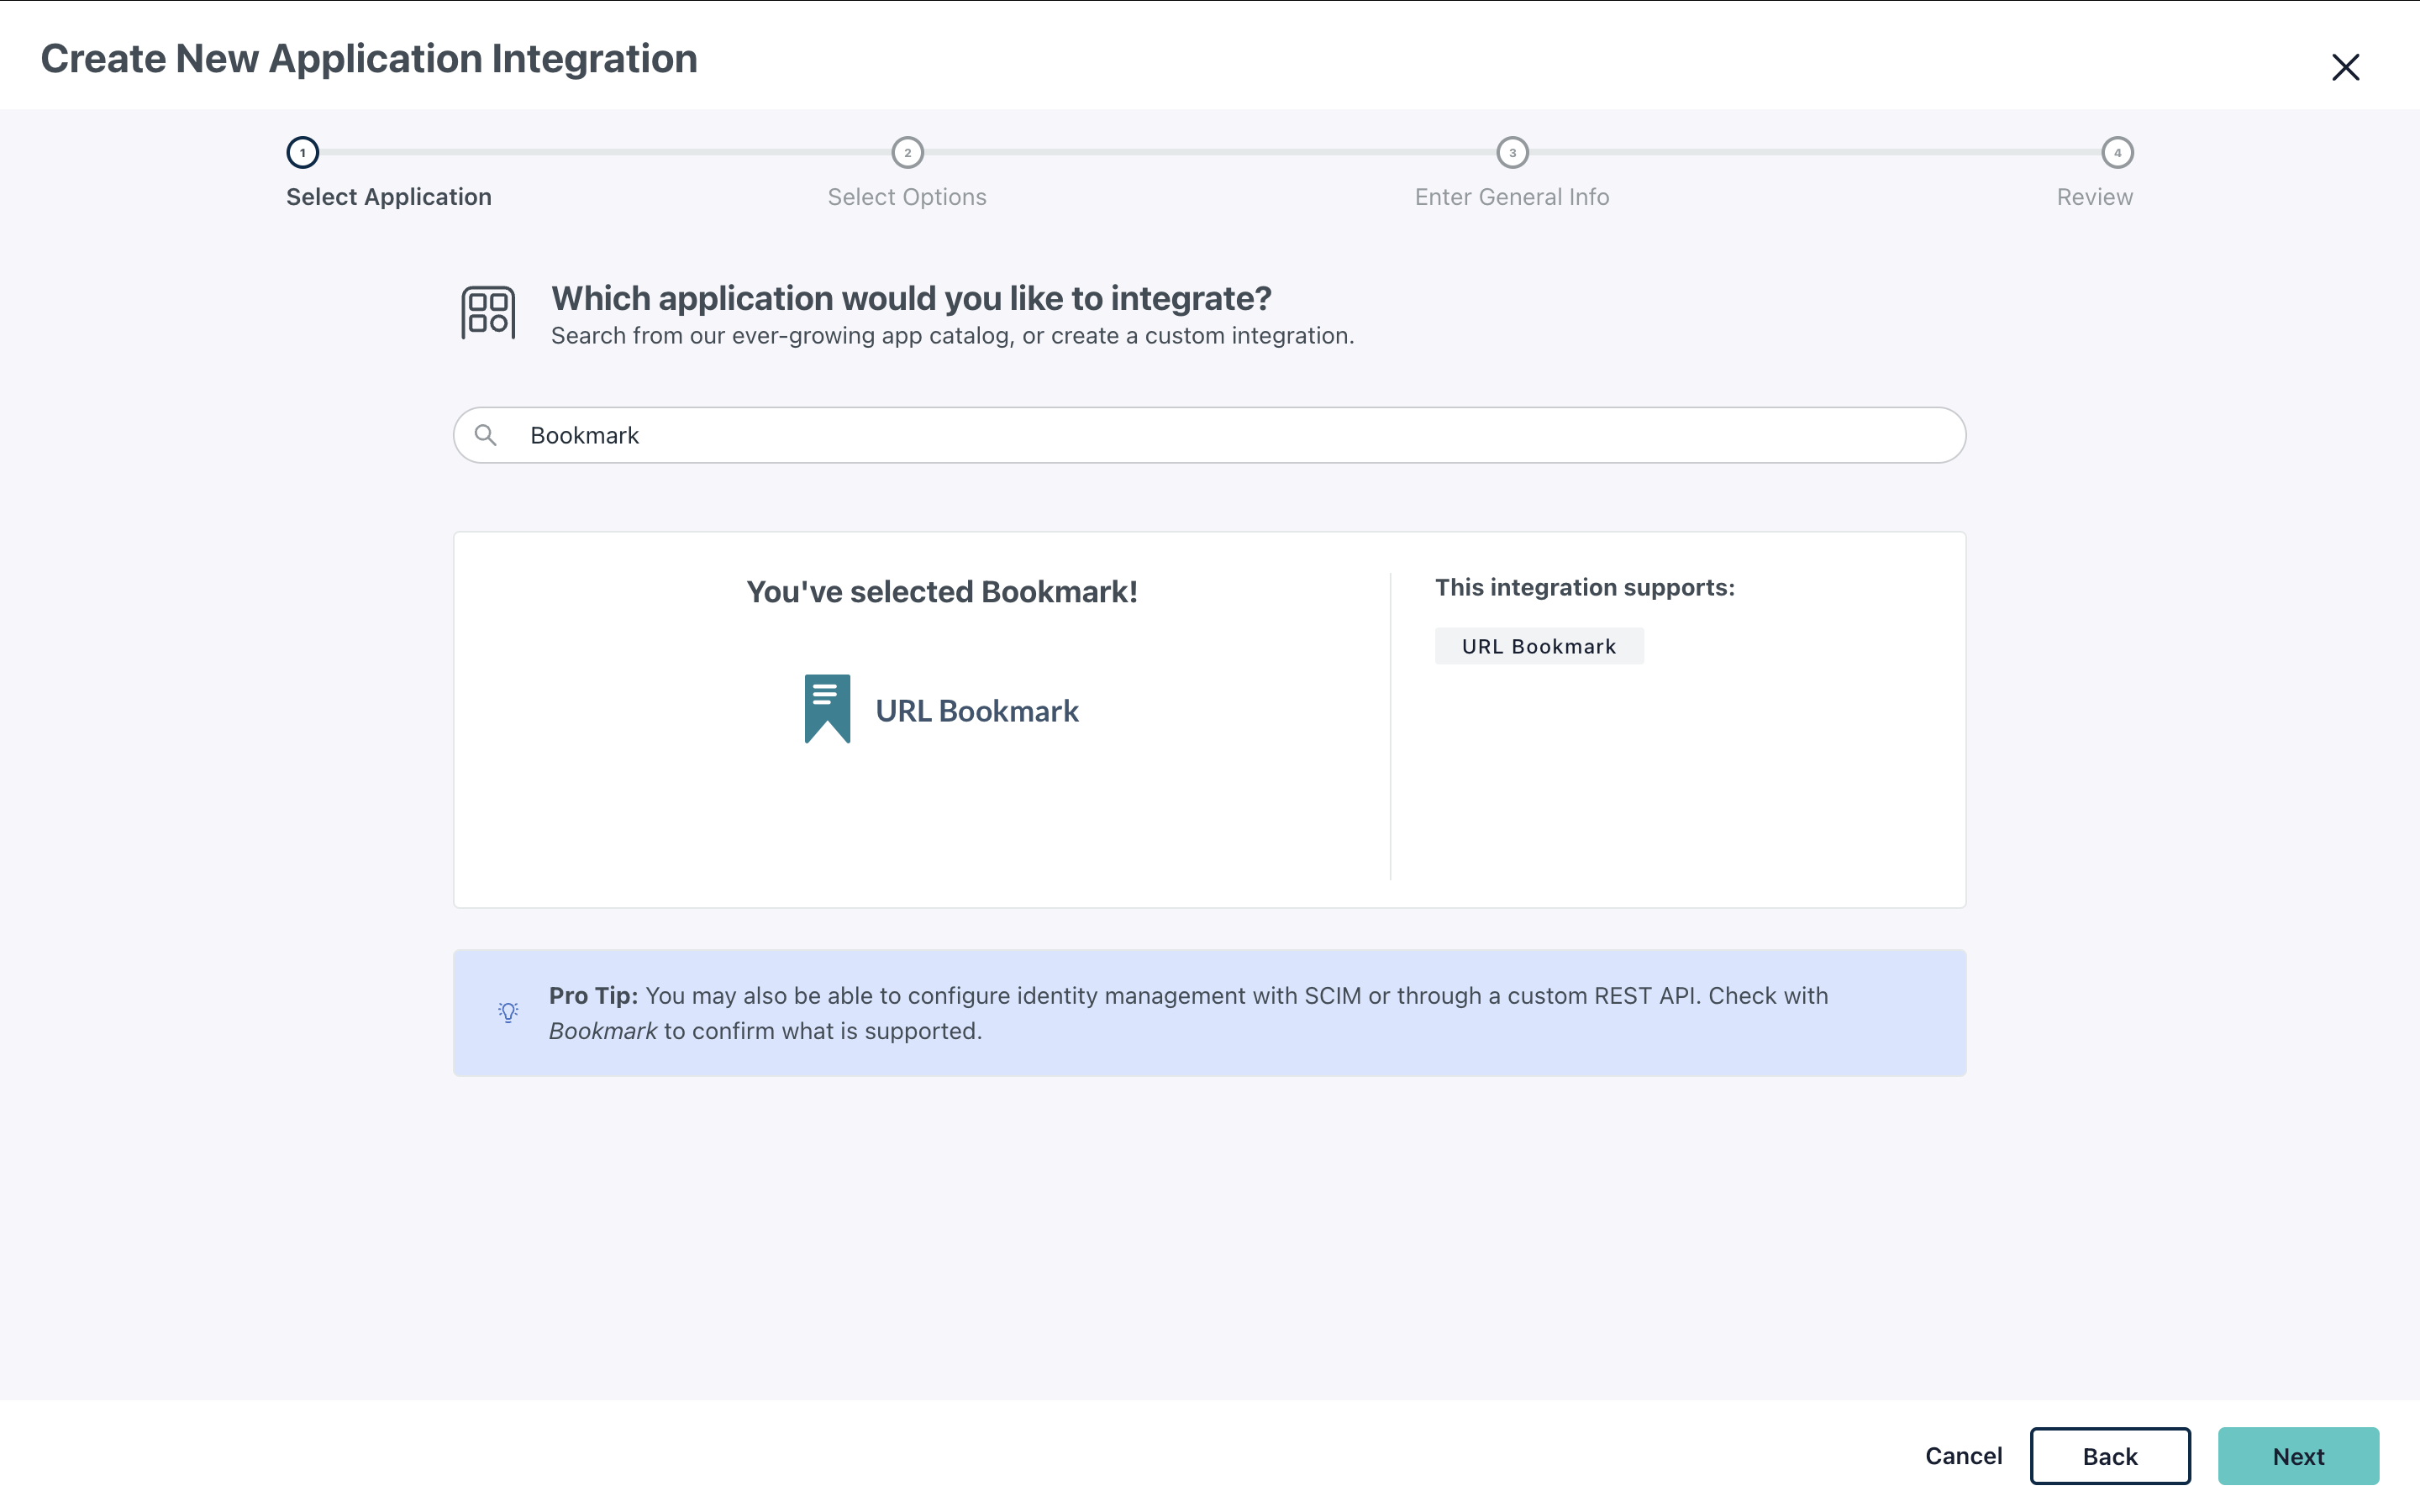
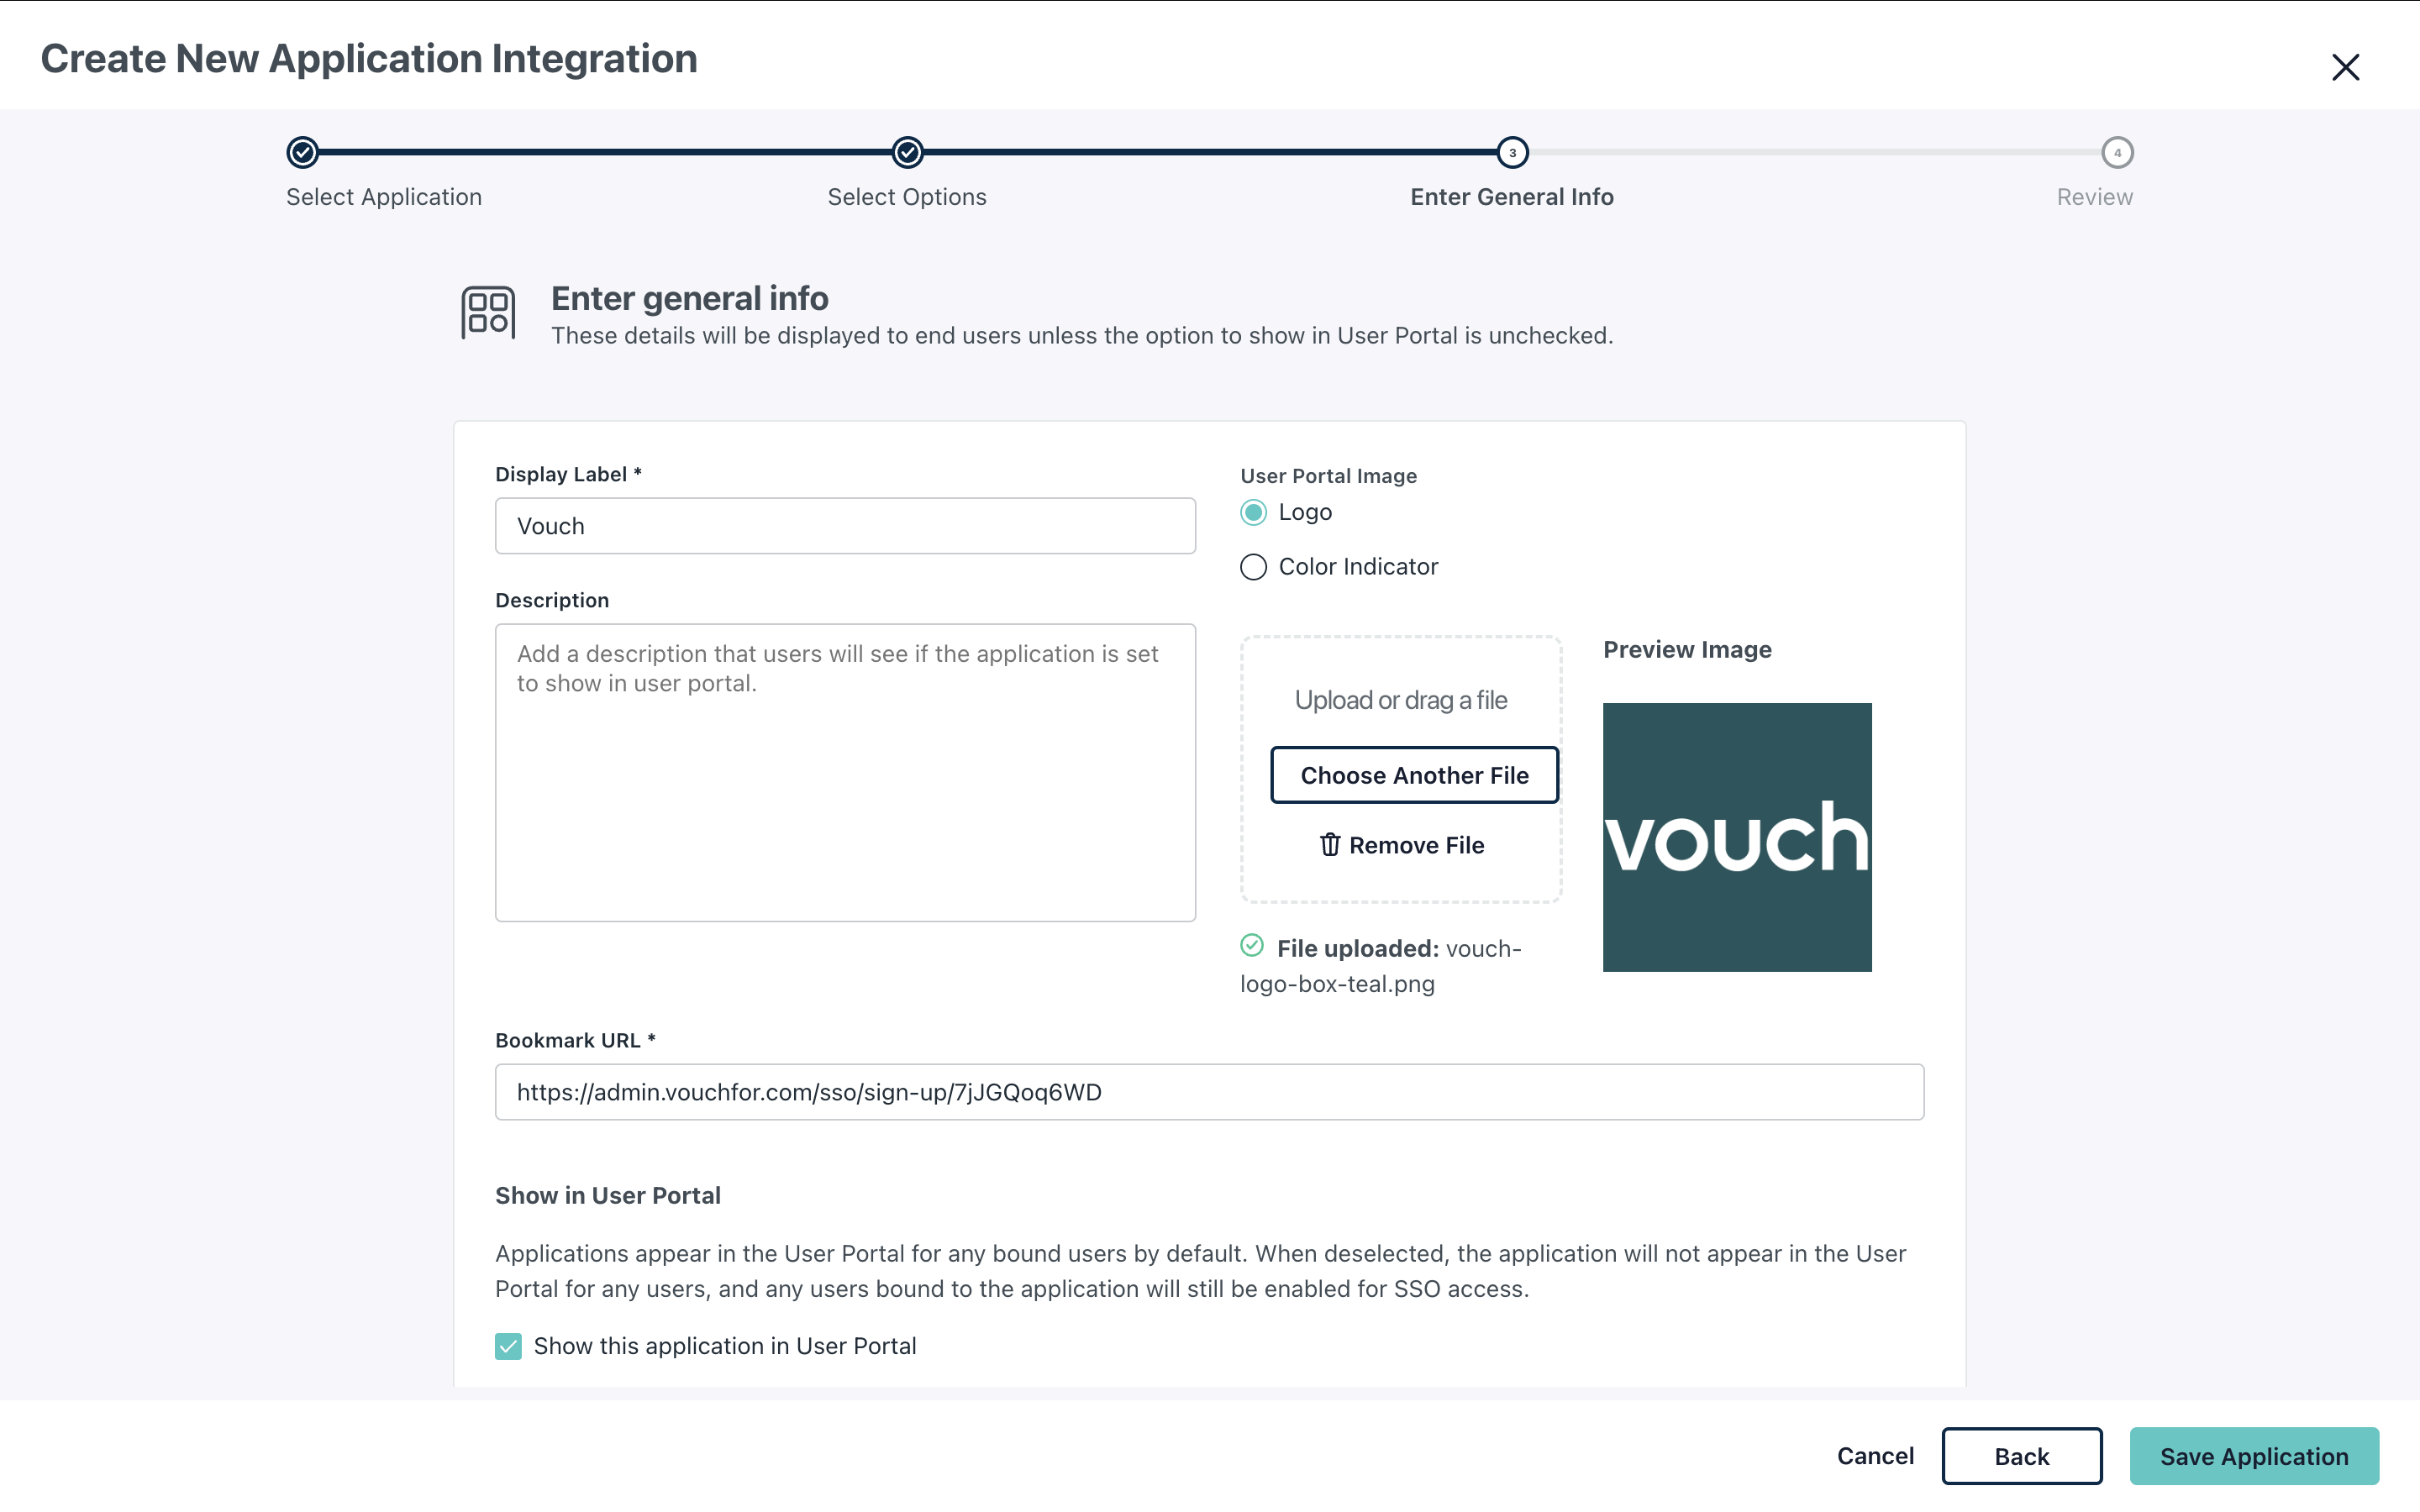
In the Add Bookmark App page, give the Application a name, add in the SSO Sign In URL for your space and ensure that Show this application in the User Portal is ticked.
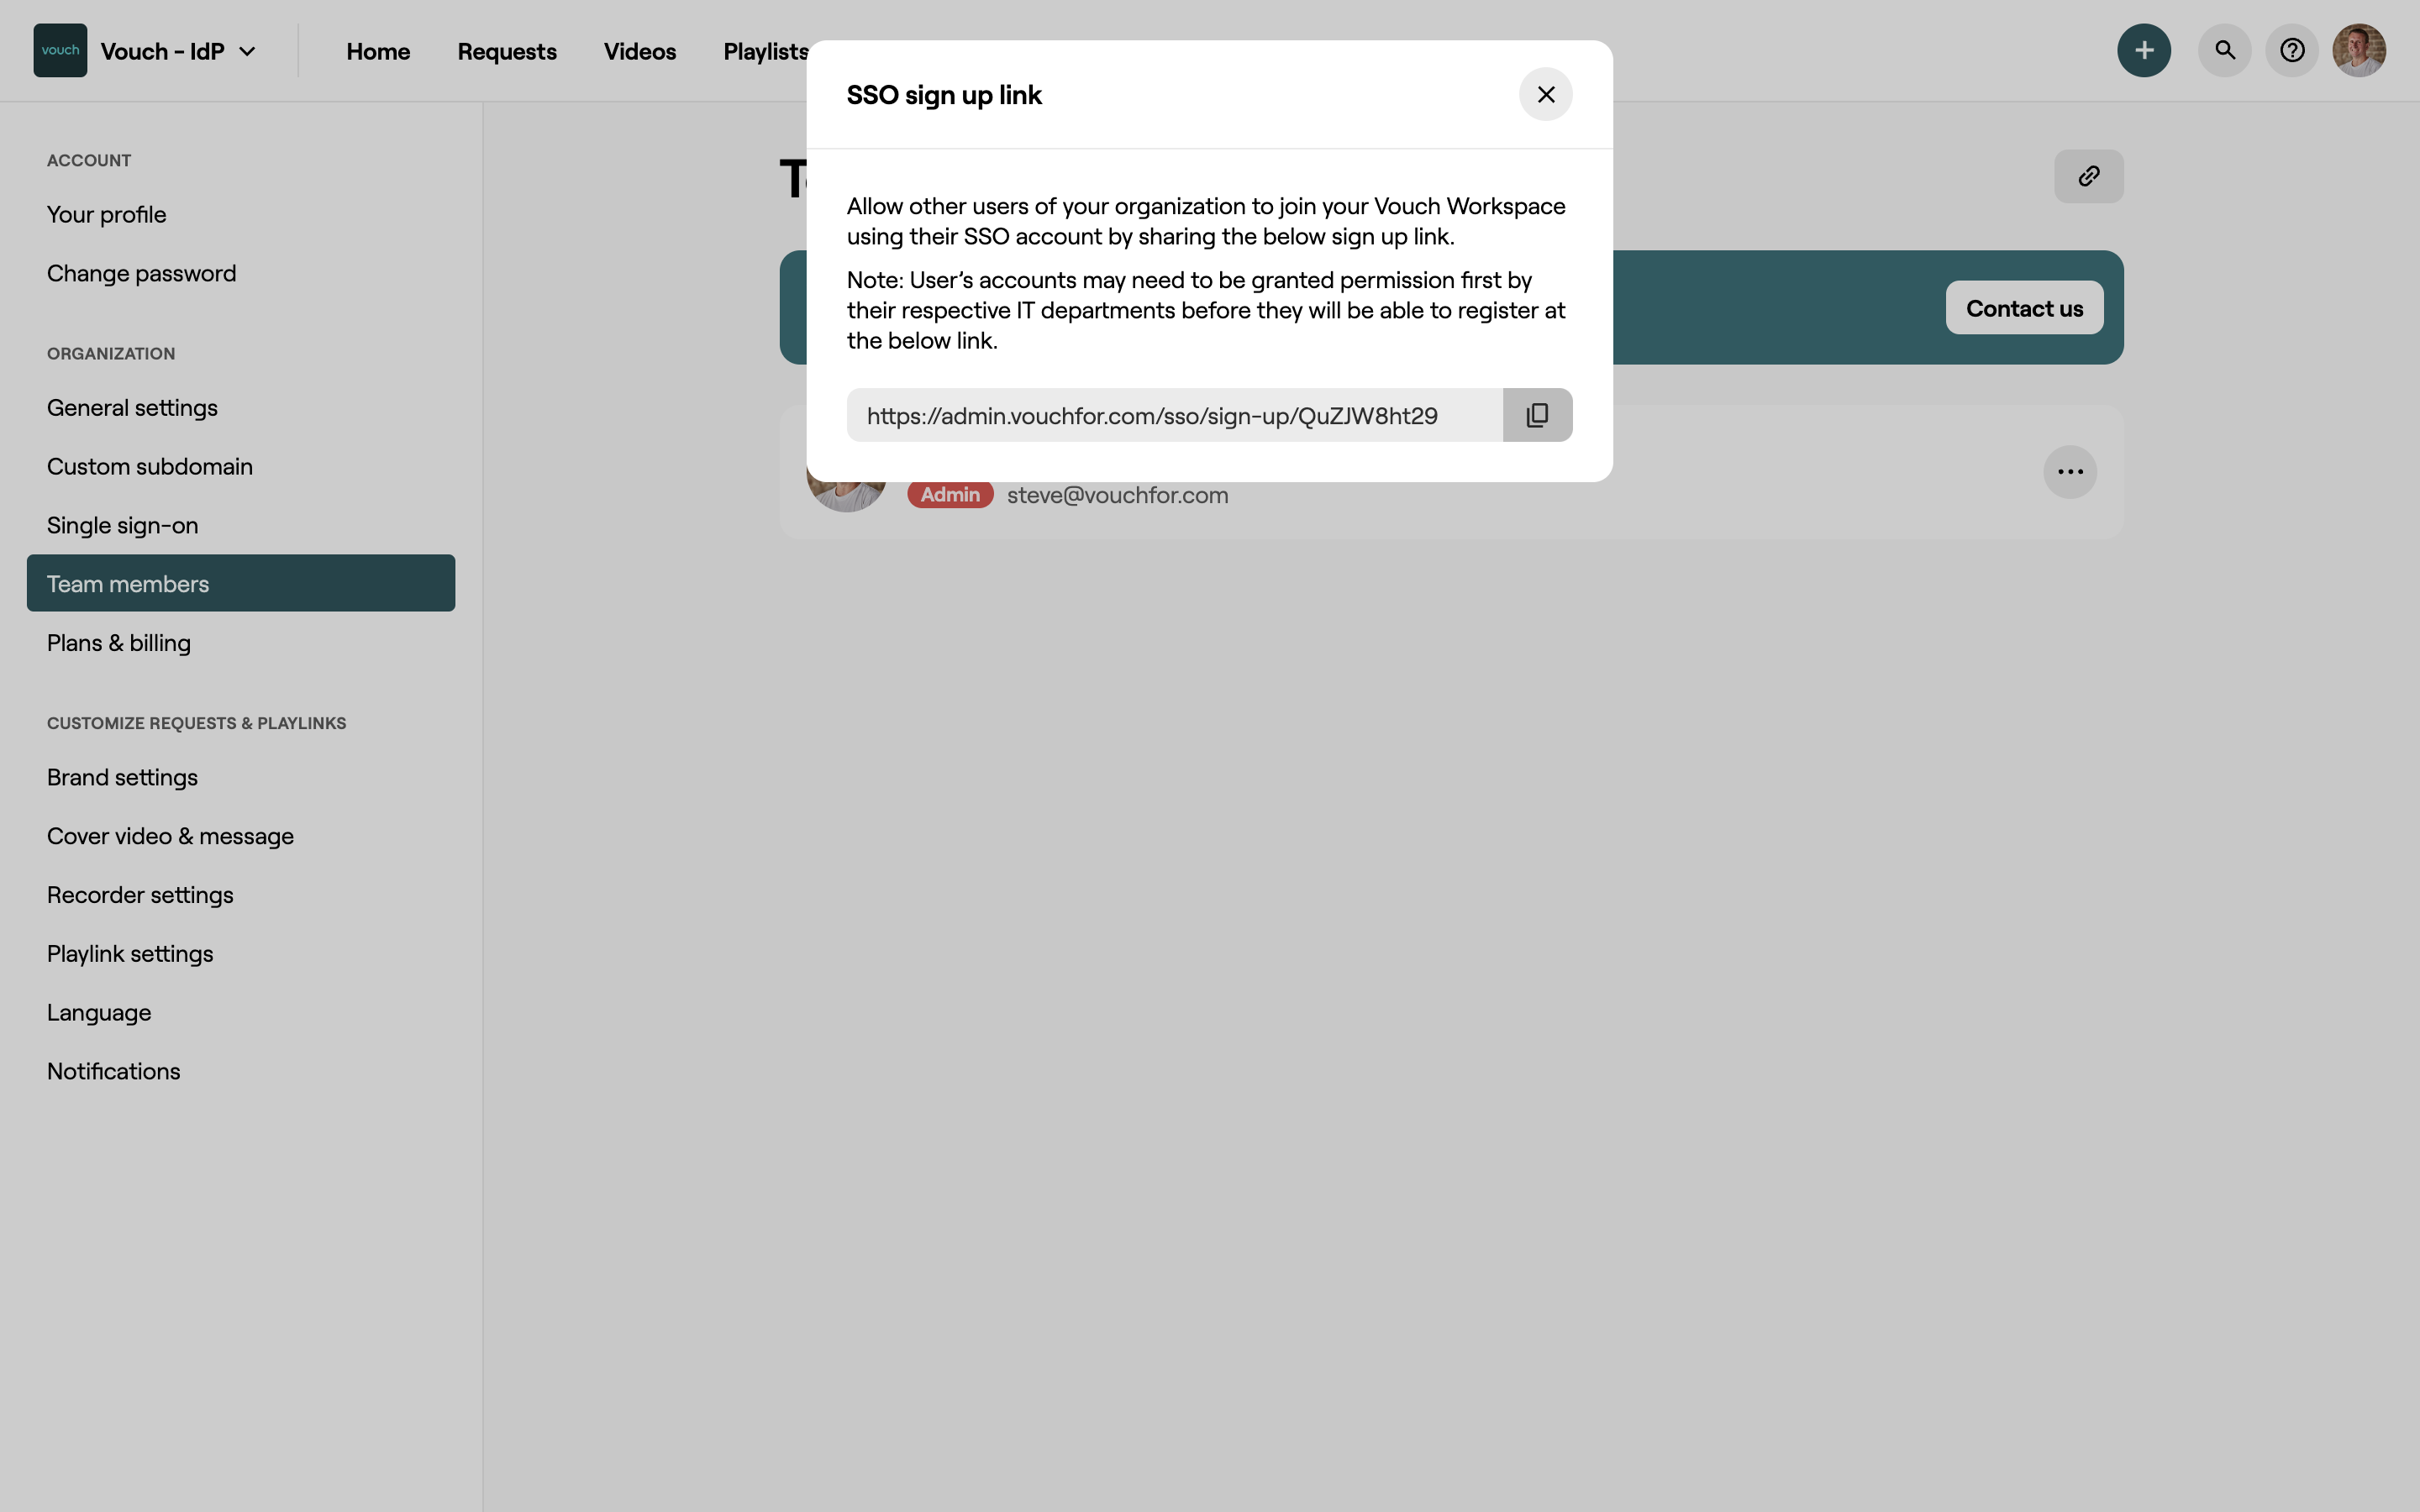
To find the SSO Sign-Up link for your space, go to the Team Members page within your account and click on the link icon in the top right hand corner. From the modal that loads, select to copy the URL and add this to your account.
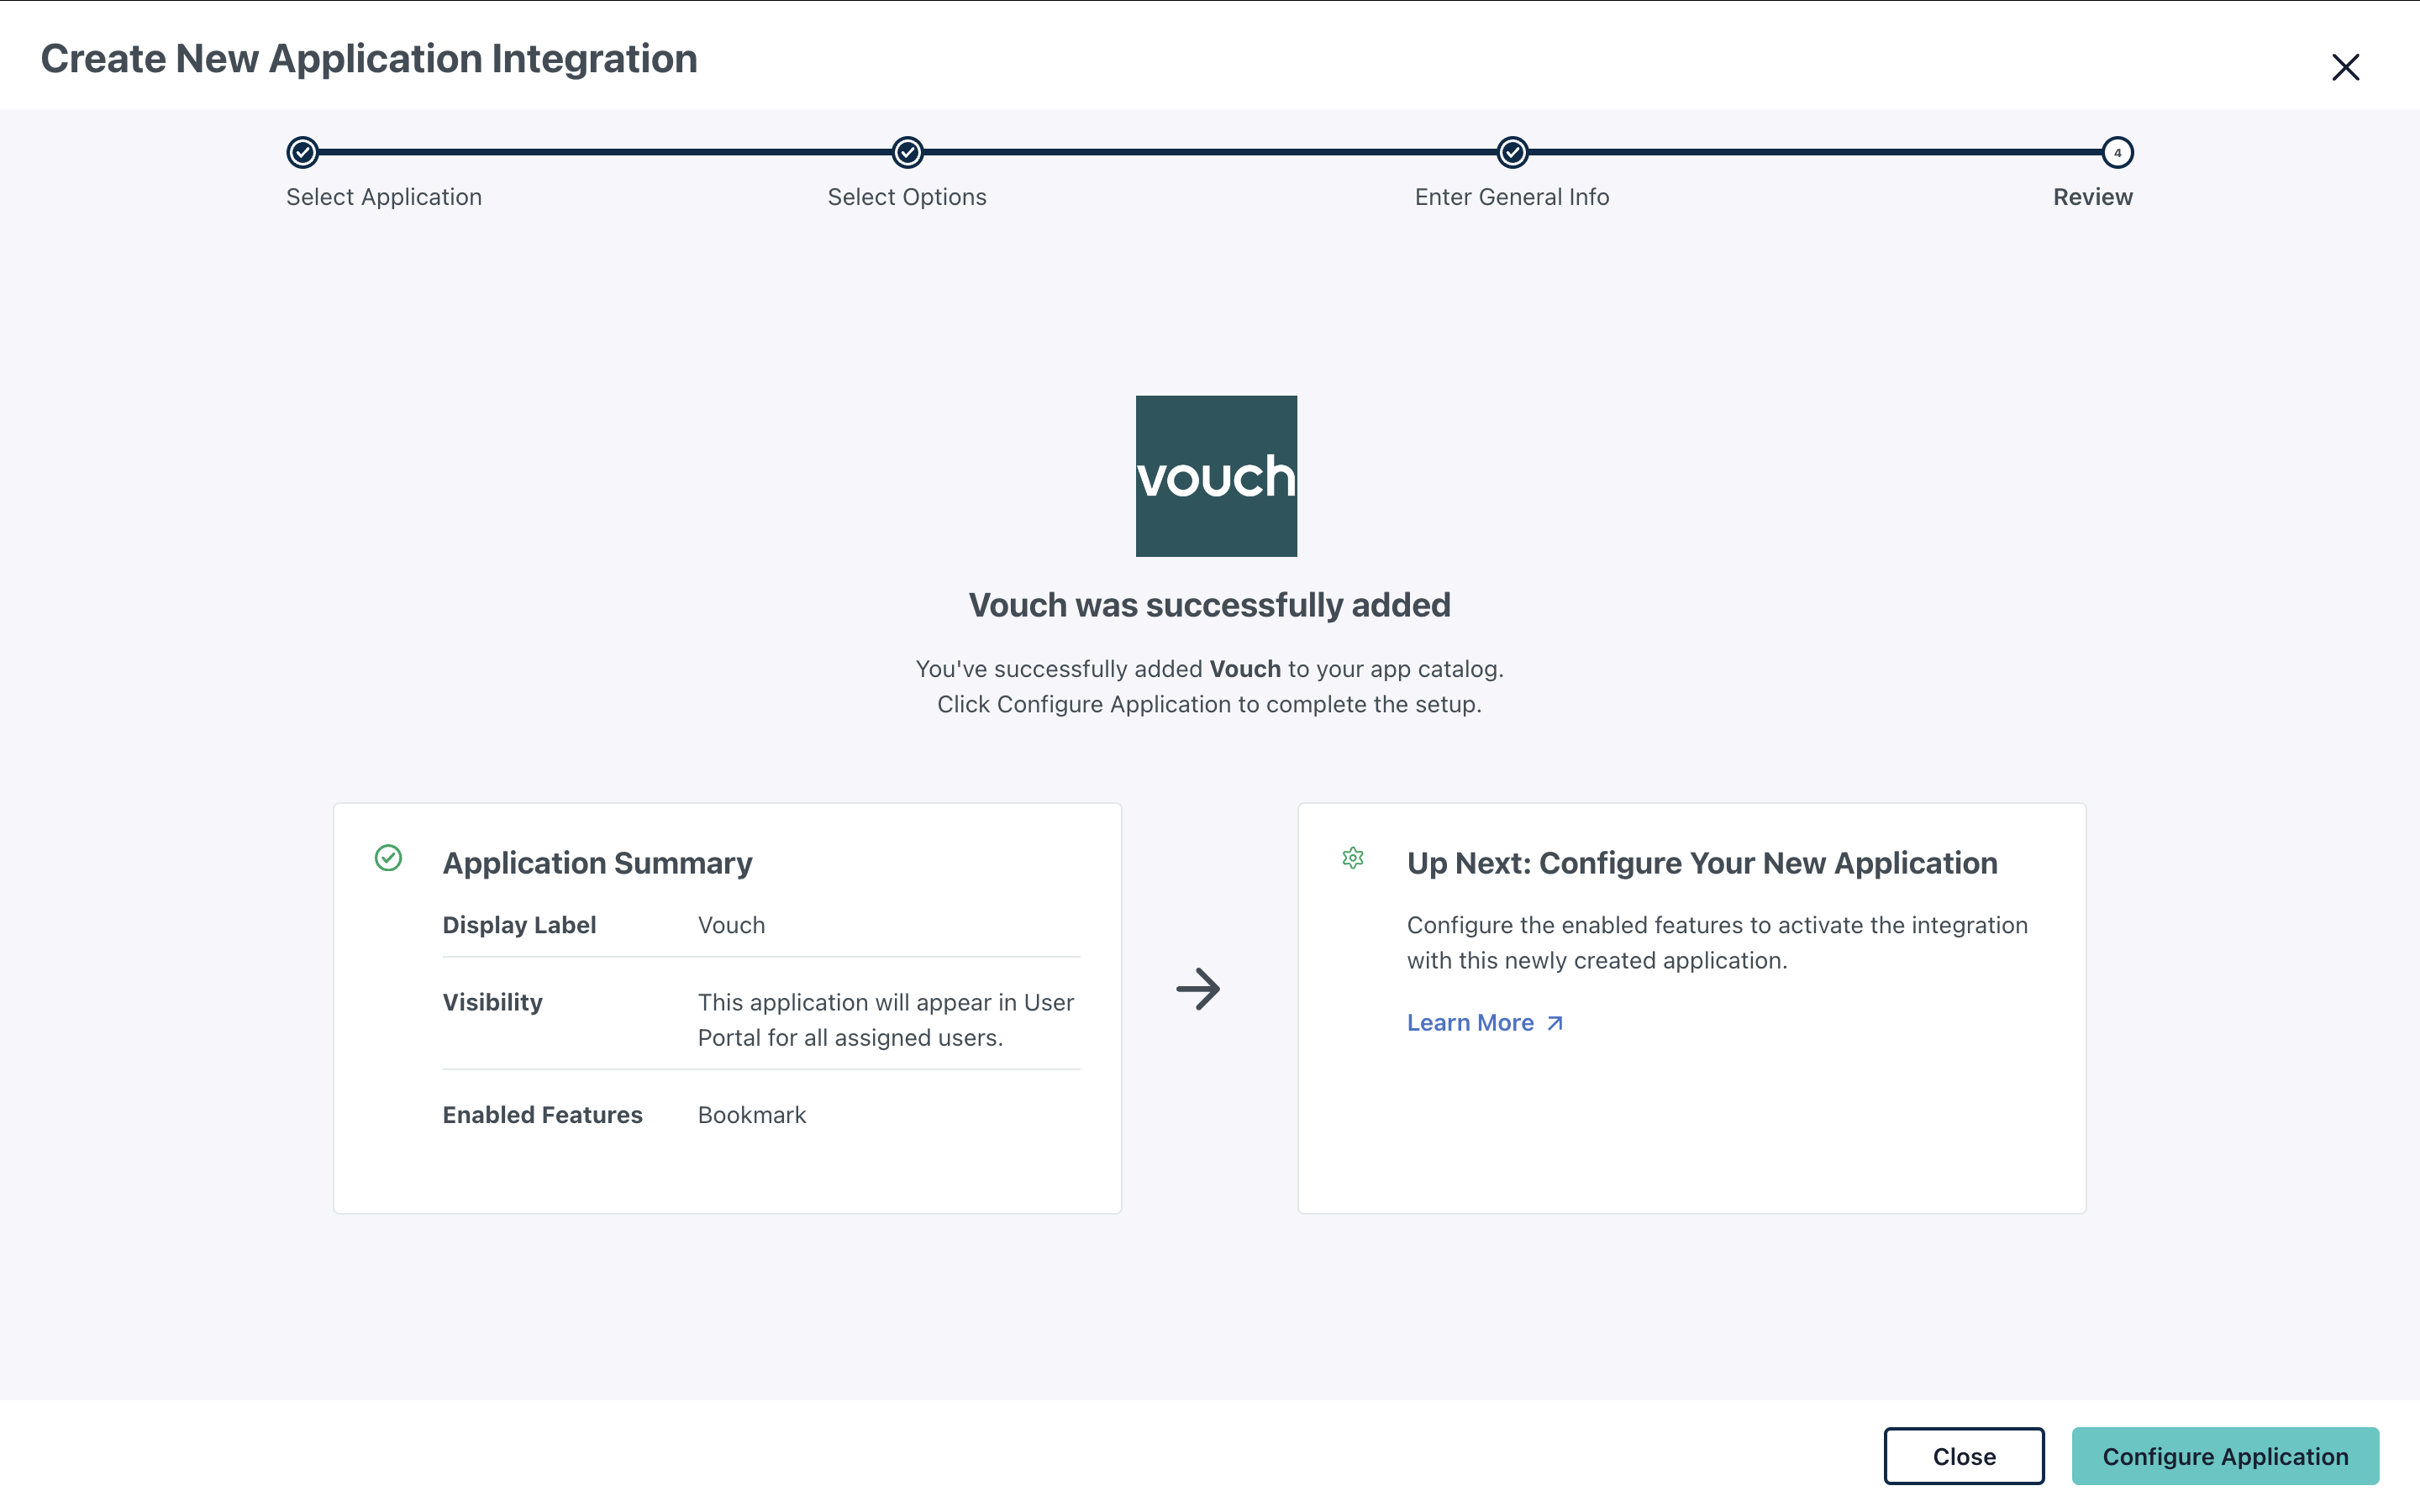
Once added, you can now complete setting up the Bookmark.
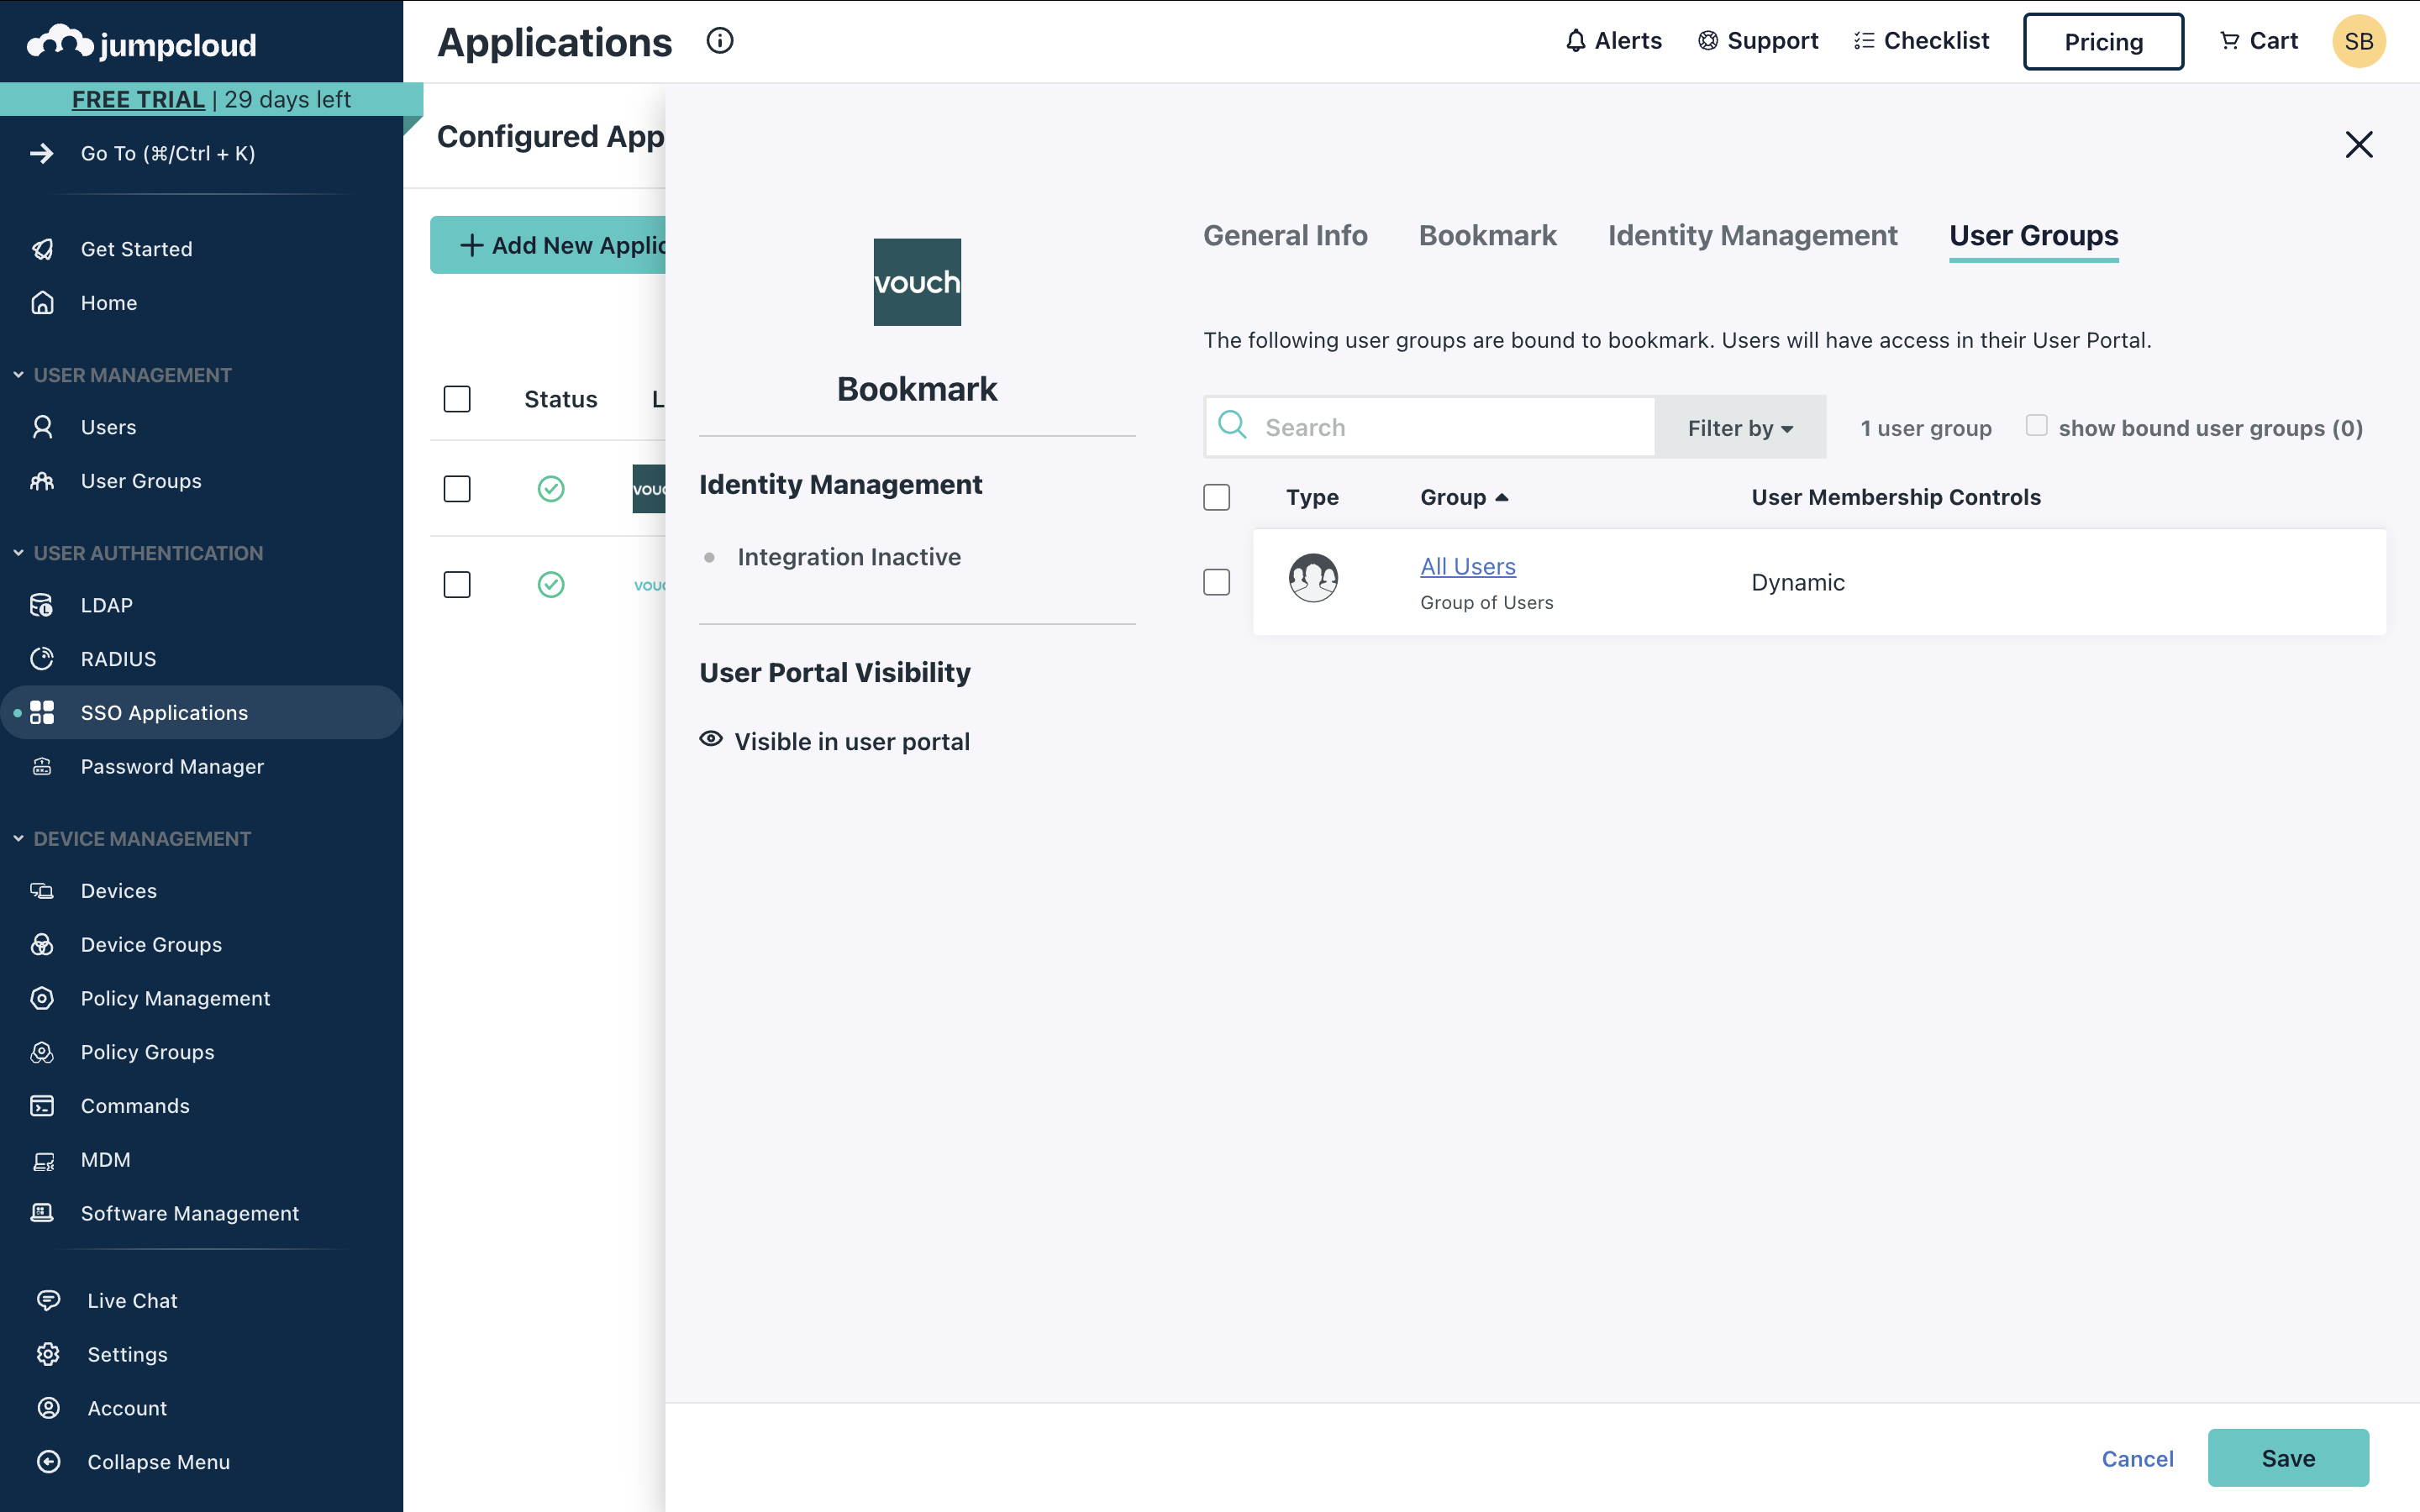
Final step in the process is to decide which User Groups have access to the Bookmark.
Updated 5 months ago
