
Setup SSO on Microsoft Entra (Formerly Azure AD)
The following guide outlines how to setup Single Sign On within Microsoft Entra. (Formerly Azure AD).
Note: Vouch currently only supports SP-initiated SSO.
Setup the SAML 2.0 App
Setup the SAML 2.0 App Vouch supports SSO for both the Admin User Interface and externally facing services, such as Requests and the Playlink (Audience Users). Vouch recommends setting up different applications for Admin Users and Audience Users so you can control who has access to what parts of the Vouch platform.
Steps for setting up both Applications are listed below:
Setup for Admin User
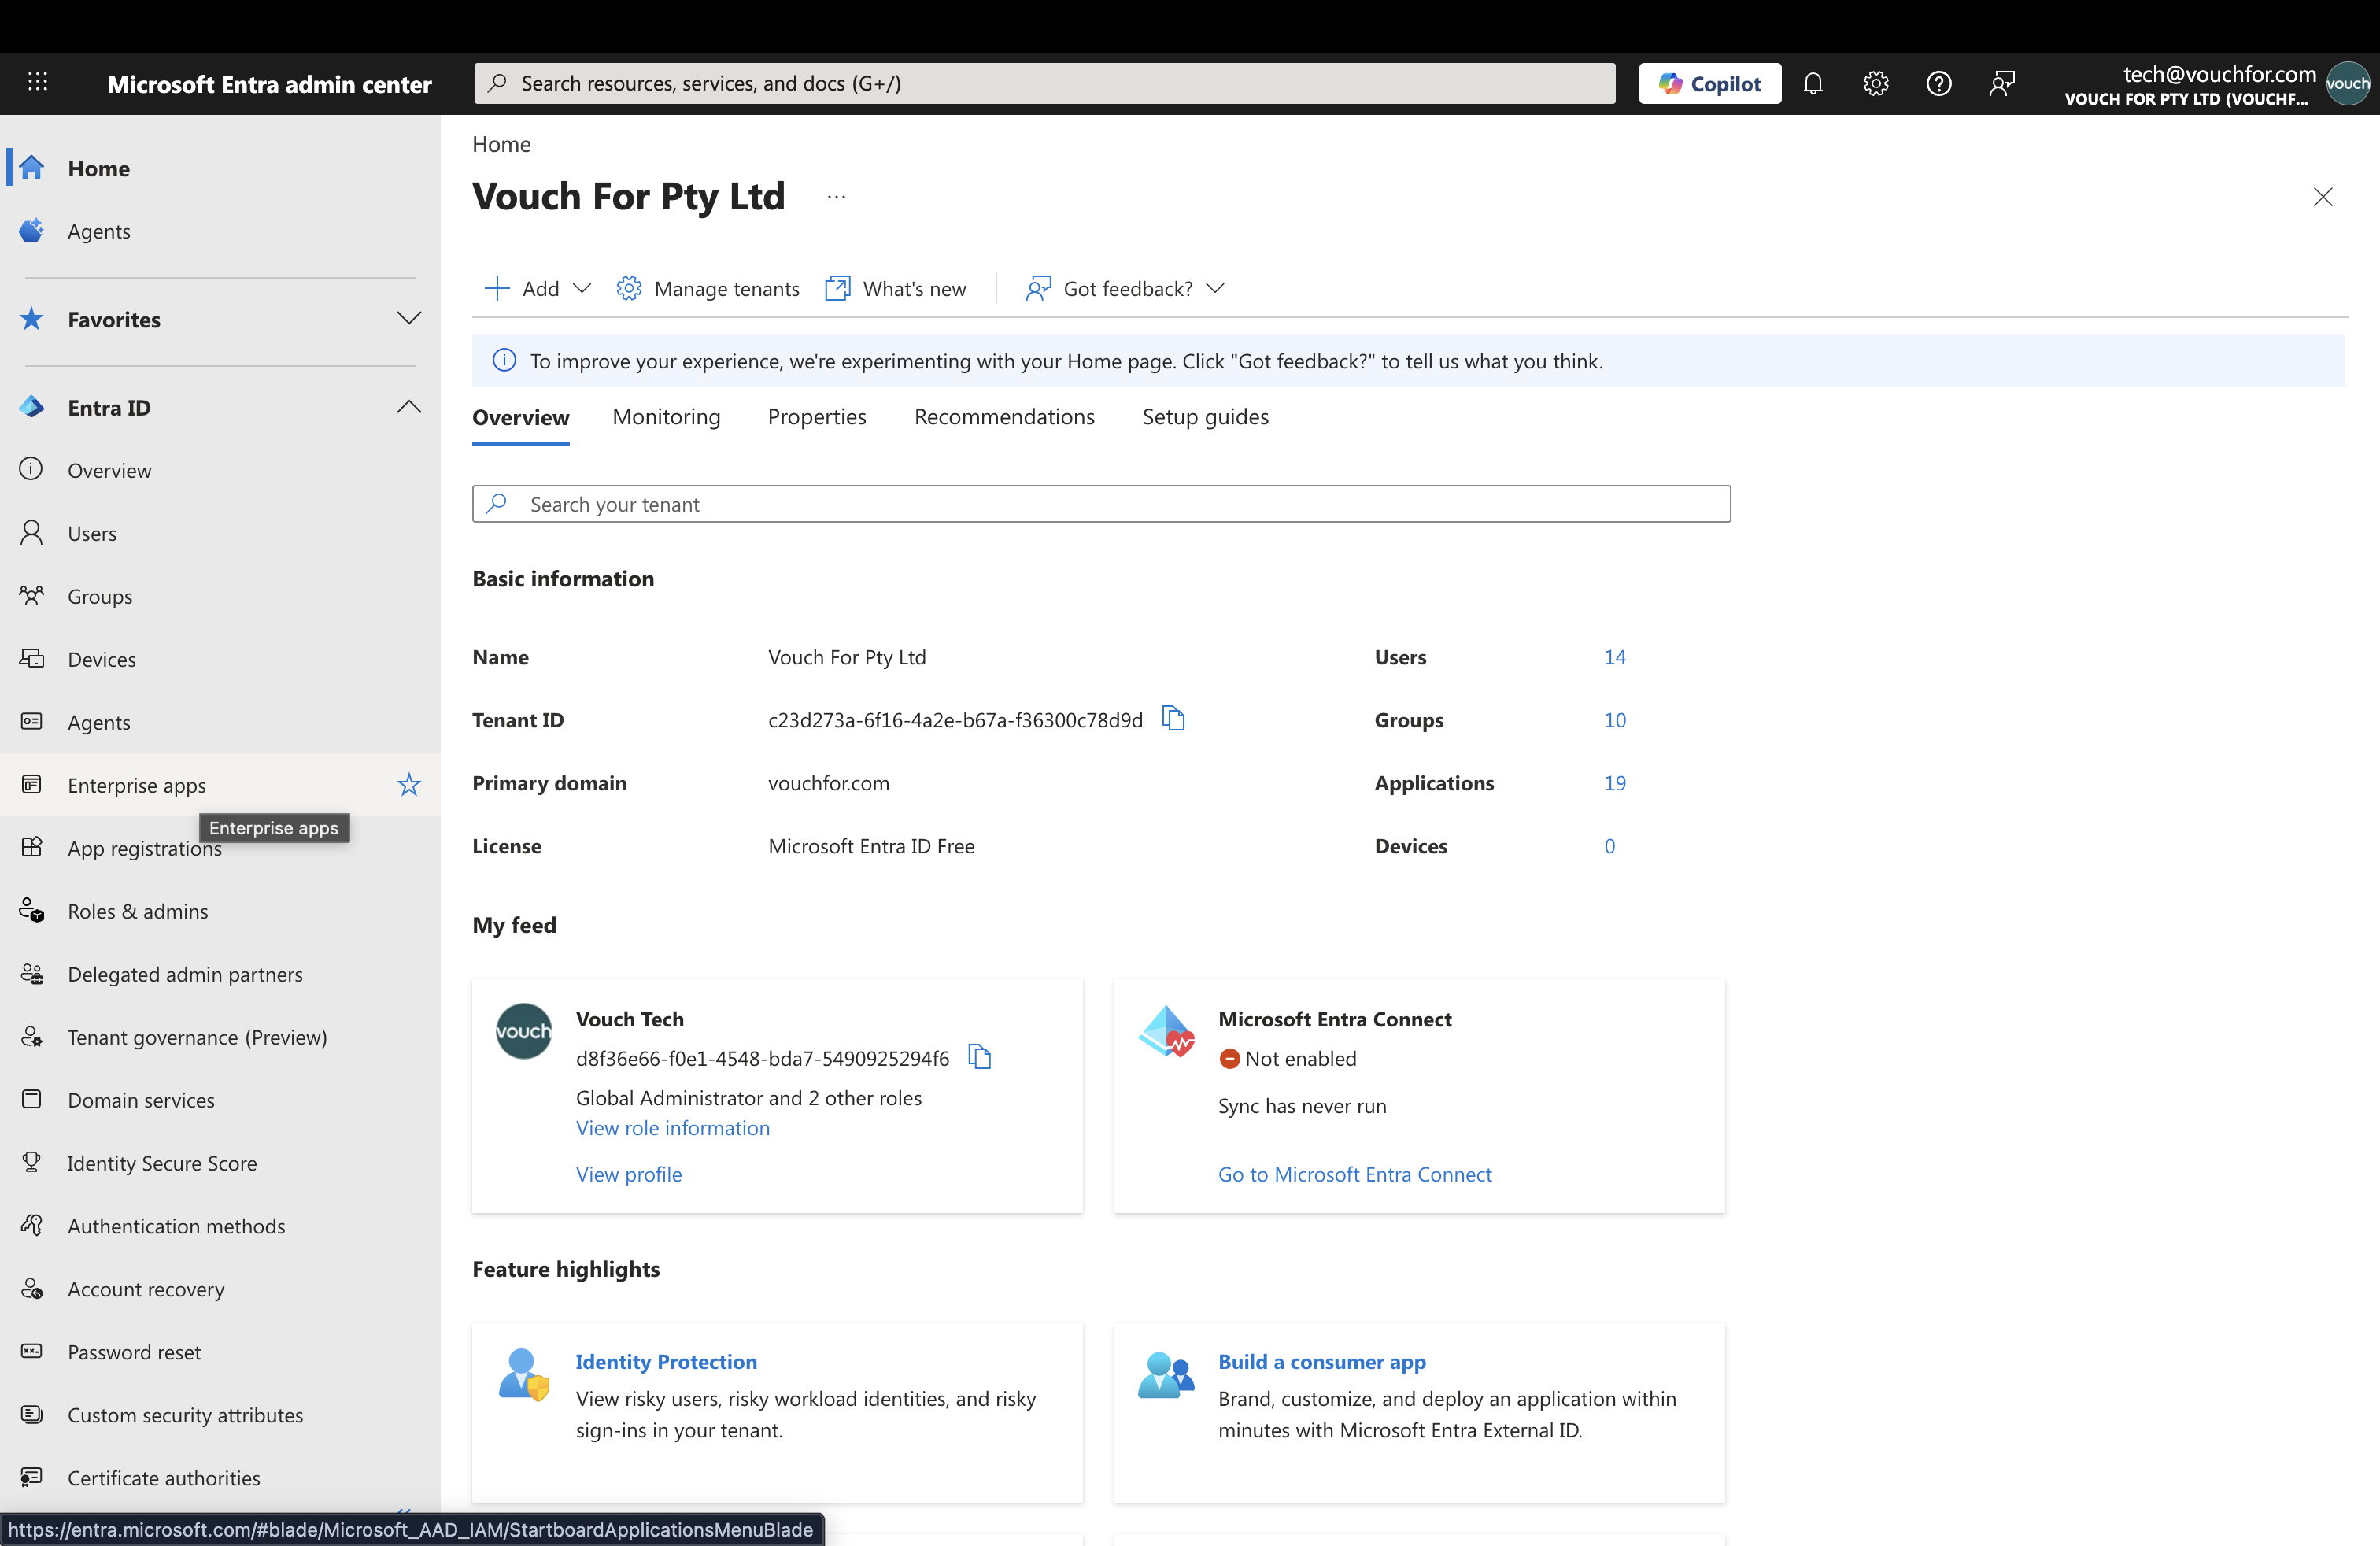
Navigate to the Azure Active Directory Admin Center and sign in using a role with Admin permissions.
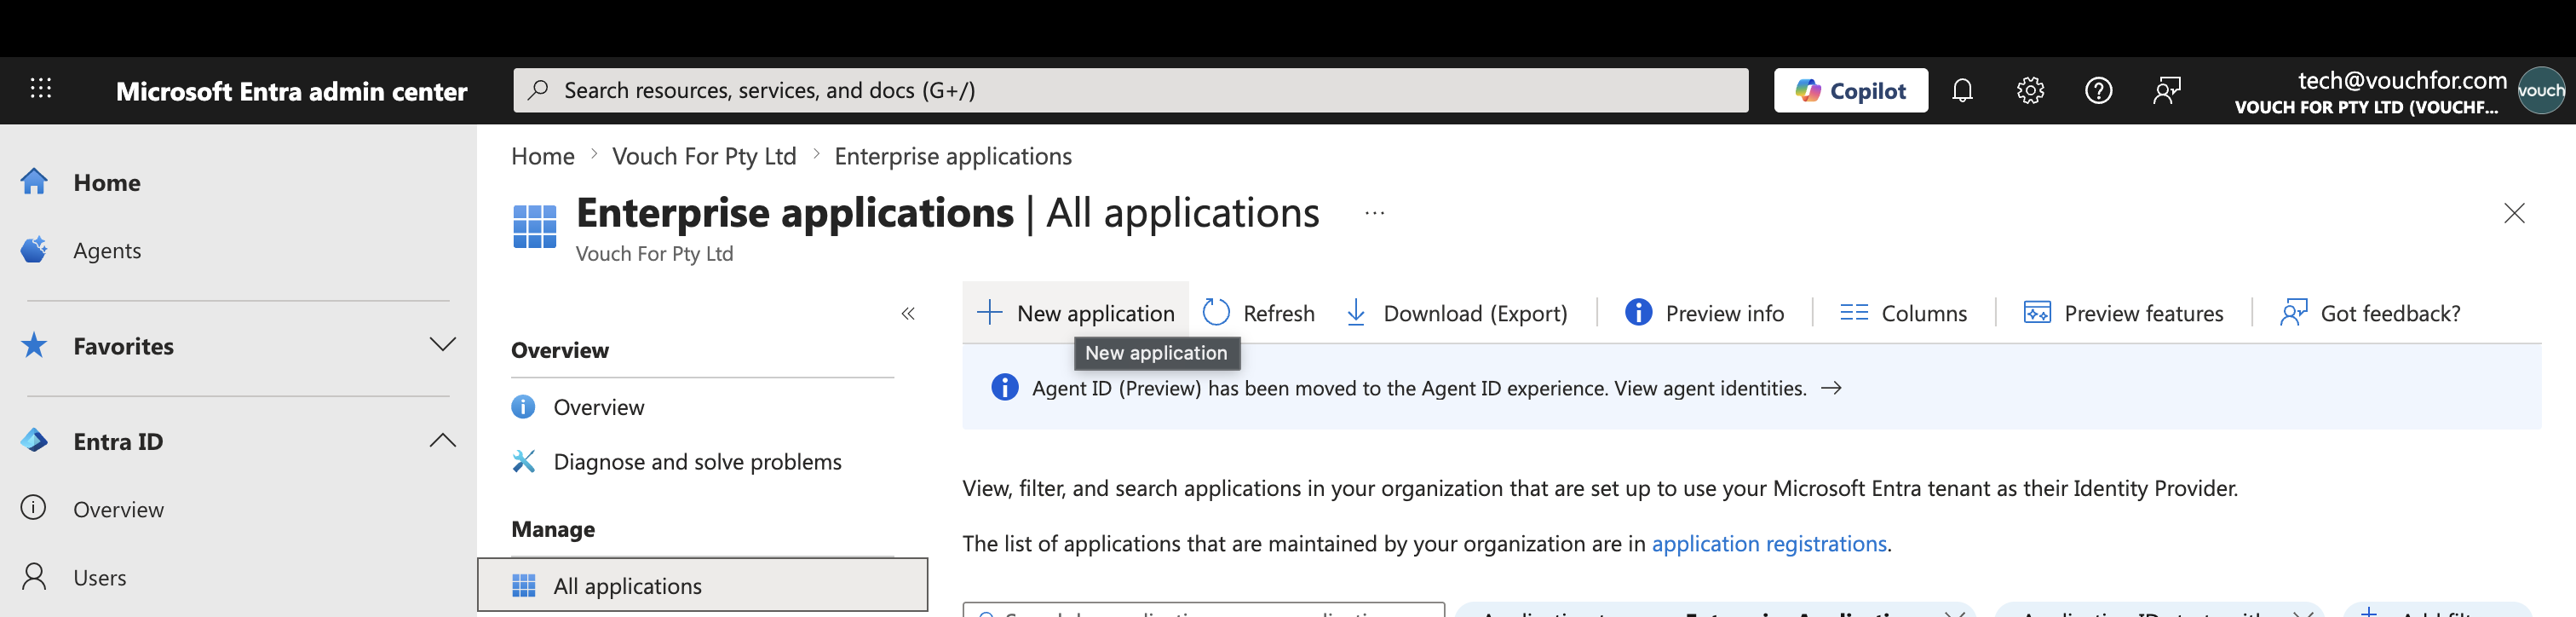
Once signed in, select Enterprise Applications from the left hand menu.
From the All Applications Pane loads, select the option New application
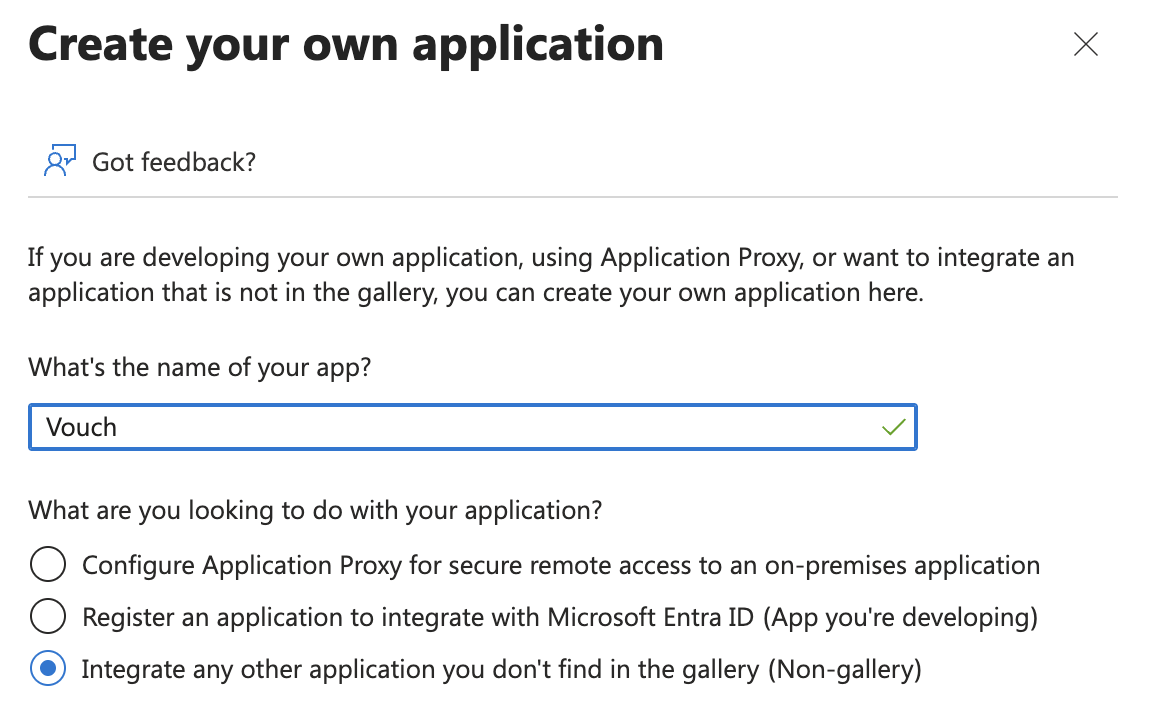
From here, you can select Create your own Application from the top left hand menu.

This will load a pane on the right hand side where you can name your application (eg. Vouch) and select the option Integrate any other application you don't find in the gallery (Non-Gallery)
Once the application has been created, select Single Sign On from the Manage section on the left hand menu.
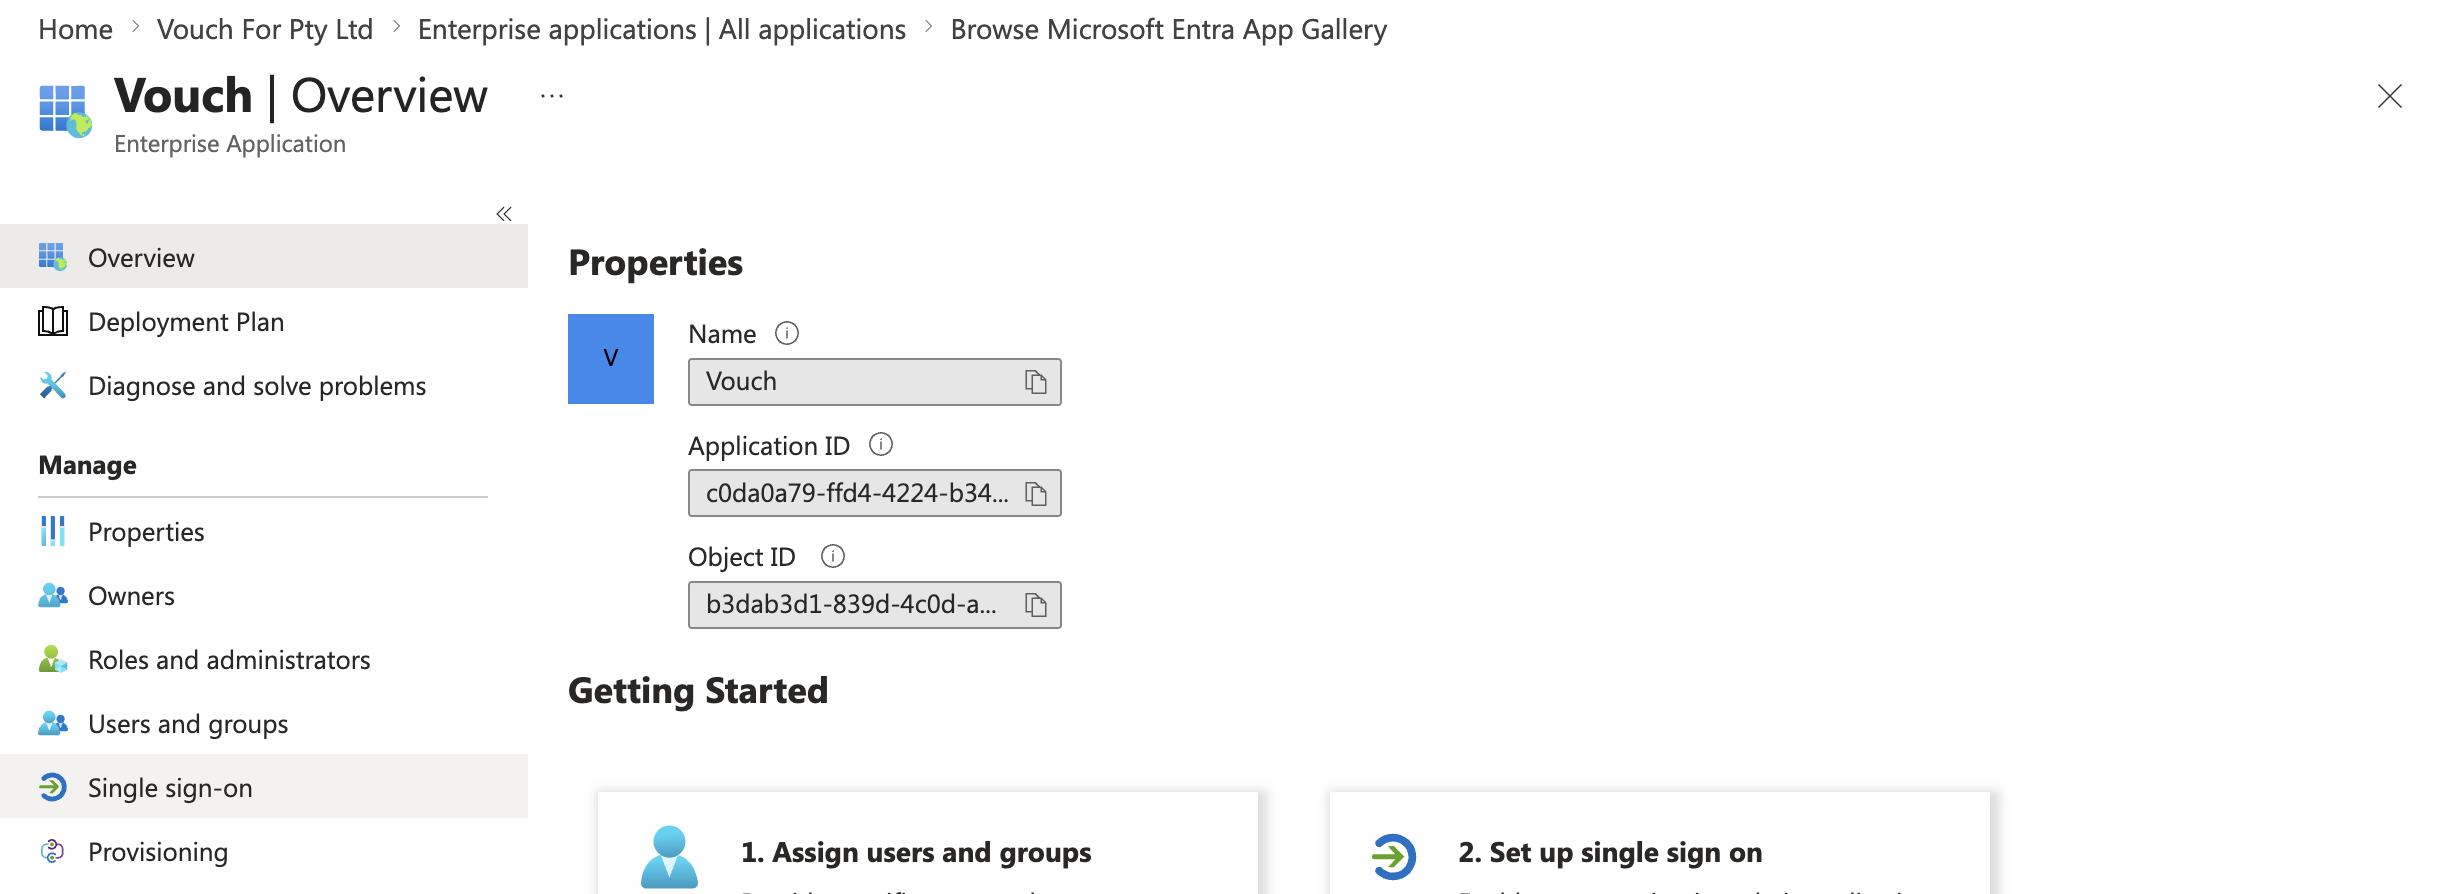
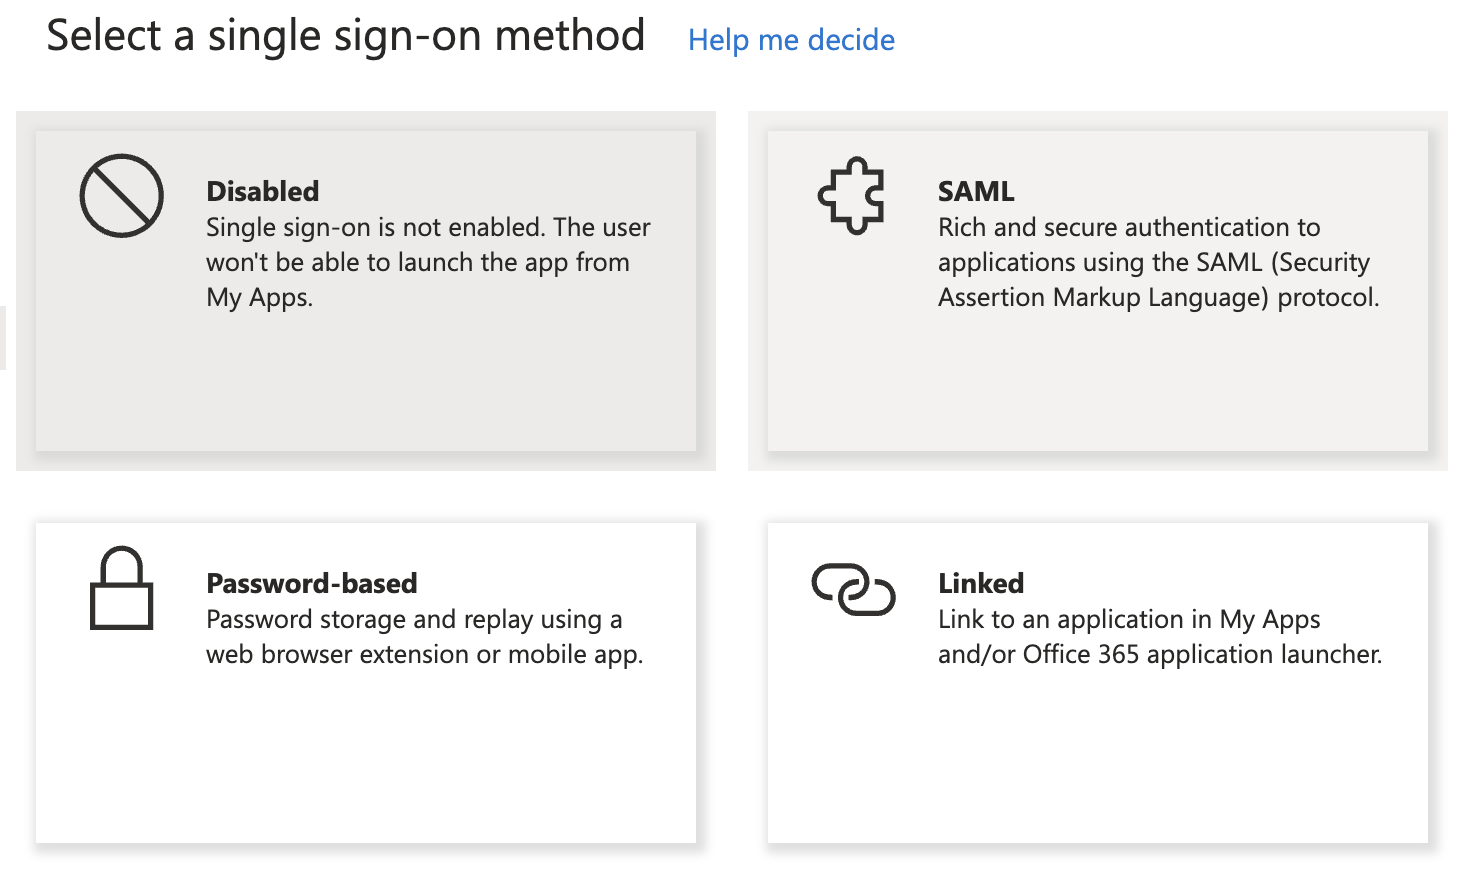
This will load up the Single Sign-On panel, SAML from the single sign on methods presented.
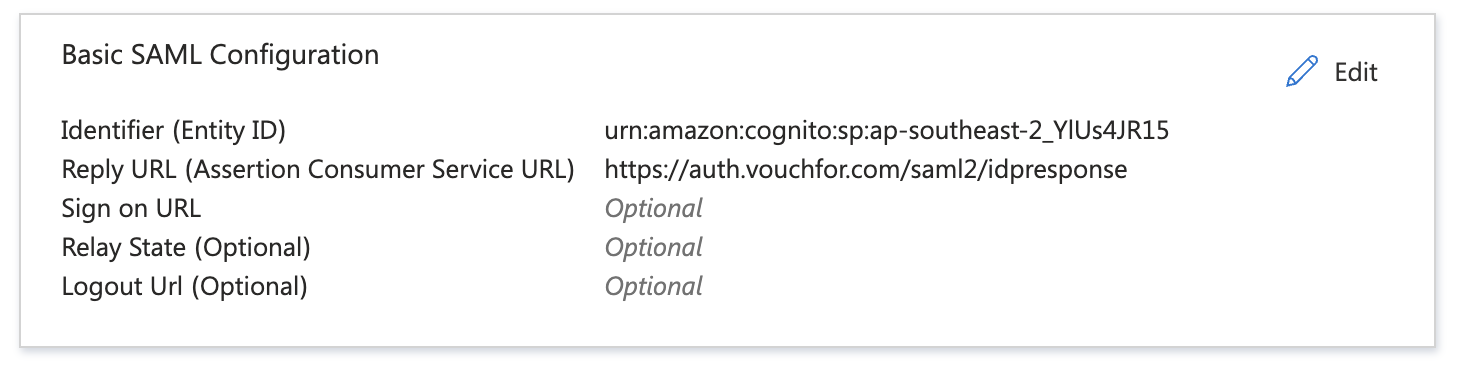
Under the Basic SAML Configuration section add the following credentials:
- Identifier (Entity ID): urn:amazon:cognito:sp:ap-southeast-2_YlUs4JR15
- Reply URL (Assertion Consumer Service URL): https://auth.vouchfor.com/saml2/idpresponse

This will generate the App Federation Metadata URL which you can add to the Admin section within the SSO Settings within Vouch.
Setup for Audience Users
Navigate to the Azure Active Directory Admin Center and sign in using a role with Admin permissions.
Once signed in, select Enterprise Applications from the left hand menu.
From the All Applications Pane loads, select the option New application
From here, you can select Create your own Application from the top left hand menu.
This will load a pane on the right hand side where you can name your application (eg. Vouch) and select the option Integrate any other application you don't find in the gallery (Non-Gallery)
Once the application has been created, select Single Sign On from the Manage section on the left hand menu.
This will load up the Single Sign-On panel, SAML from the single sign on methods presented.
Under the Basic SAML Configuration section add the following credentials:
- Identifier (Entity ID): urn:amazon:cognito:sp:ap-southeast-2_YlUs4JR15
- Reply URL (Assertion Consumer Service URL): https://auth.vouchfor.com/saml2/idpresponse
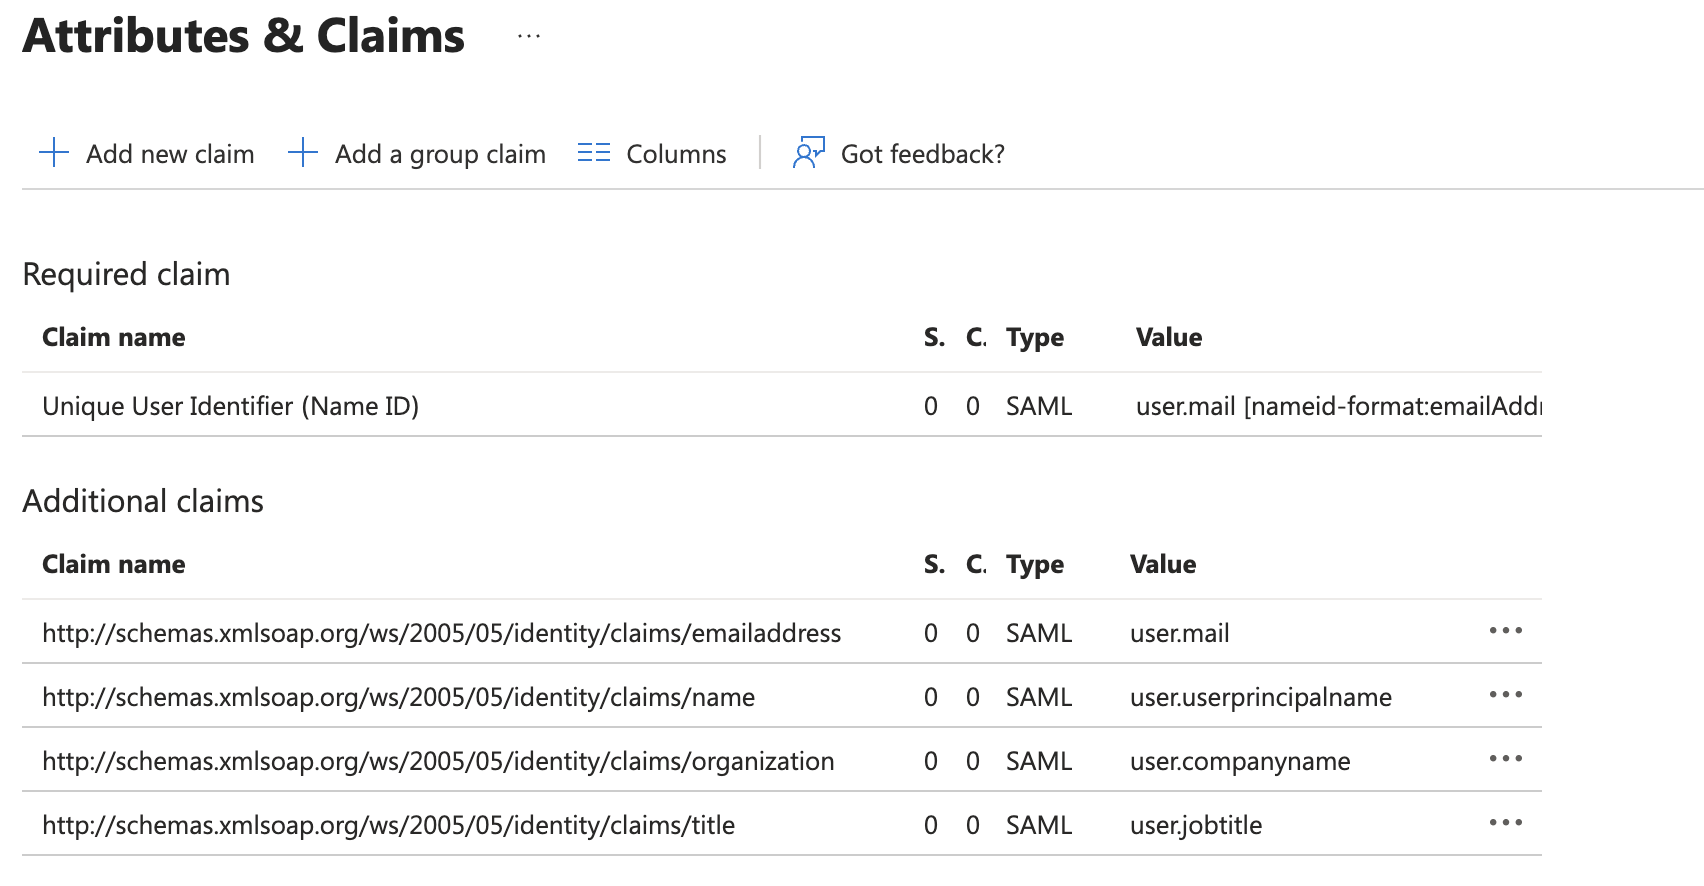
Under attributes & claims, you will want to configure the following:
| Claim Name | Value |
|---|---|
| Unique User Identifier | user.mail |
| http://schemas.xmlsoap.org/ws/2005/05/identity/claims/emailaddress | user.mail |
| http://schemas.xmlsoap.org/ws/2005/05/identity/claims/name | user.userprincipalname |
| http://schemas.xmlsoap.org/ws/2005/05/identity/claims/title | user.jobtitle |
| http://schemas.xmlsoap.org/ws/2005/05/identity/claims/organization | user.companyname |
This will generate the App Federation Metadata URL which you can add to the Audience section in the SSO Settings within Vouch.
Updated 3 months ago